The Art of Letterpress in Florence, Italy
The Art of Letterpress in Florence, Italy
Letterpress – an art form that began with the revolution of the printing of the Bible on the Gutenberg press and that is now an art form being revived and preserved in cities across the globe. I learned the basics of the art of letterpress in Florence during my Spring semester of my sophomore year at the Florence School of Fine Arts, and I was invited back for the month of June to work as a letterpress intern. So, if you are at all curious about how I spent my June or if you are intrigued by letterpress, read on.
What a letterpress internship entails…
The Florence School of Fine Arts has upwards of 200 drawers filled with font after font after font, and they have been trying for years to find the time or an intern to catalogue the fonts and show off every letter and symbol that they have.
So, toward the end of my Spring semester, after printing a few posters and a couple of articles for a class book, I was offered the job of printing as many fonts as I possibly could during the month of June in exchange for a free place to stay in the incredible city of Florence.
I quickly jumped at the opportunity and booked my flight back to Italy. Then, on Monday, June 3rd, I began happily working about eight hours a day five days a week to craft as many prints with as many fonts as I could.
Meet the Presses
The Florence School of Fine Arts may as well be a museum when it comes to letterpress. They have an insane collection of presses that are astounding in their history and functionality.
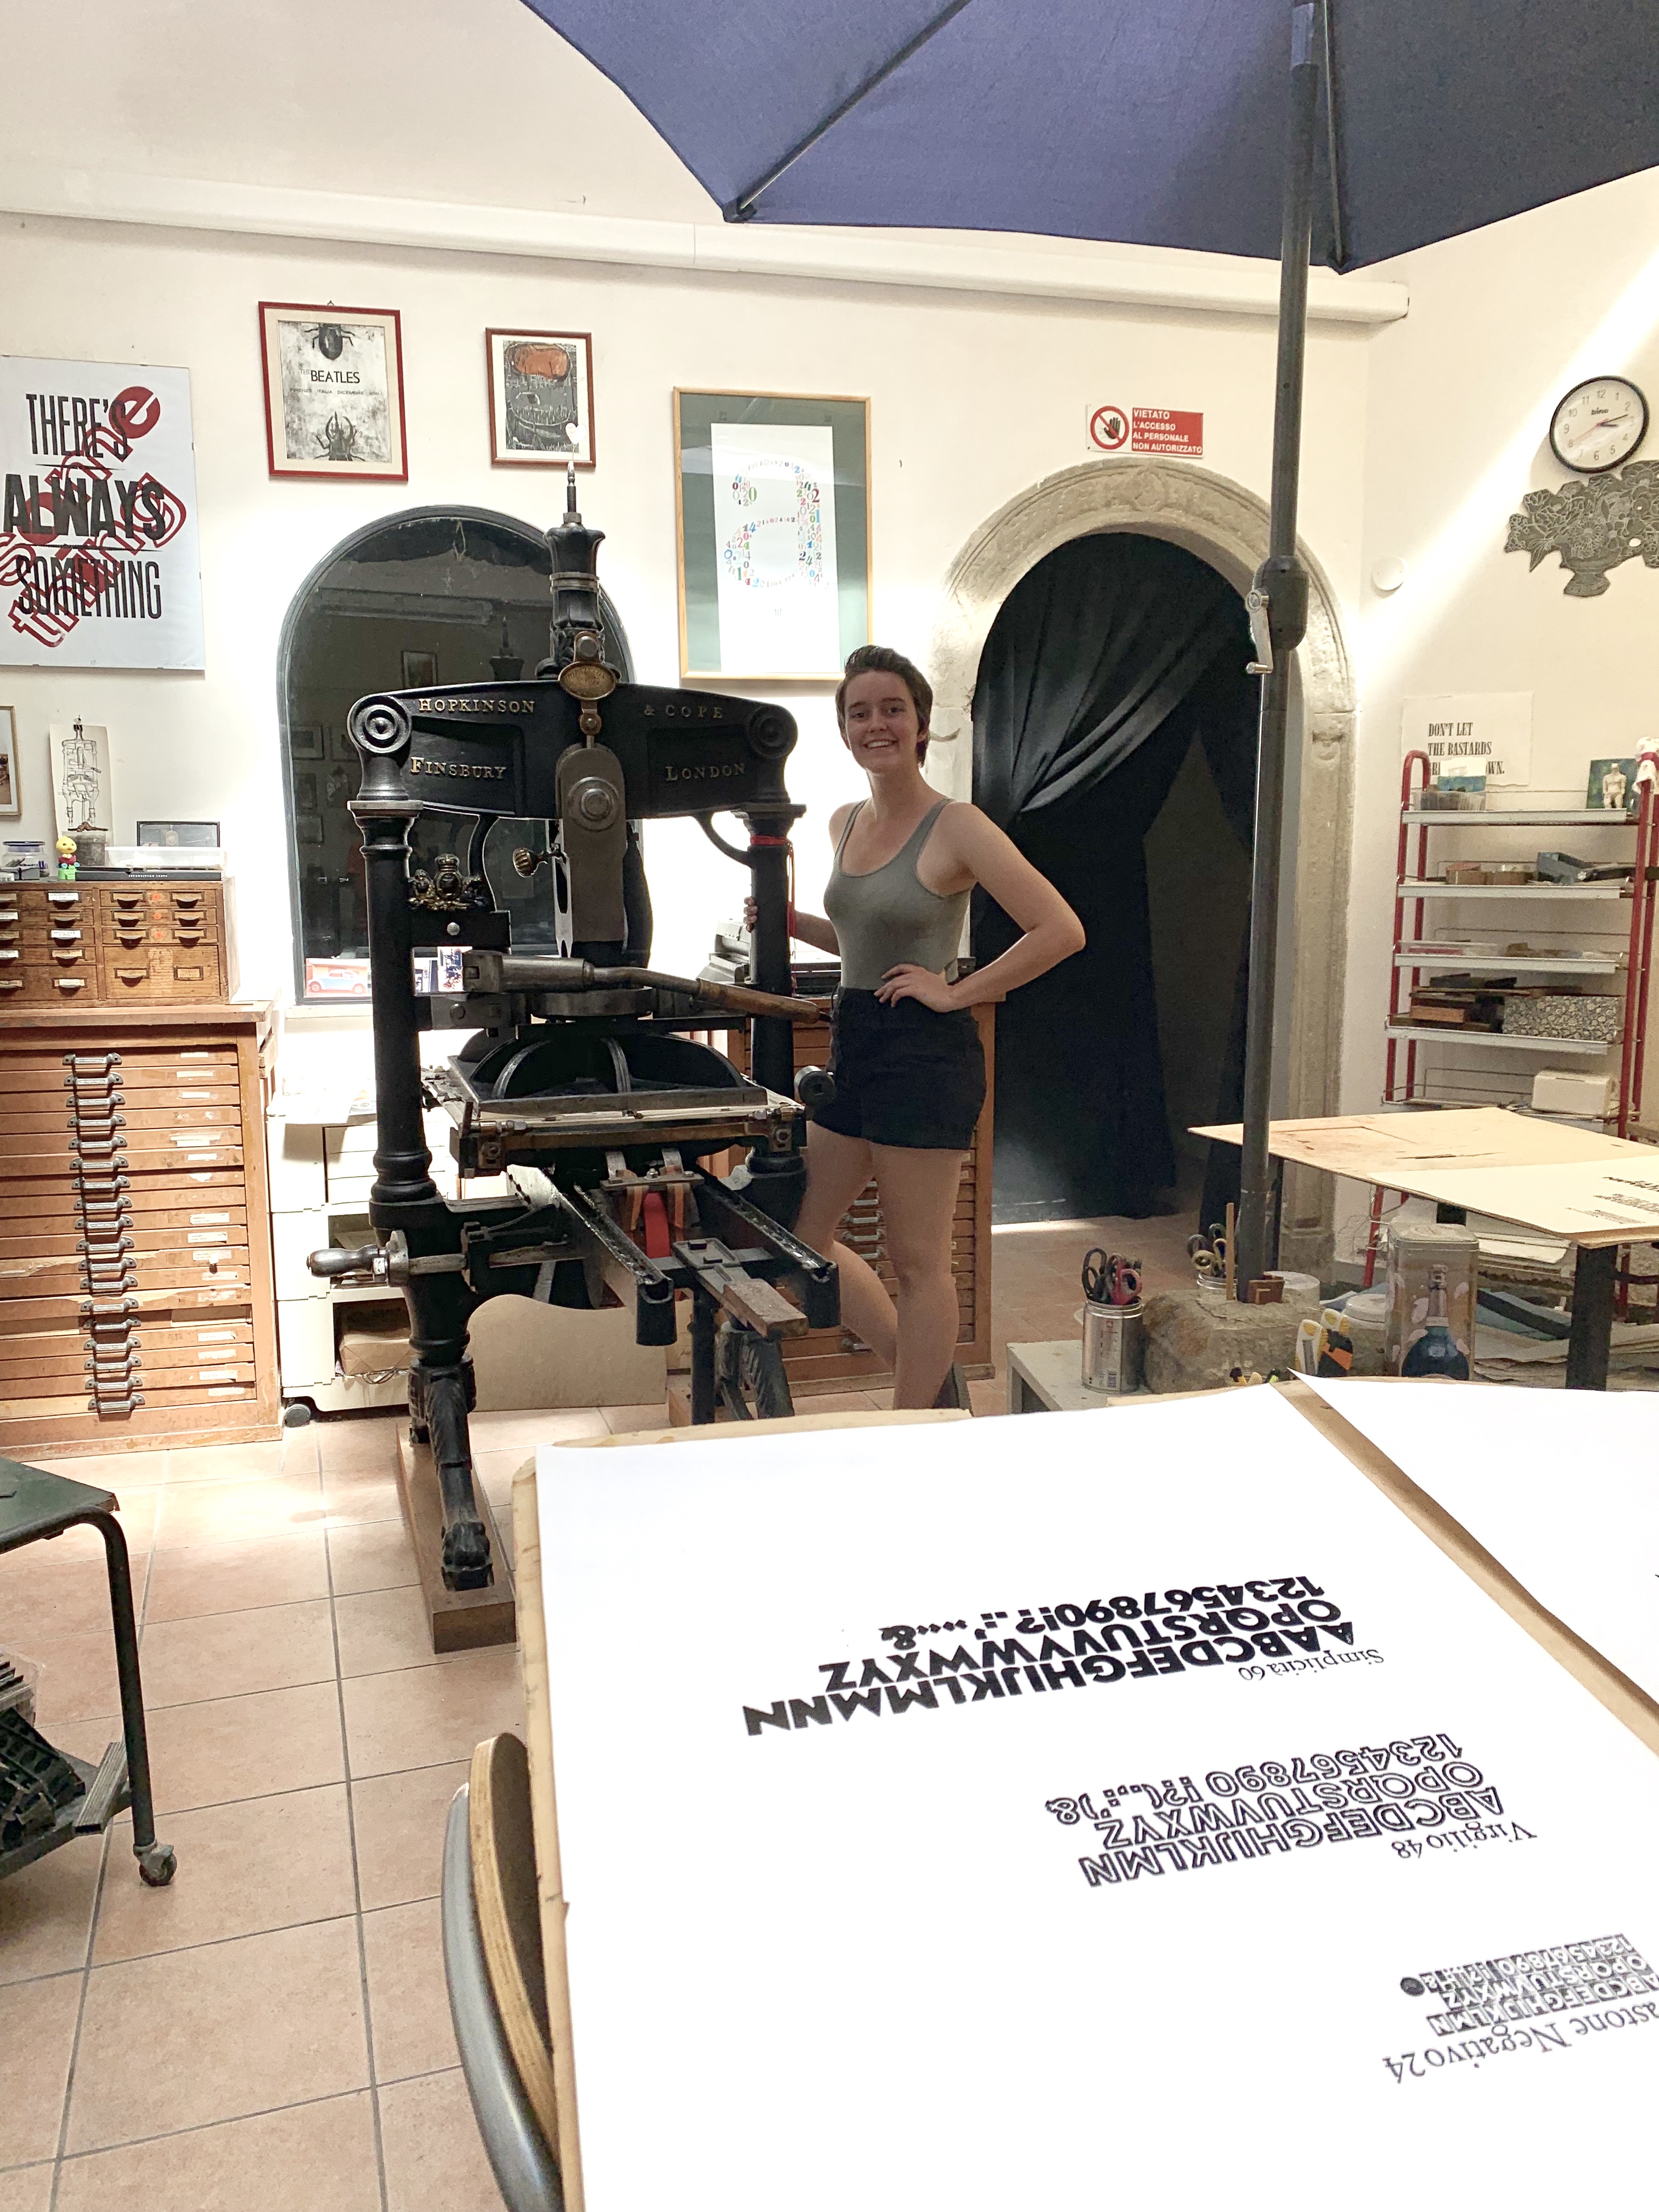
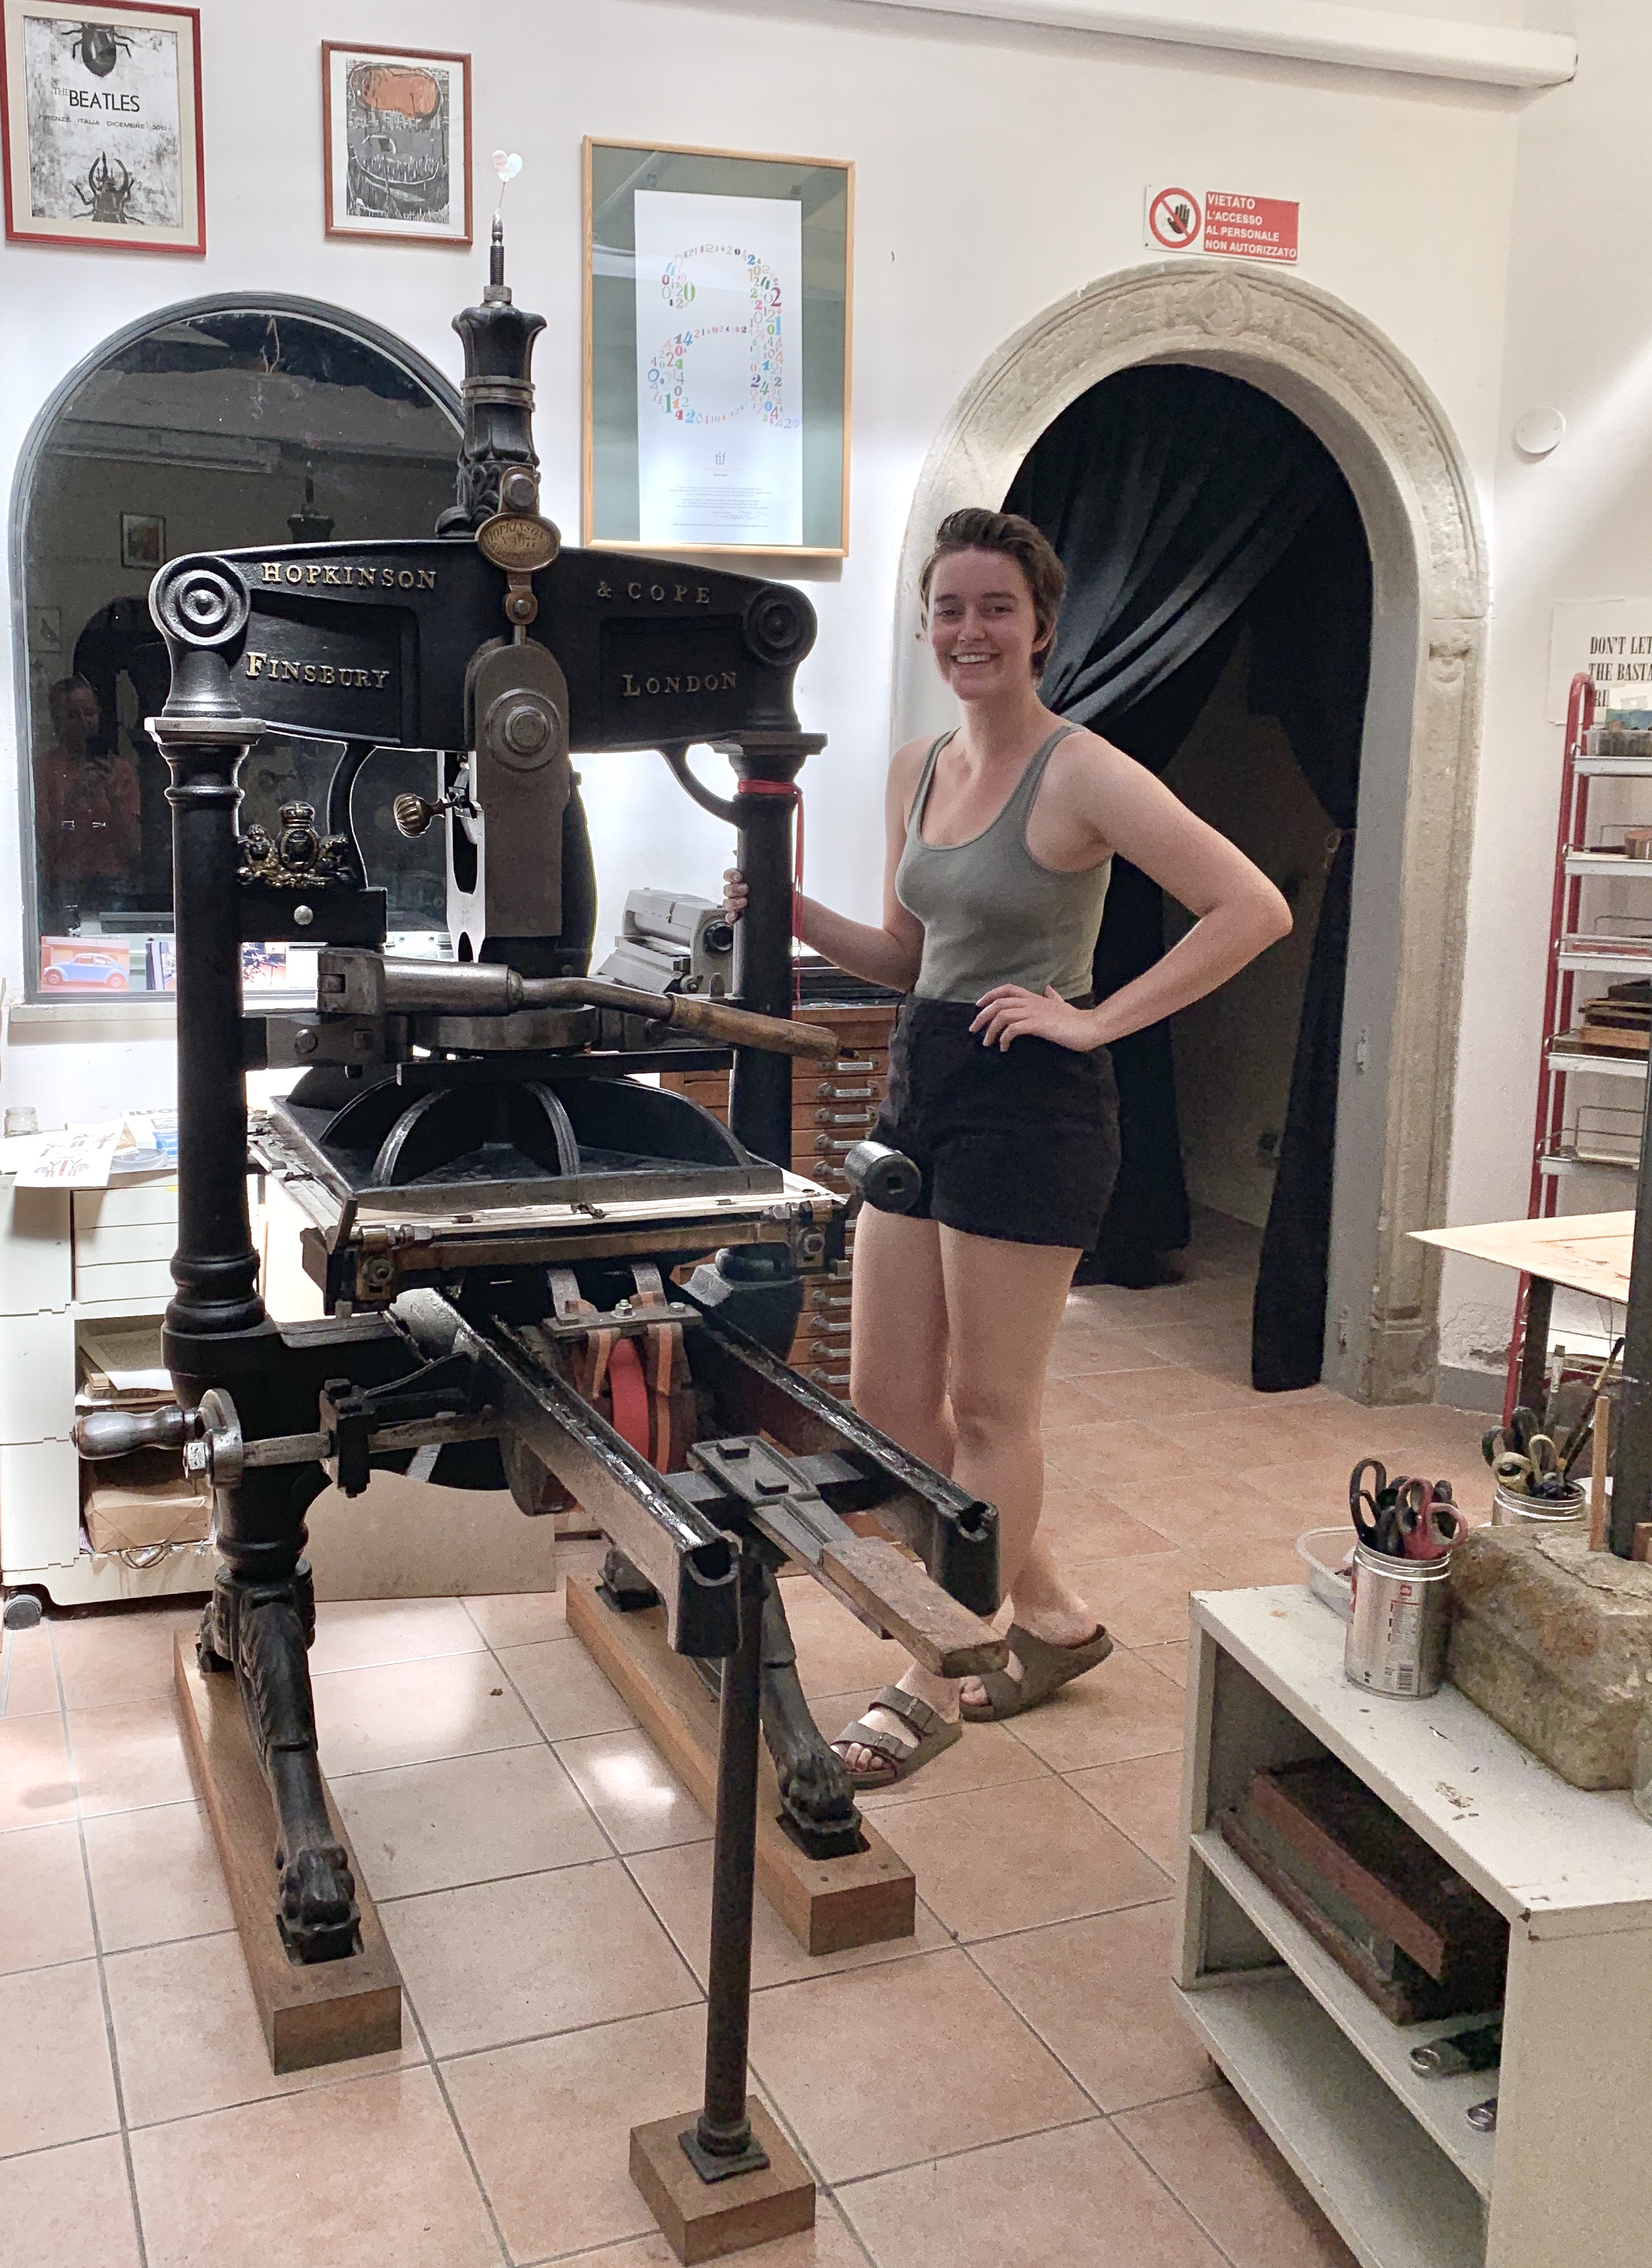
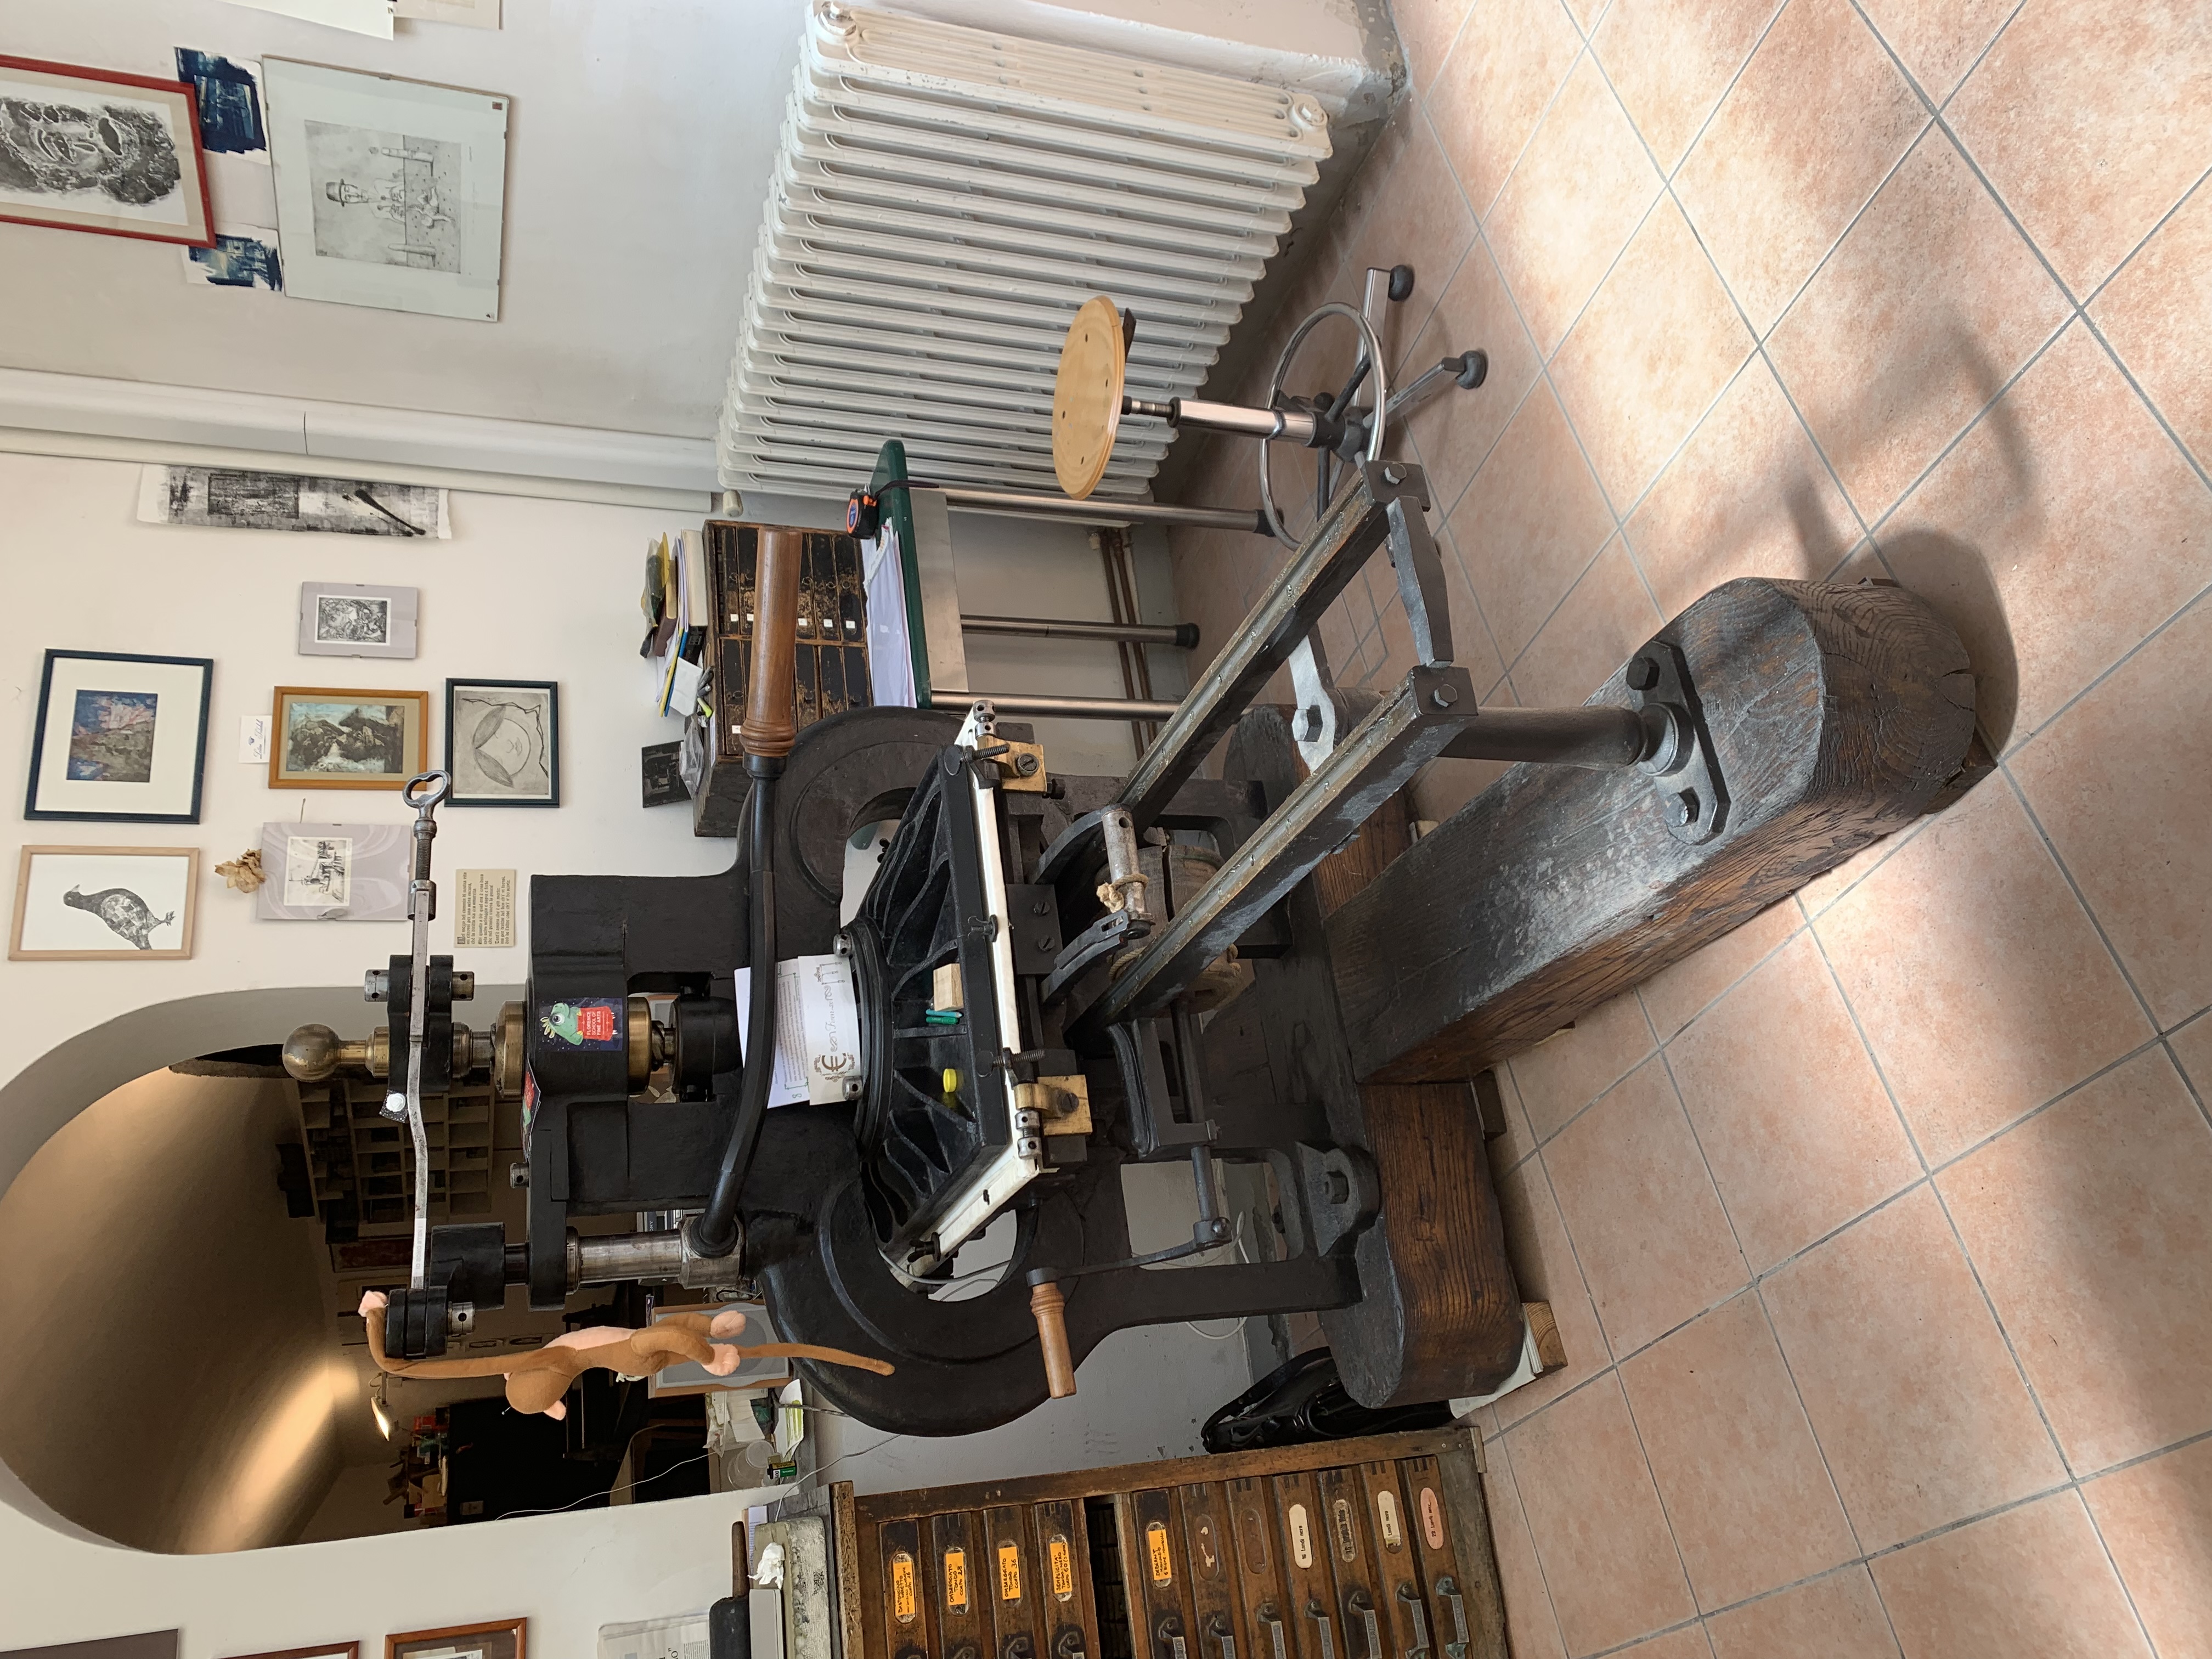
- The Albion – the press I used all month and my absolute favorite press in the studio. It was made in 1862 in England. This press sat in a garden as a decoration for years before it was bought and lovingly restored by the Florence School. I love it so much because with the pull of a lever, you get an even press on all of the letters simultaneously. Below is a video of me inking and printing on the Albion
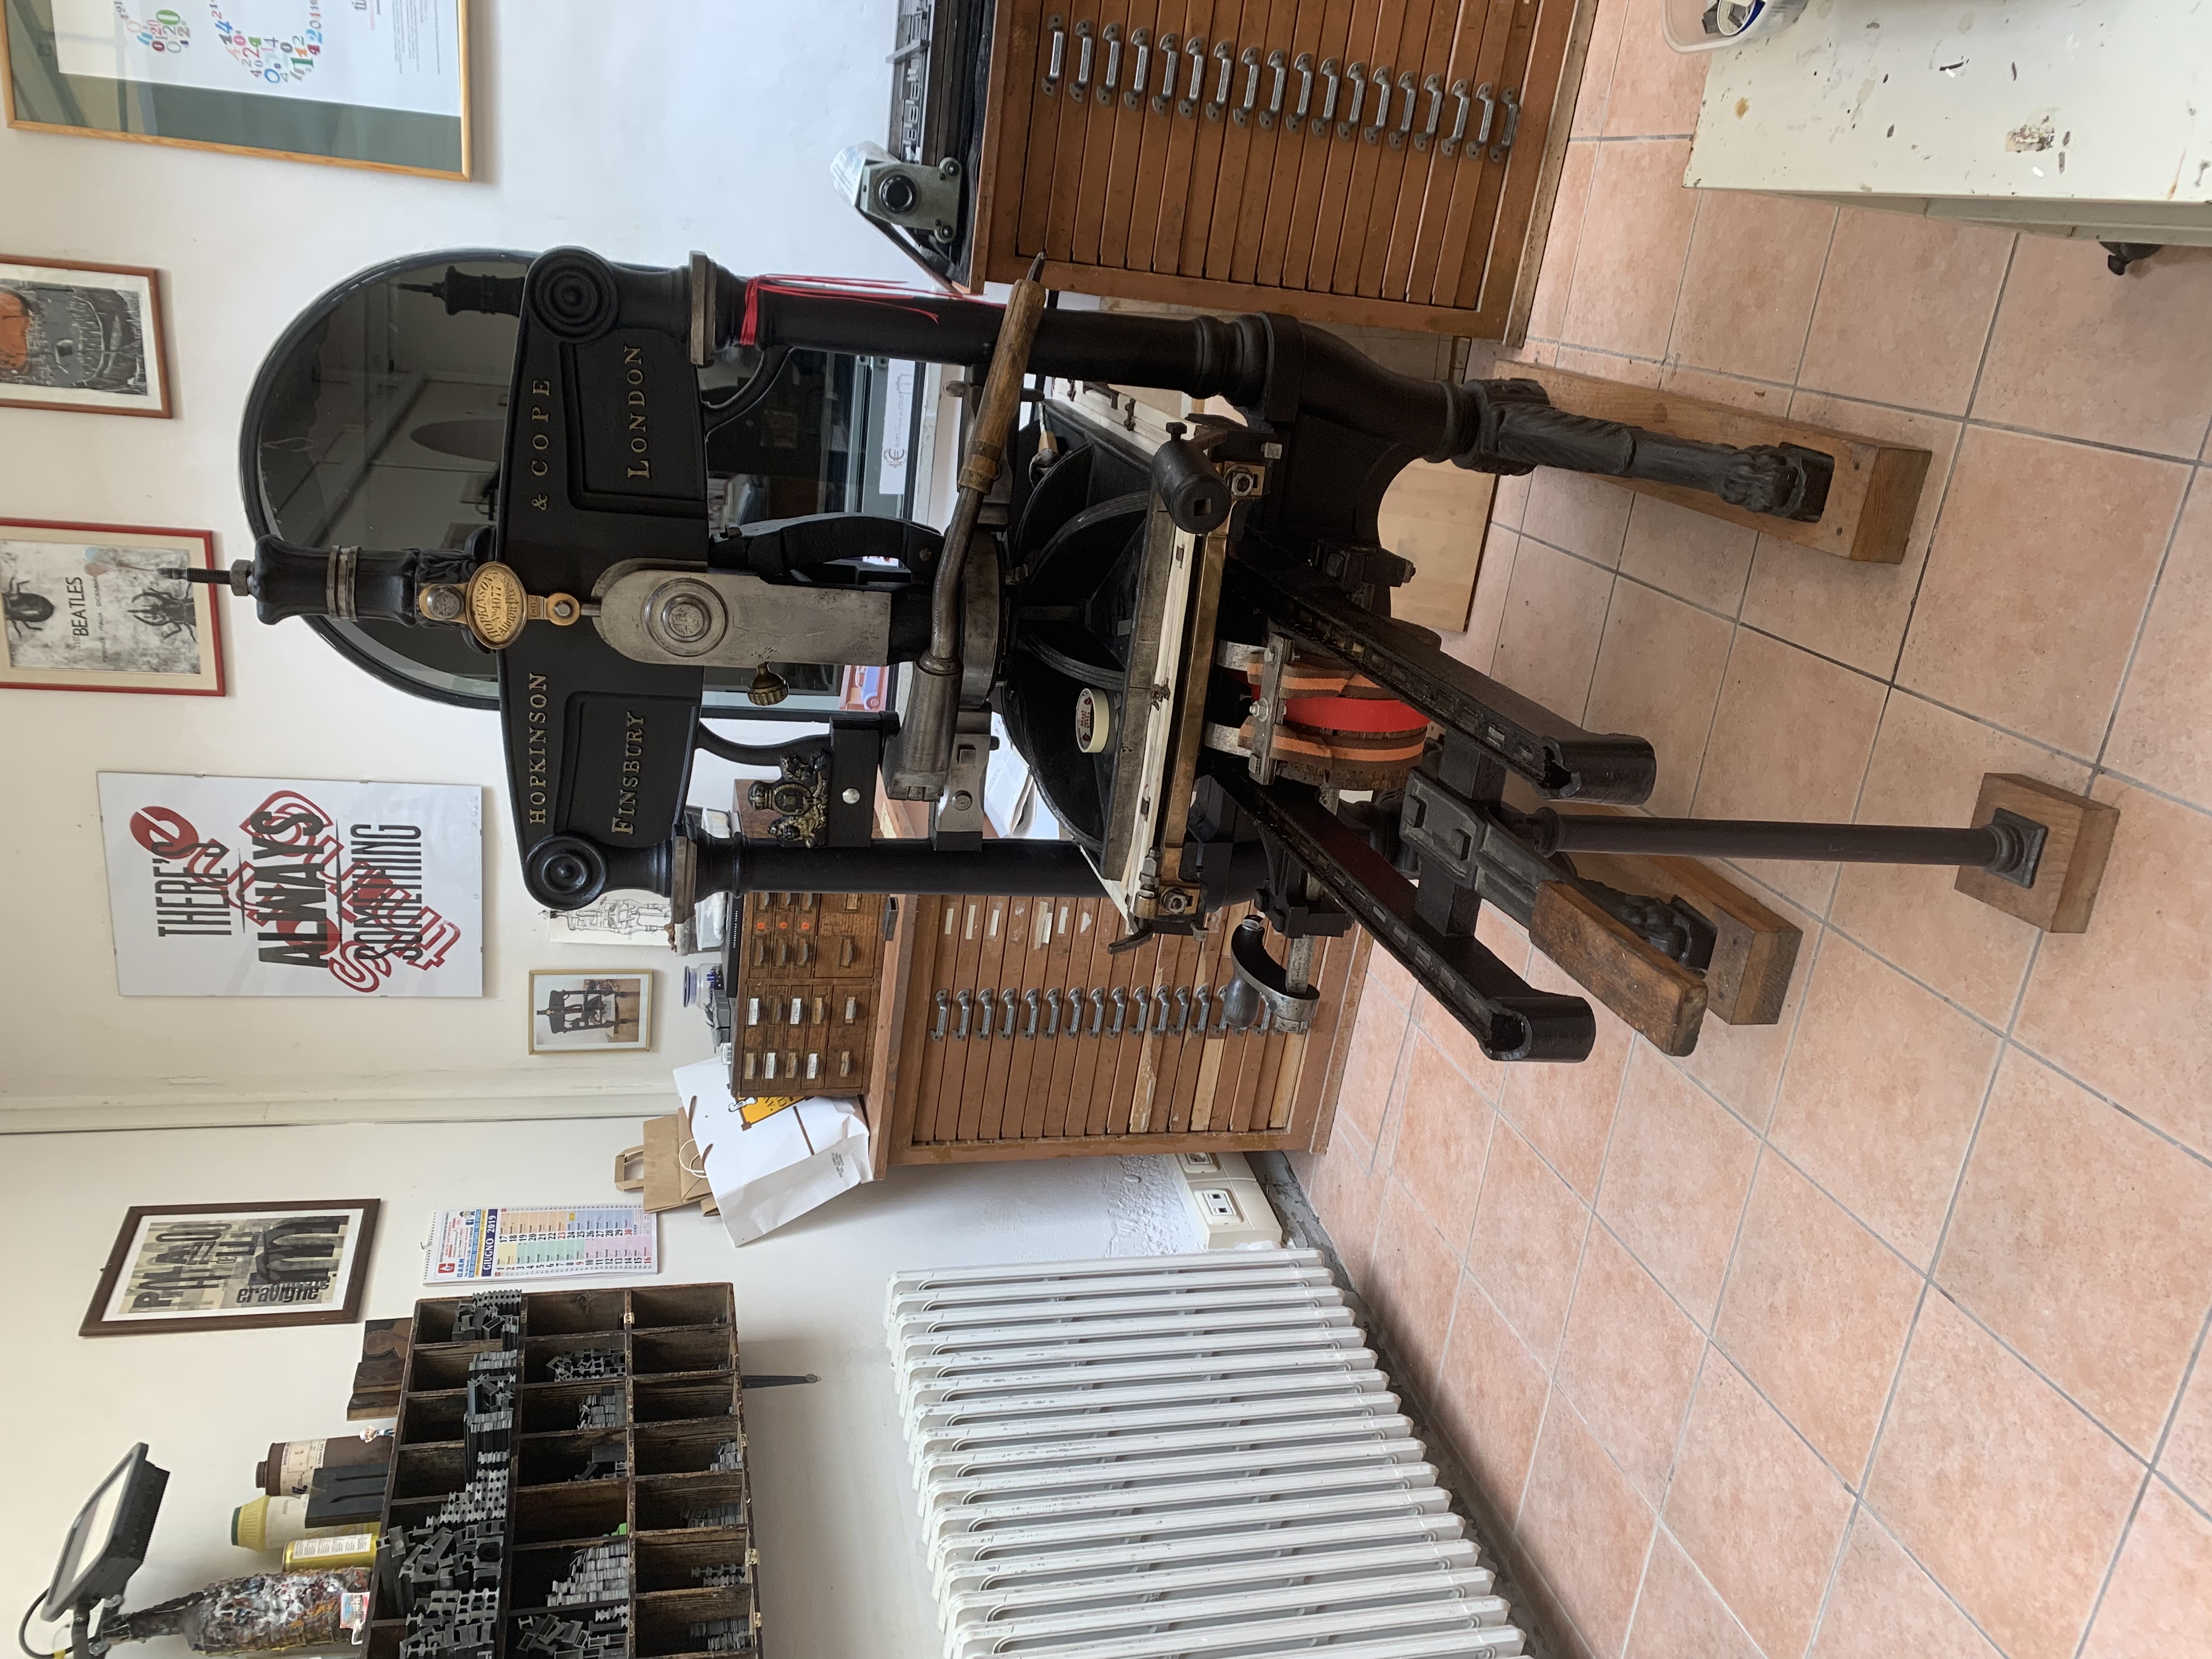
The Albion press
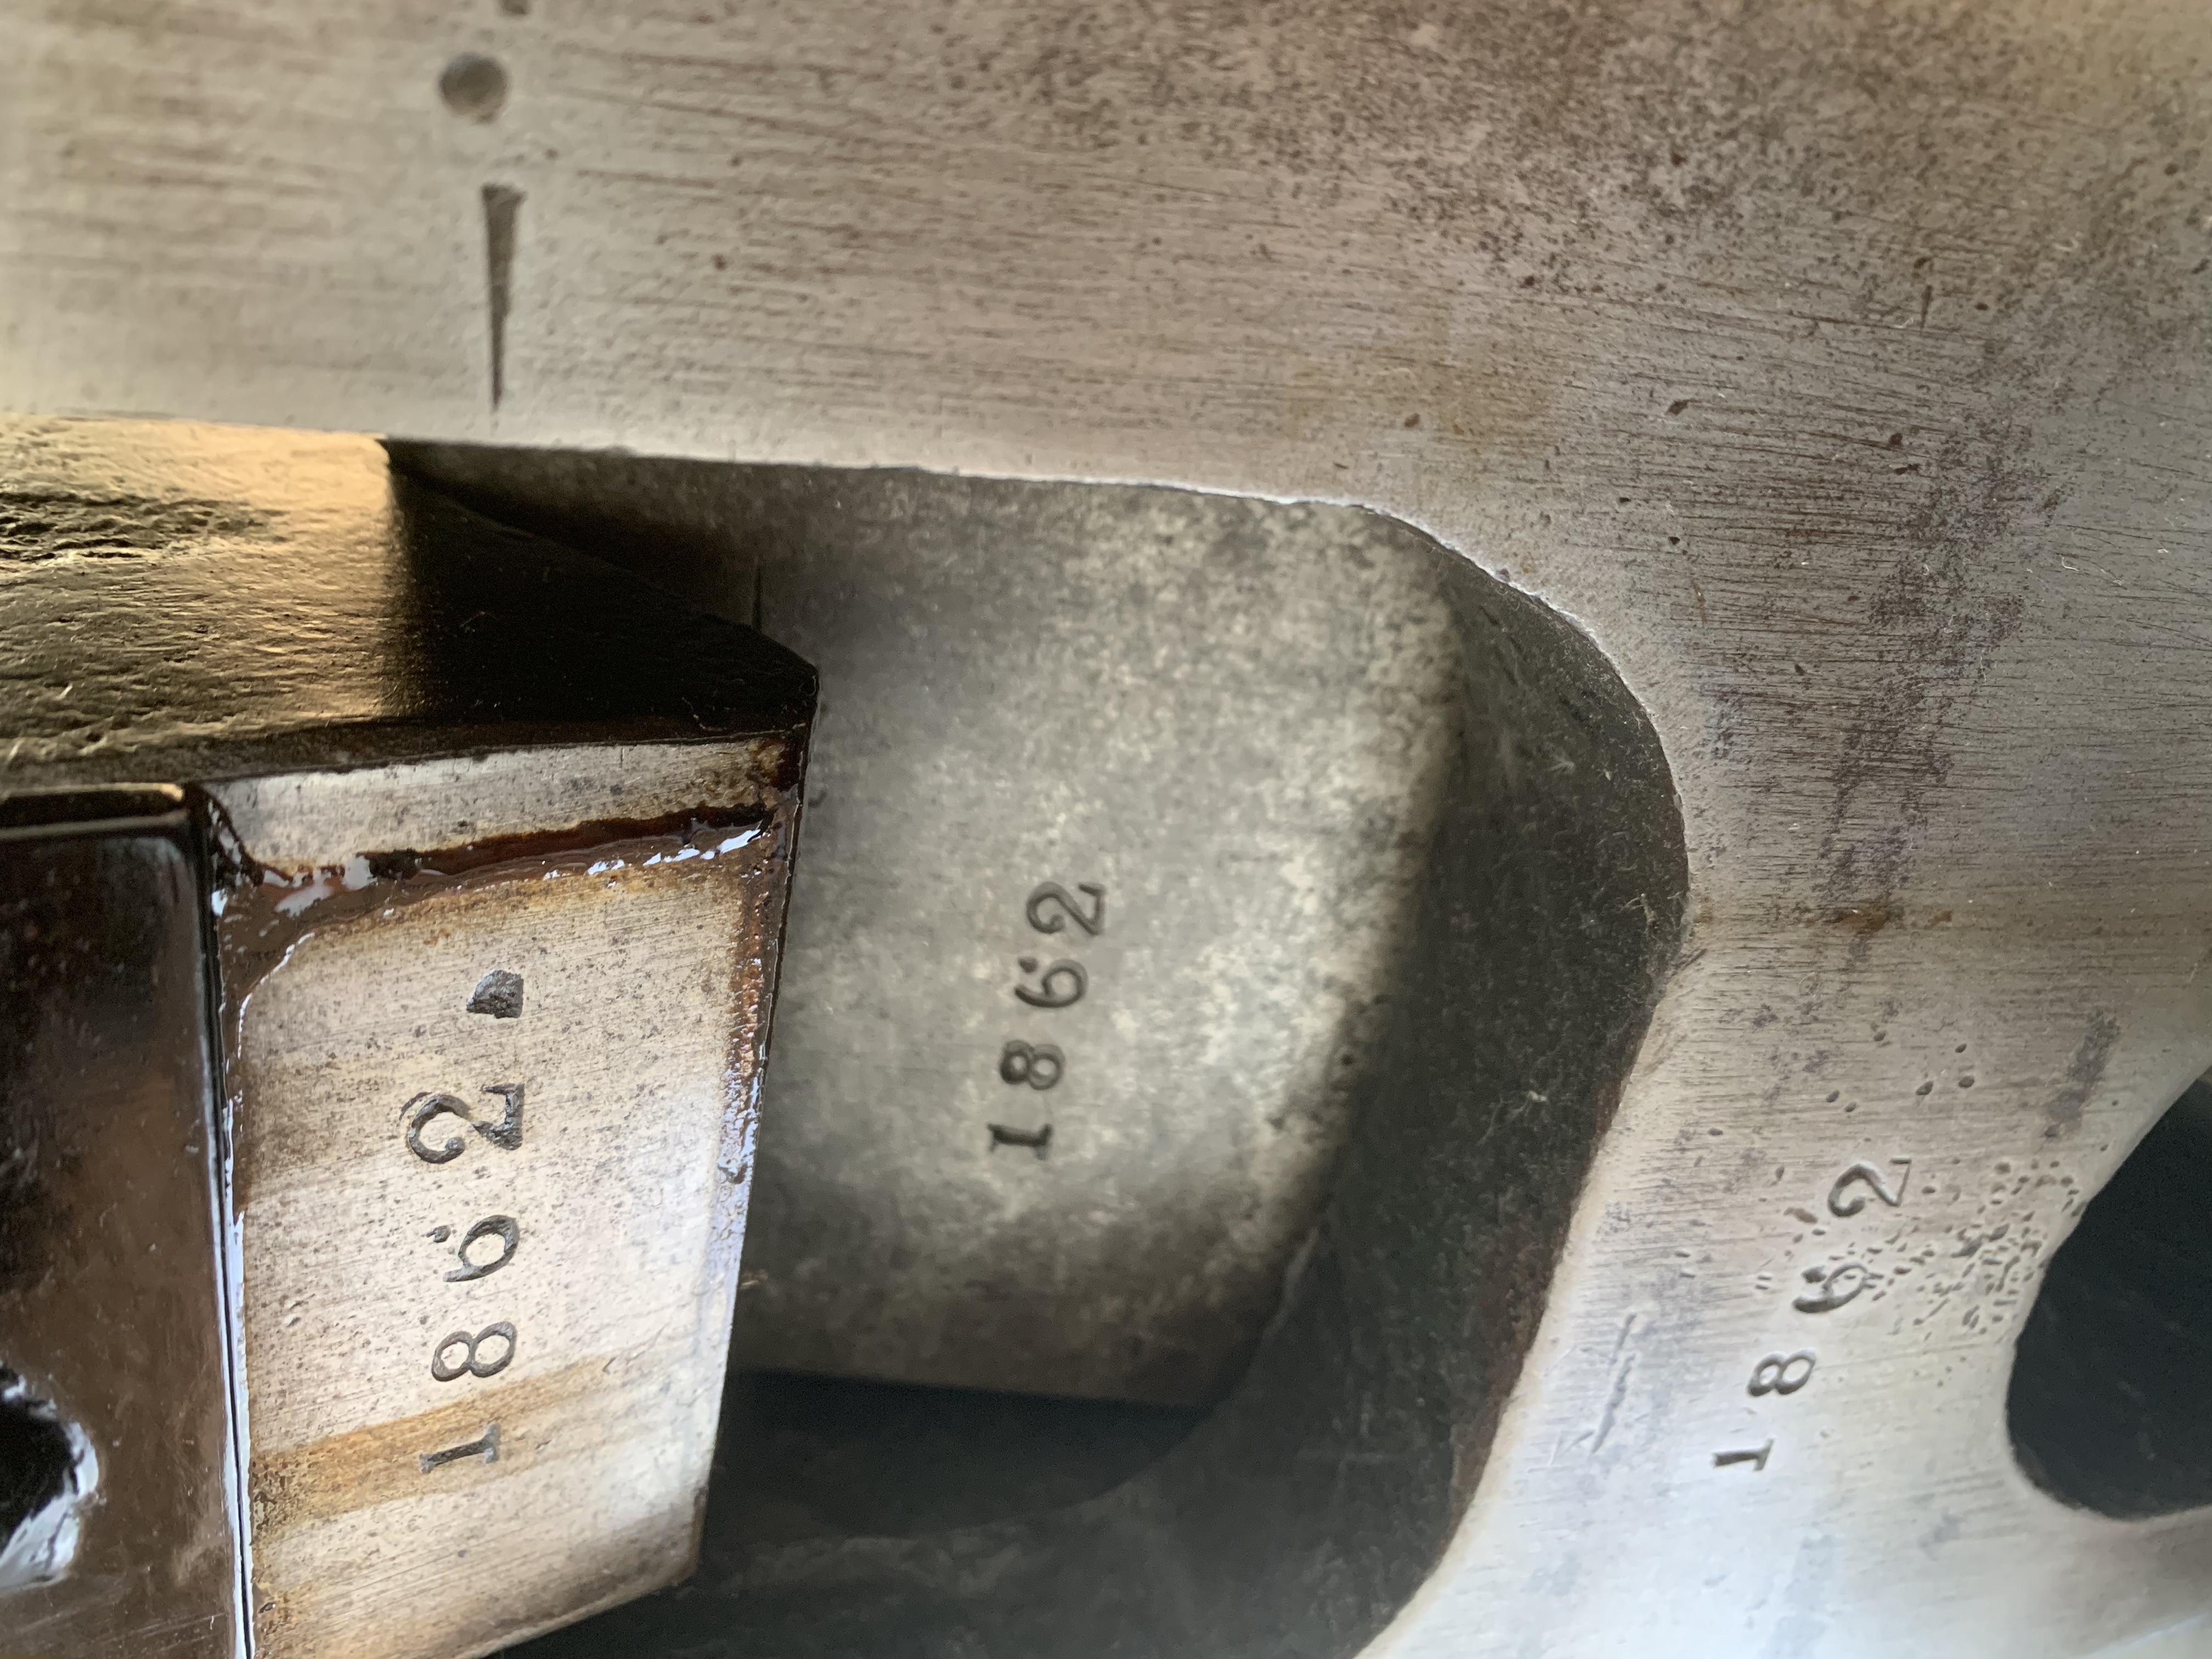
Details of the Albion press
- The Stanhope – this press was delivered toward the end of my Spring semester in Florence, and it was refurbished in short order. This model of press is the one that came after the Gutenberg and before the Albion. It allowed for much faster printing in comparison to the Gutenberg press. I haven’t had a chance to use this press, and unfortunately it is difficult for women and smaller men to use. The bar is heavy to pull across, and it requires a long reach or a duo of printers to do so. However, it does produce nice, even prints like the Albion for printers up for the challenge
The Stanhope press
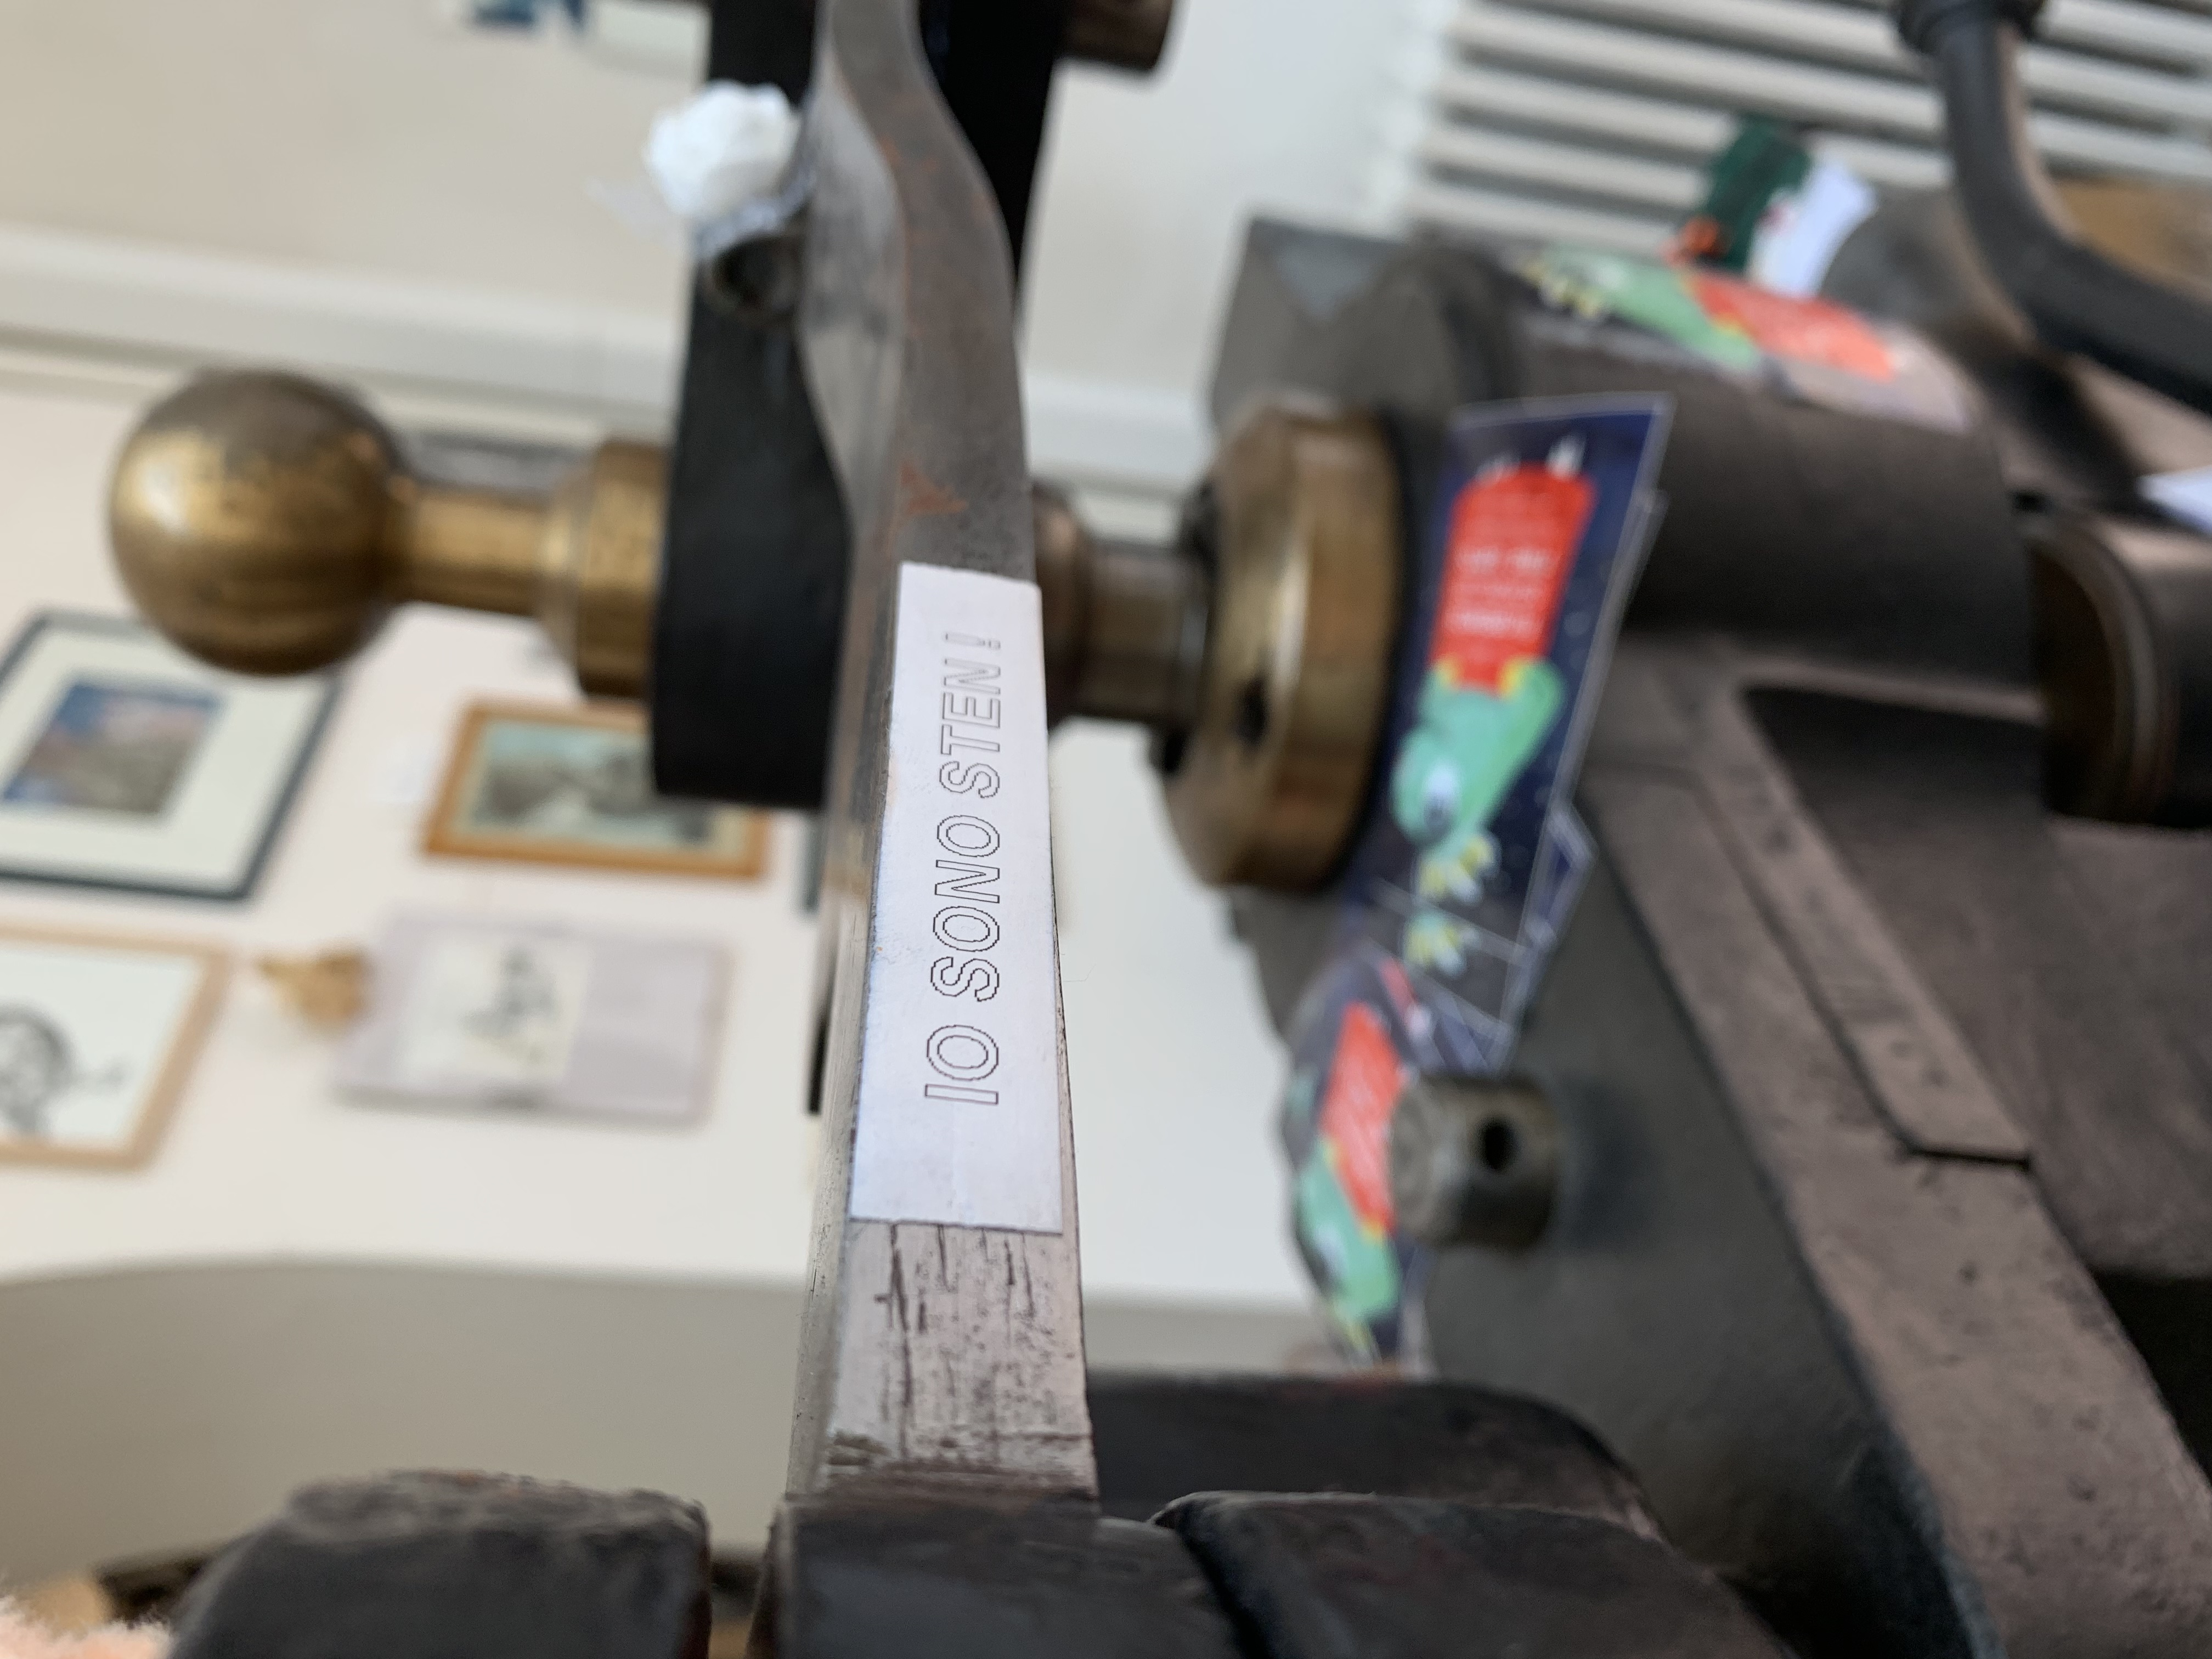
“Io Sono Sten!” or “I am Stan!” in Italian
- The Korrex Berlin – this press is brand spanking new to the Florence School. It came into the school in mid June. It was made in 1964, making it one of the newer models in the studio. It is also the only press that is not fully manual – there are electrical parts. And honestly, I am very confused about how this press works. I’ve been told it’s simple to use and allows people to make a large amount of prints a lot faster, but I’m used to pulling a lever or a roller, so I’ll probably be confused until I see it in action. As of July 2019, this press is still being restored
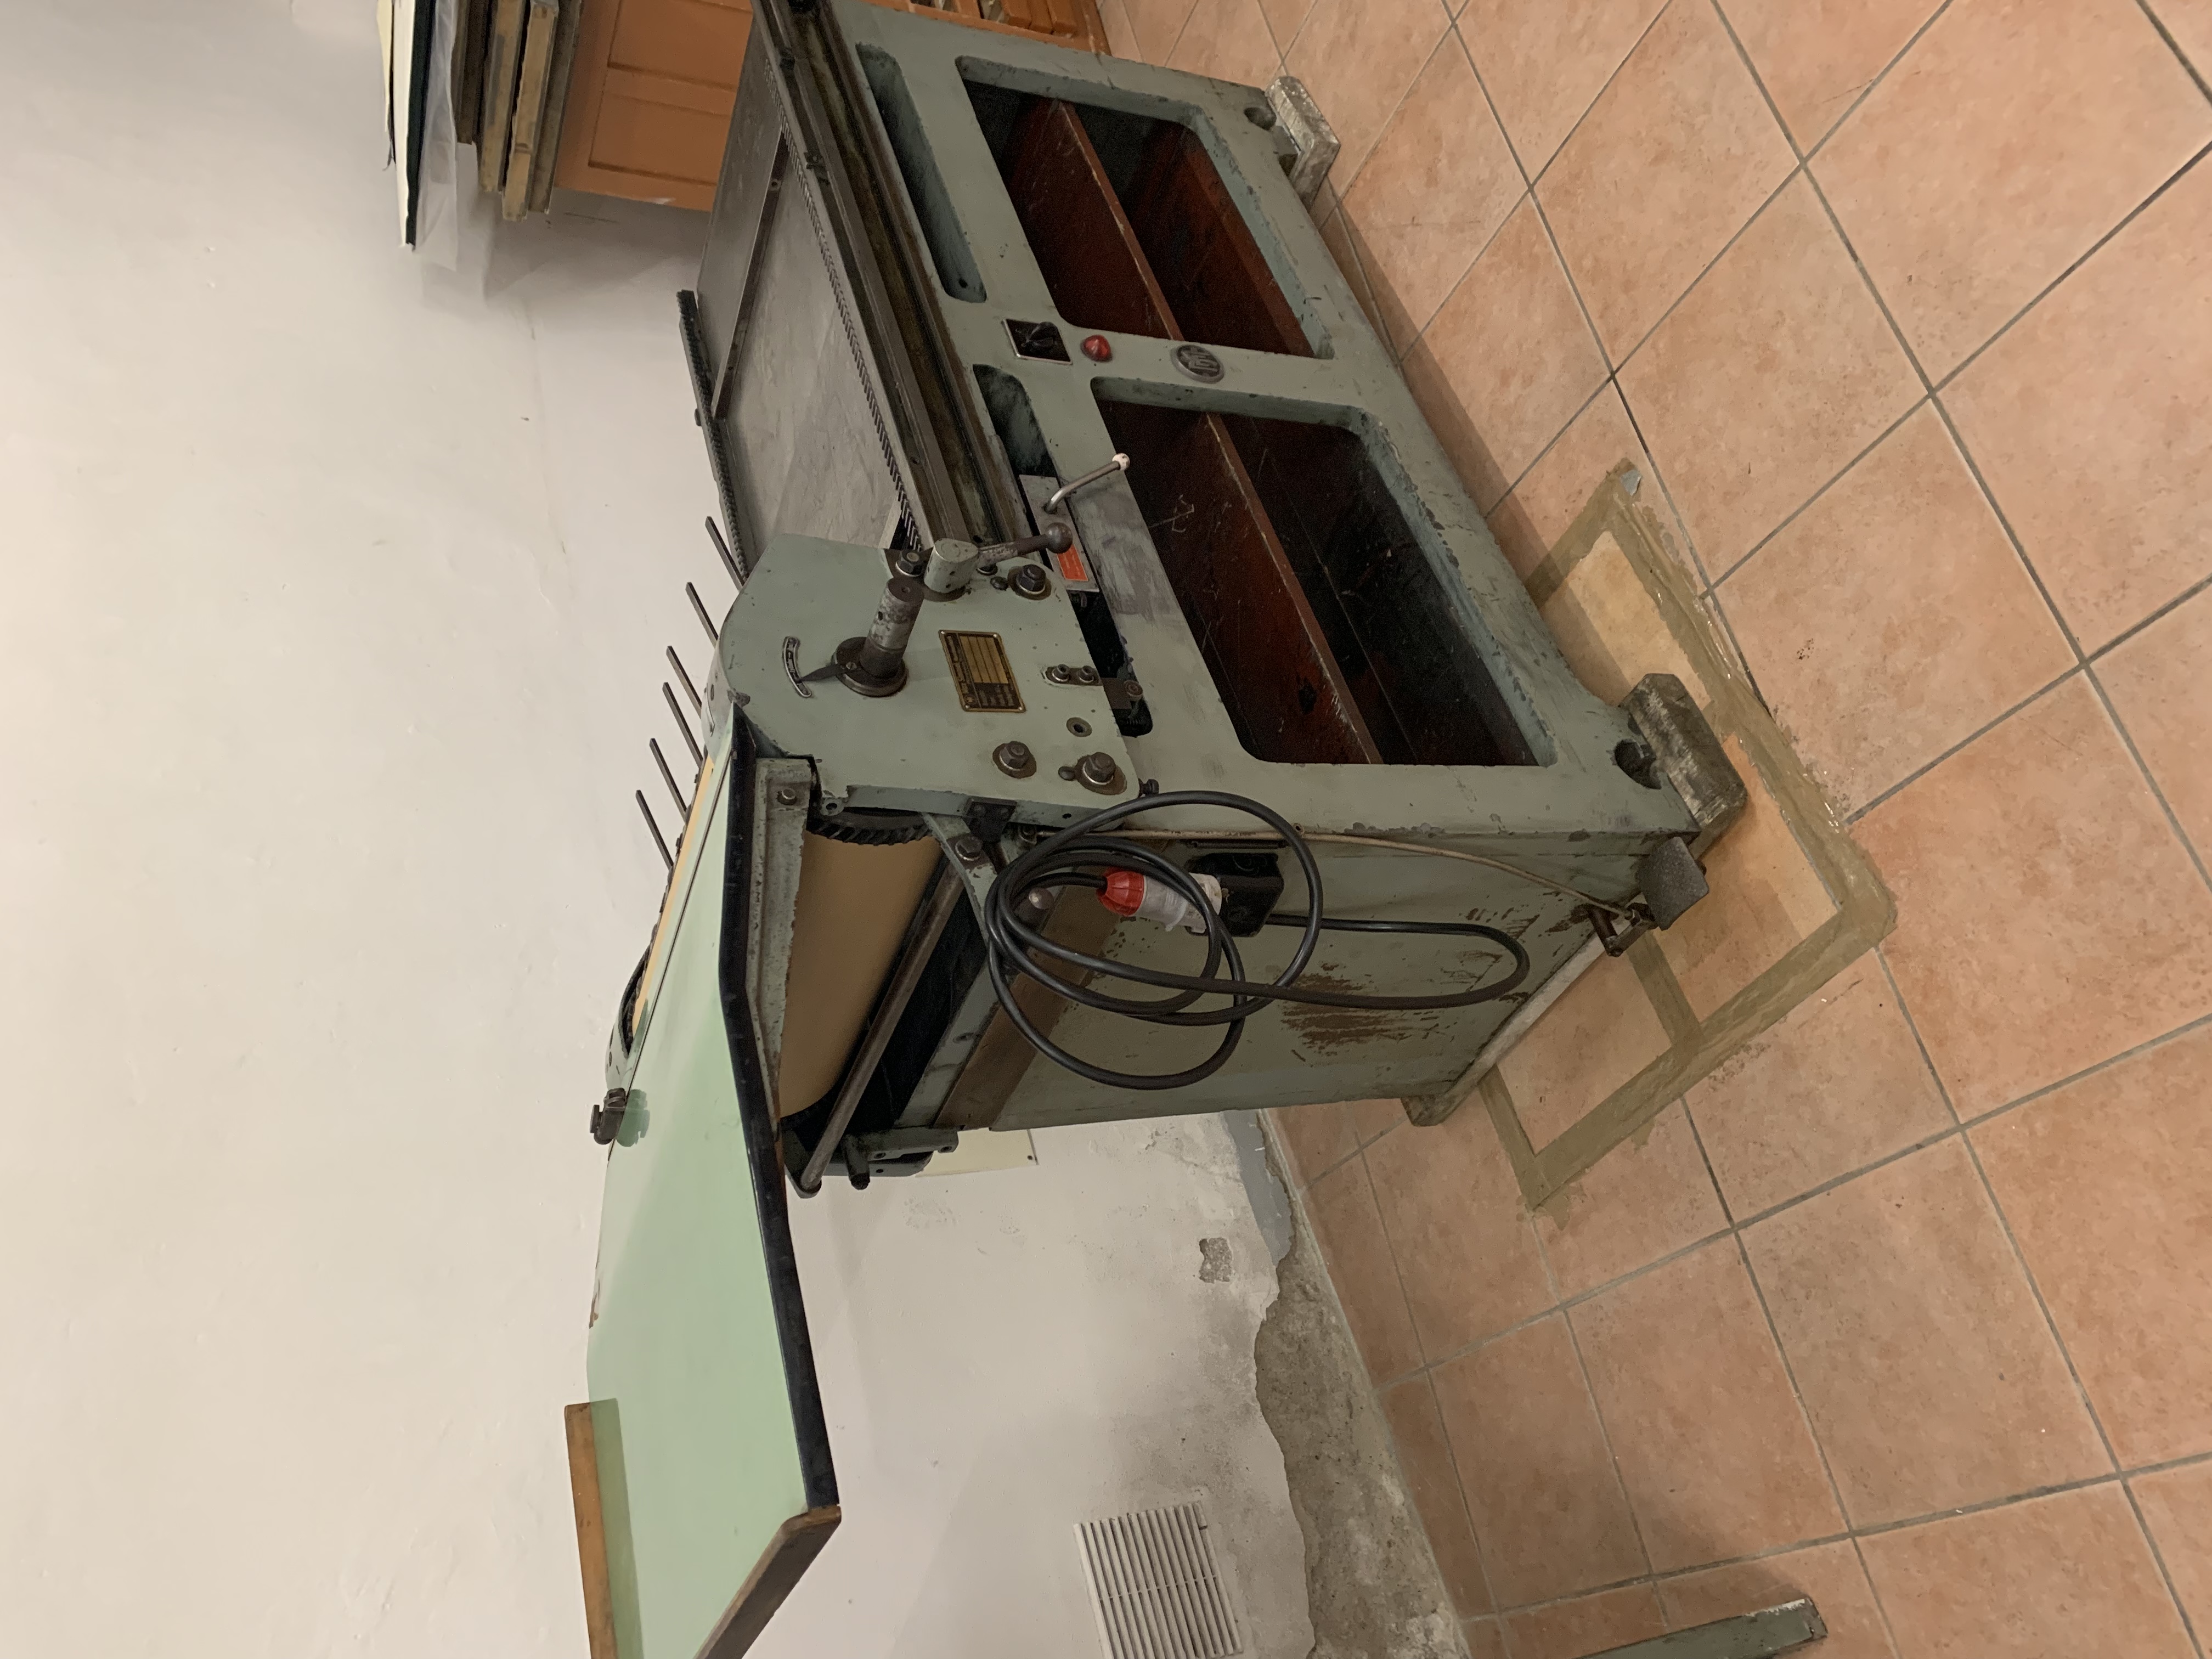
The Korrex Berlin 1964 press
- The Roller Presses
- Large, poster size roller press – I used this press during the semester to create a large print. It is huge and allows for very large compositions. It is also very simple to use – all you have to do is roll the huge roller over your layout. The first video below is a video of me printing on this press
- Two medium size roller presses – both of these allow for modestly sized prints. Like the large roller press, you simply pull the roller over the composition to make the print. The second video below is of me inking and printing
- Small roller press – this press is the smallest in the studio and is used primarily for book prints. One woman printed an entire poetry book of six poems solely on this press during the month of June
Some vocab:
Before I jump into the process, it’s best to learn a few key terms.
- Case – a font drawer with a specific layout for each letter/number/symbol
- Composing stick – a tray-like tool used to assemble pieces of type into words and lines
- Quads/spacers – different length and width pieces used to fill empty space in a composition
- Quoin – small device used to exert pressure within the press bed. The pressure locks in the form
- Key – the tool that is used in conjunction with the quoin to lock in the composition
- Ink knife – a handle with a flat blade on it used for scooping out and mixing ink
- Registration – marks that determine where the paper is laid so that each print is more or less made in the same spot
The process:
Letterpress is very technical – it requires several steps and a lot of dedicated hours of work to get just one print. Here’s a breakdown of what it takes.
Lay the font
Fonts get laid in a composing stick upside down and left to right. Like so:
Letters being laid in the composing stick
Letters being laid in a composition stick
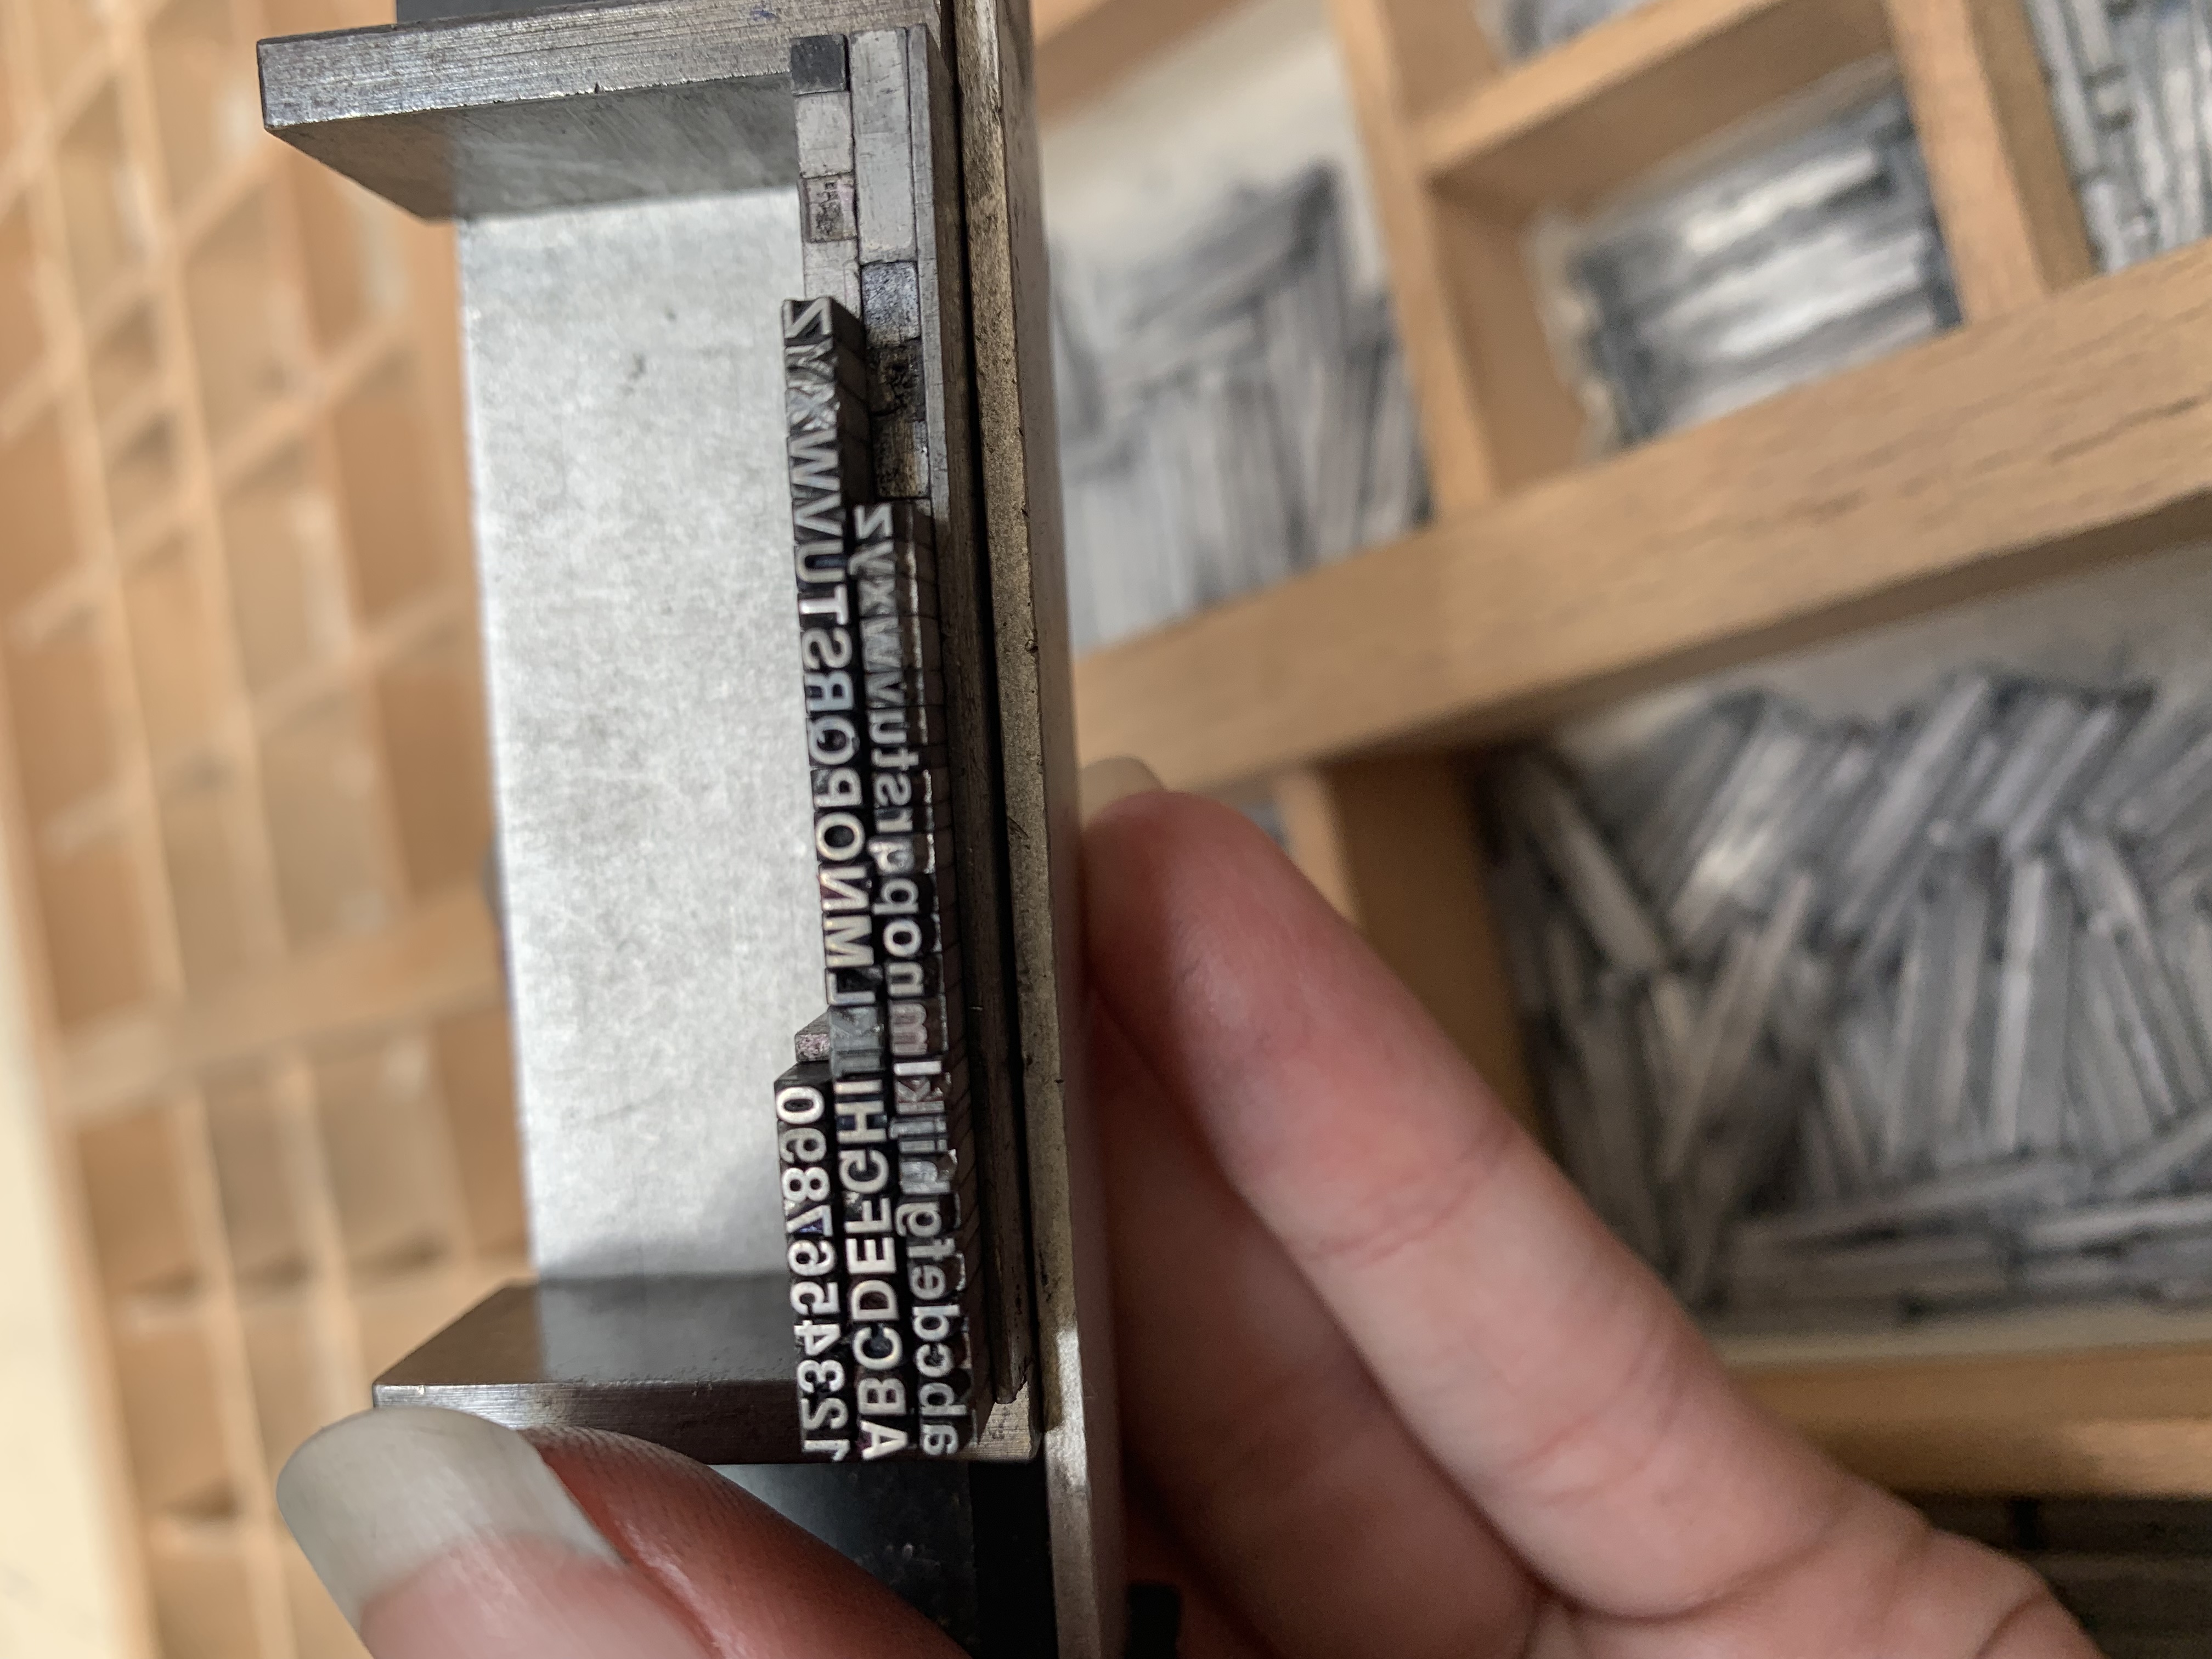
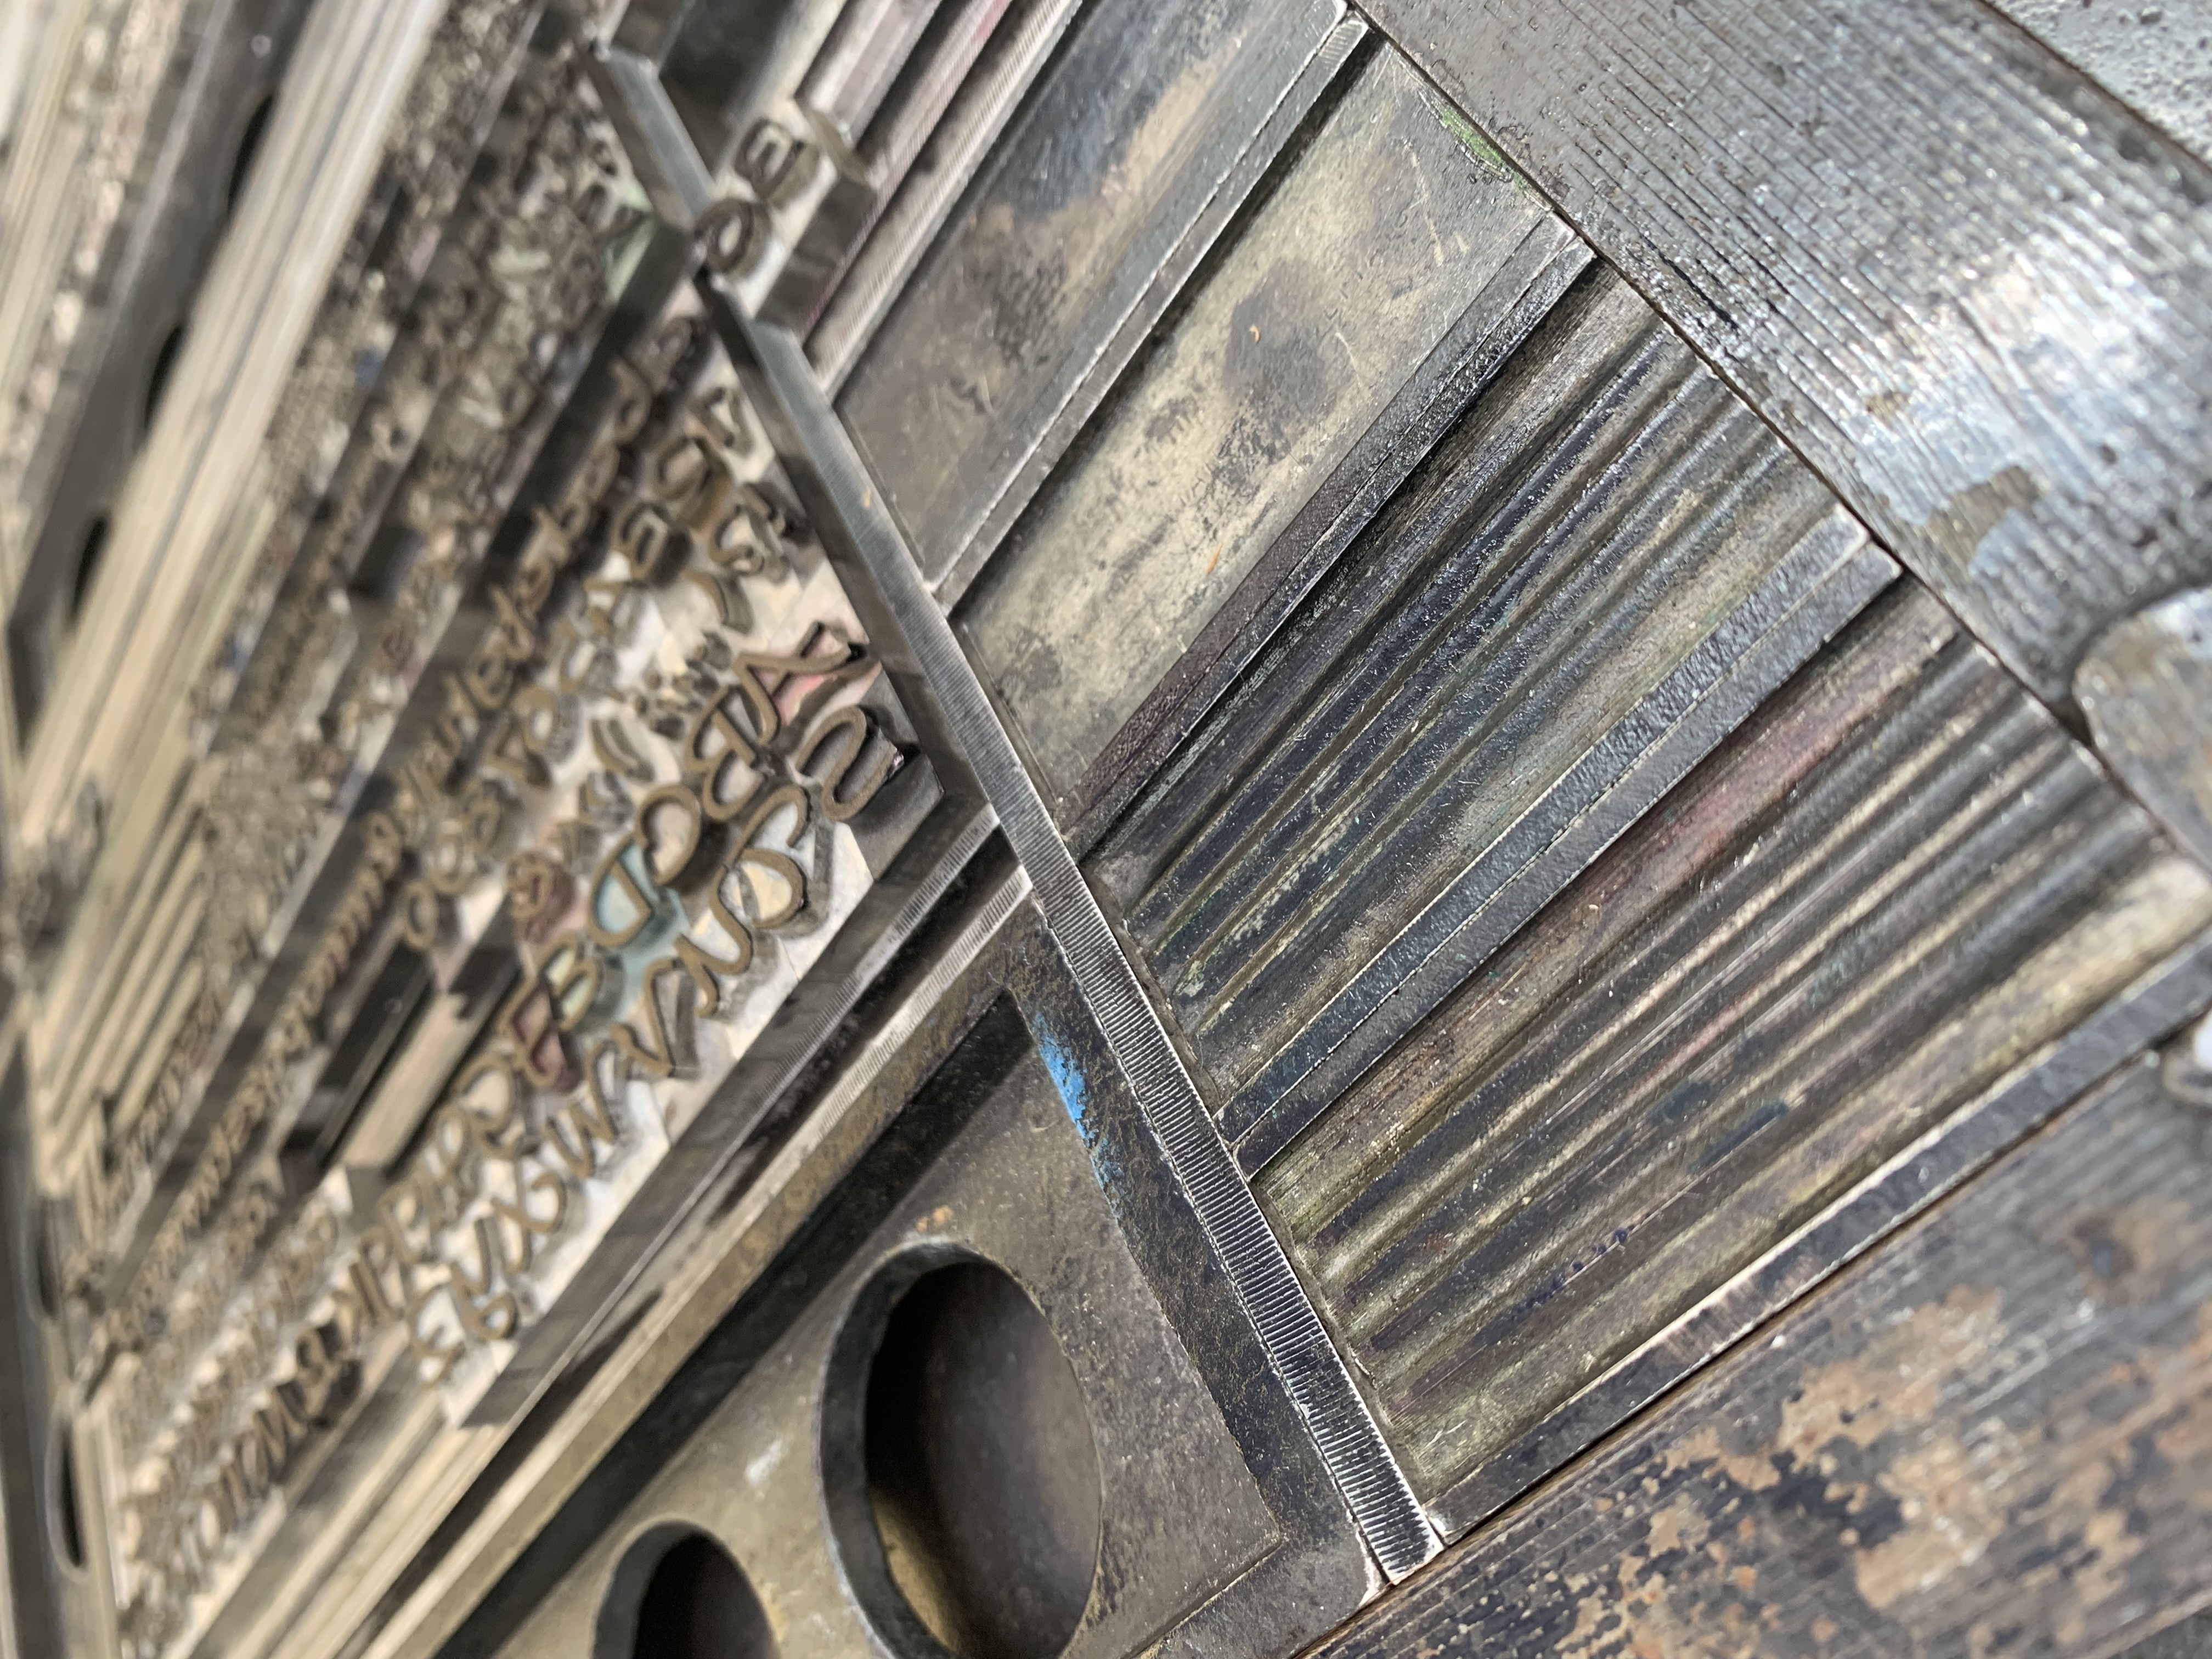
You determine the width you want the composition to be by shifting a mechanism on the composing stick, and then fill in any space after the letters with little spacers that are sized to go with each font size. Bigger fonts can be laid directly on a board, but like the small letters, it is crucial that they are laid all facing the same direction. A ridge in each letter as shown in the photo below helps you determine which direction the letter needs to lay.

Ridges in the letters to help you make sure they are facing the right way
During the month of June, I was laying the following for each font drawer:
- Lowercase alphabet
- Uppercase alphabet
- Numbers 0-9
- Letters with accent marks
- Any and every symbol I could find in each case
The drawers have a specific layout that I memorized throughout the course of the semester that helped me lay letters faster.
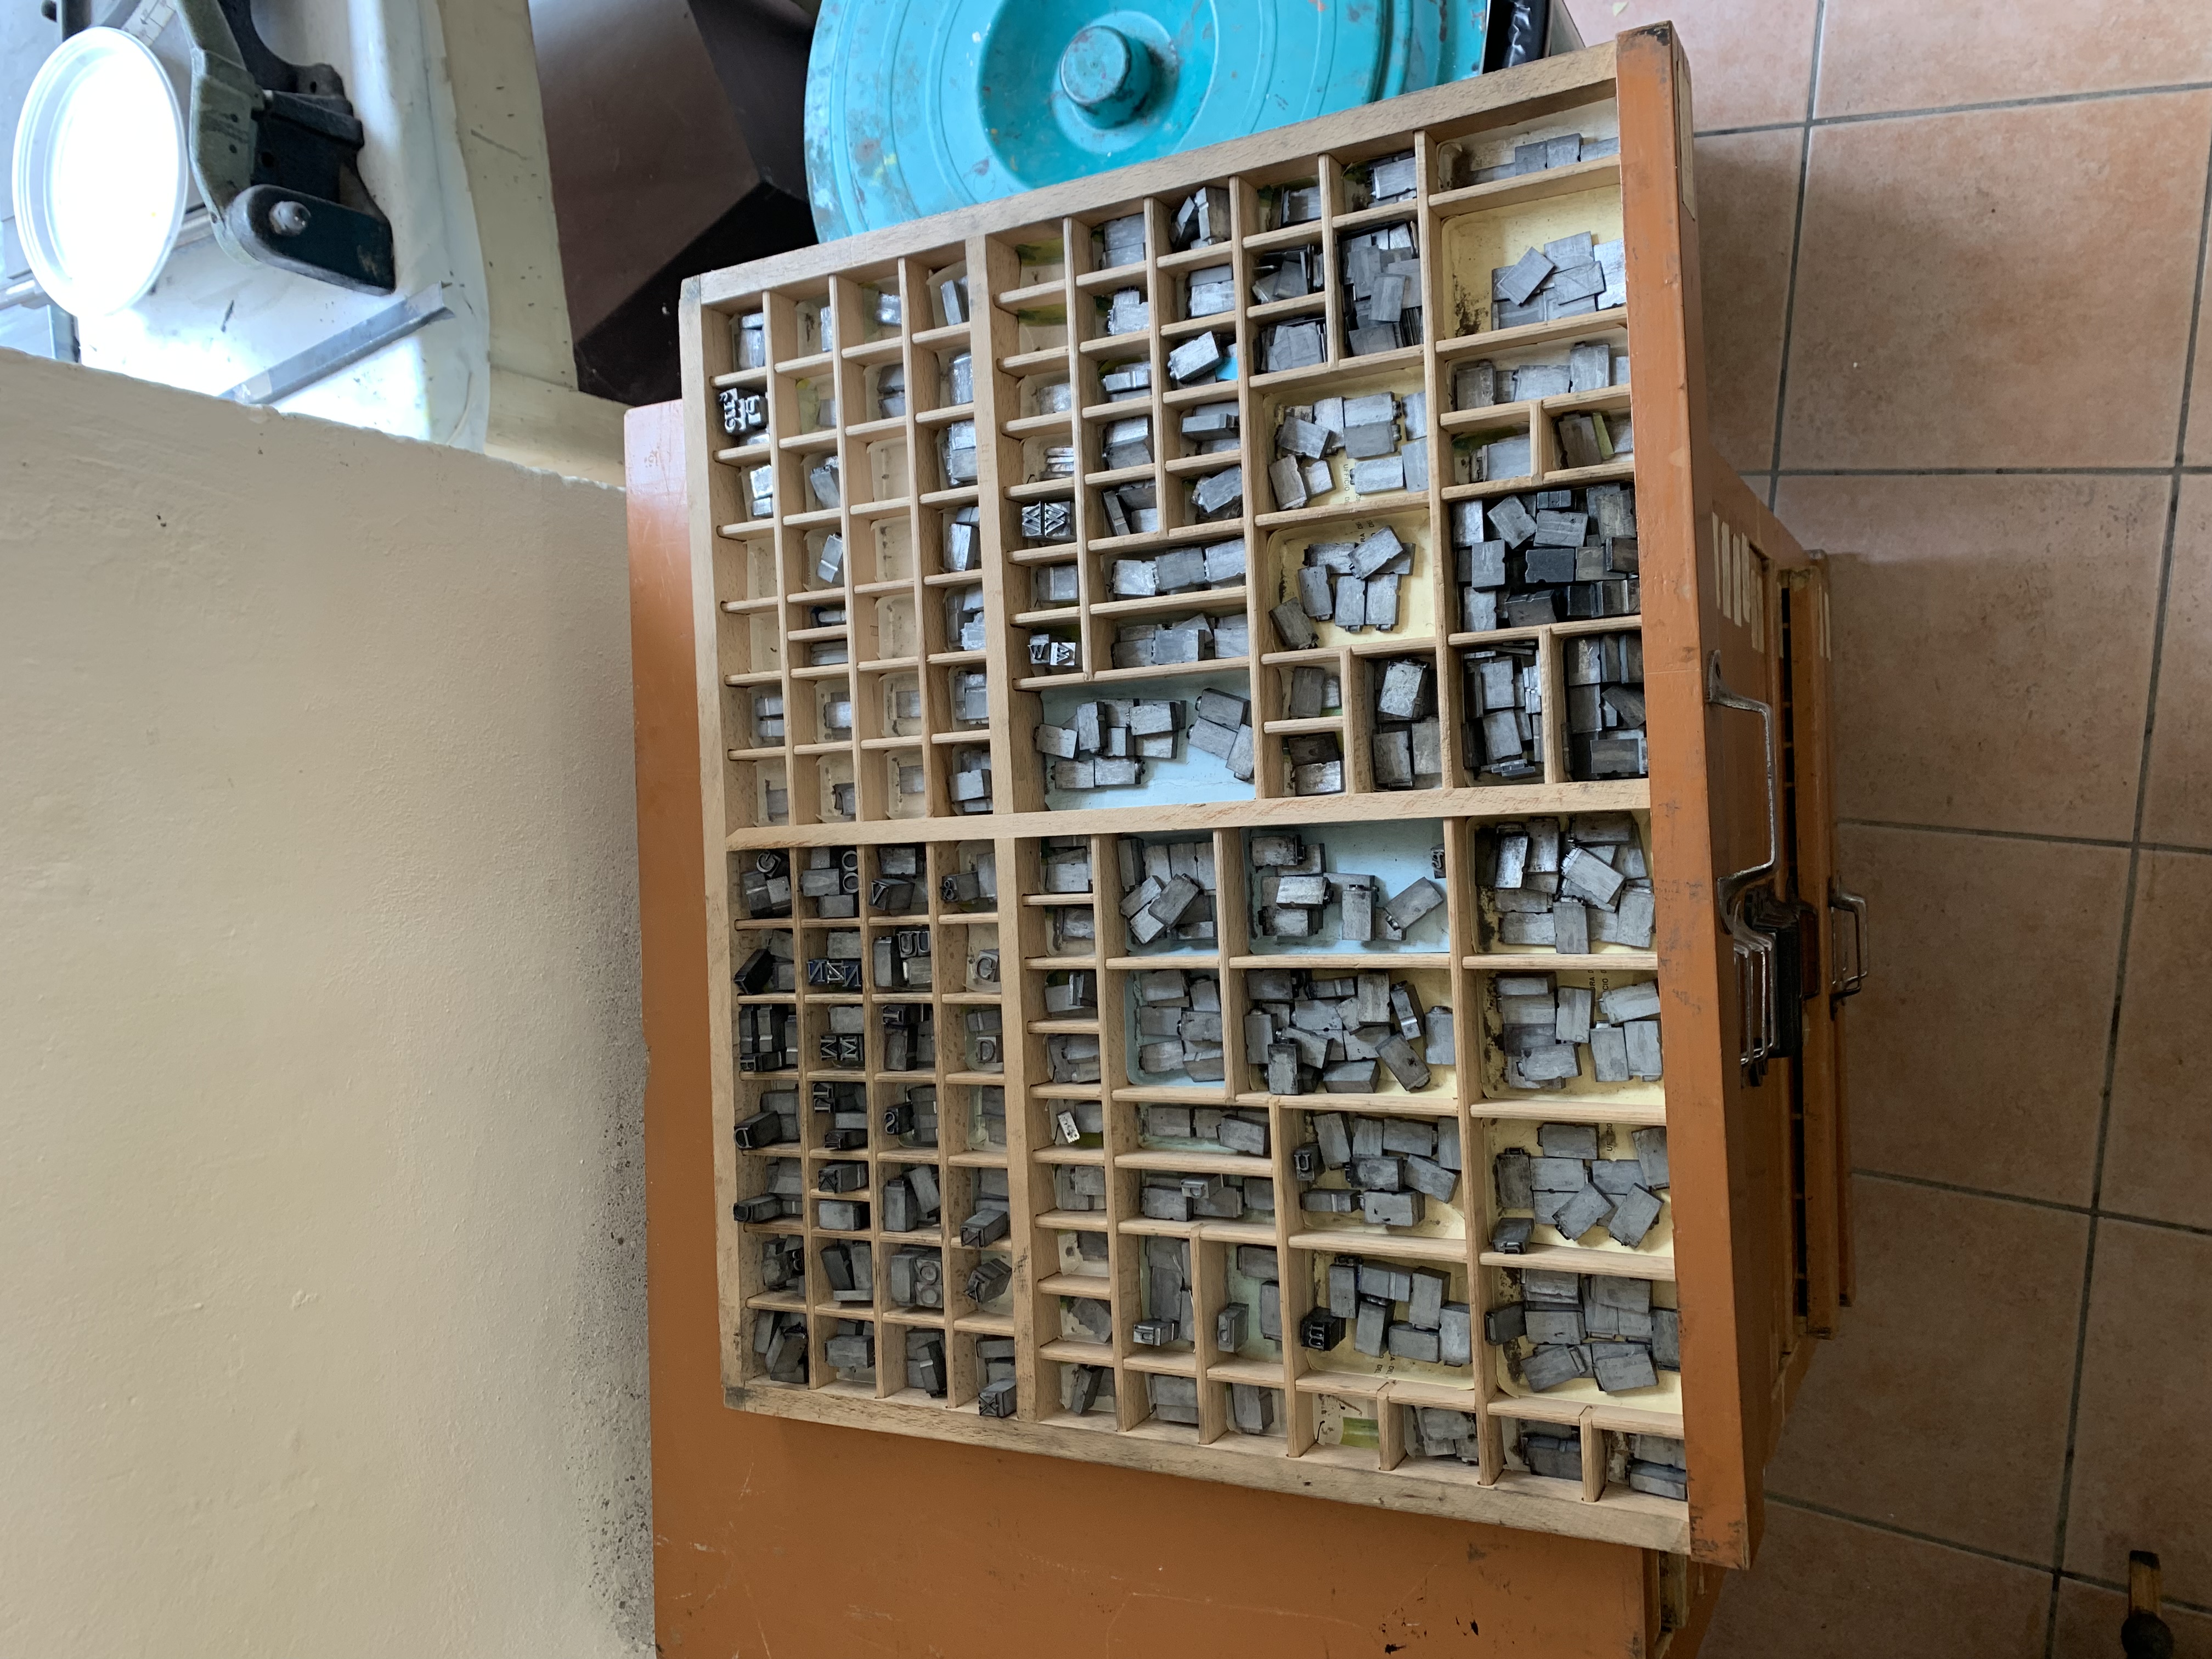
The anatomy of a case. Capital letters can be found in the UPPER part of the CASE. Uppercase letters. Get it yet?
Transfer and tie the composition
Next, when everything is laid in the composition stick, you brace the composition tightly on all sides with spacers, hold your breath, and very carefully slide the composition out onto a slanted board. This has to be done quickly and with the utmost care so that you don’t screw up the composition that has likely taken a long time to lay.
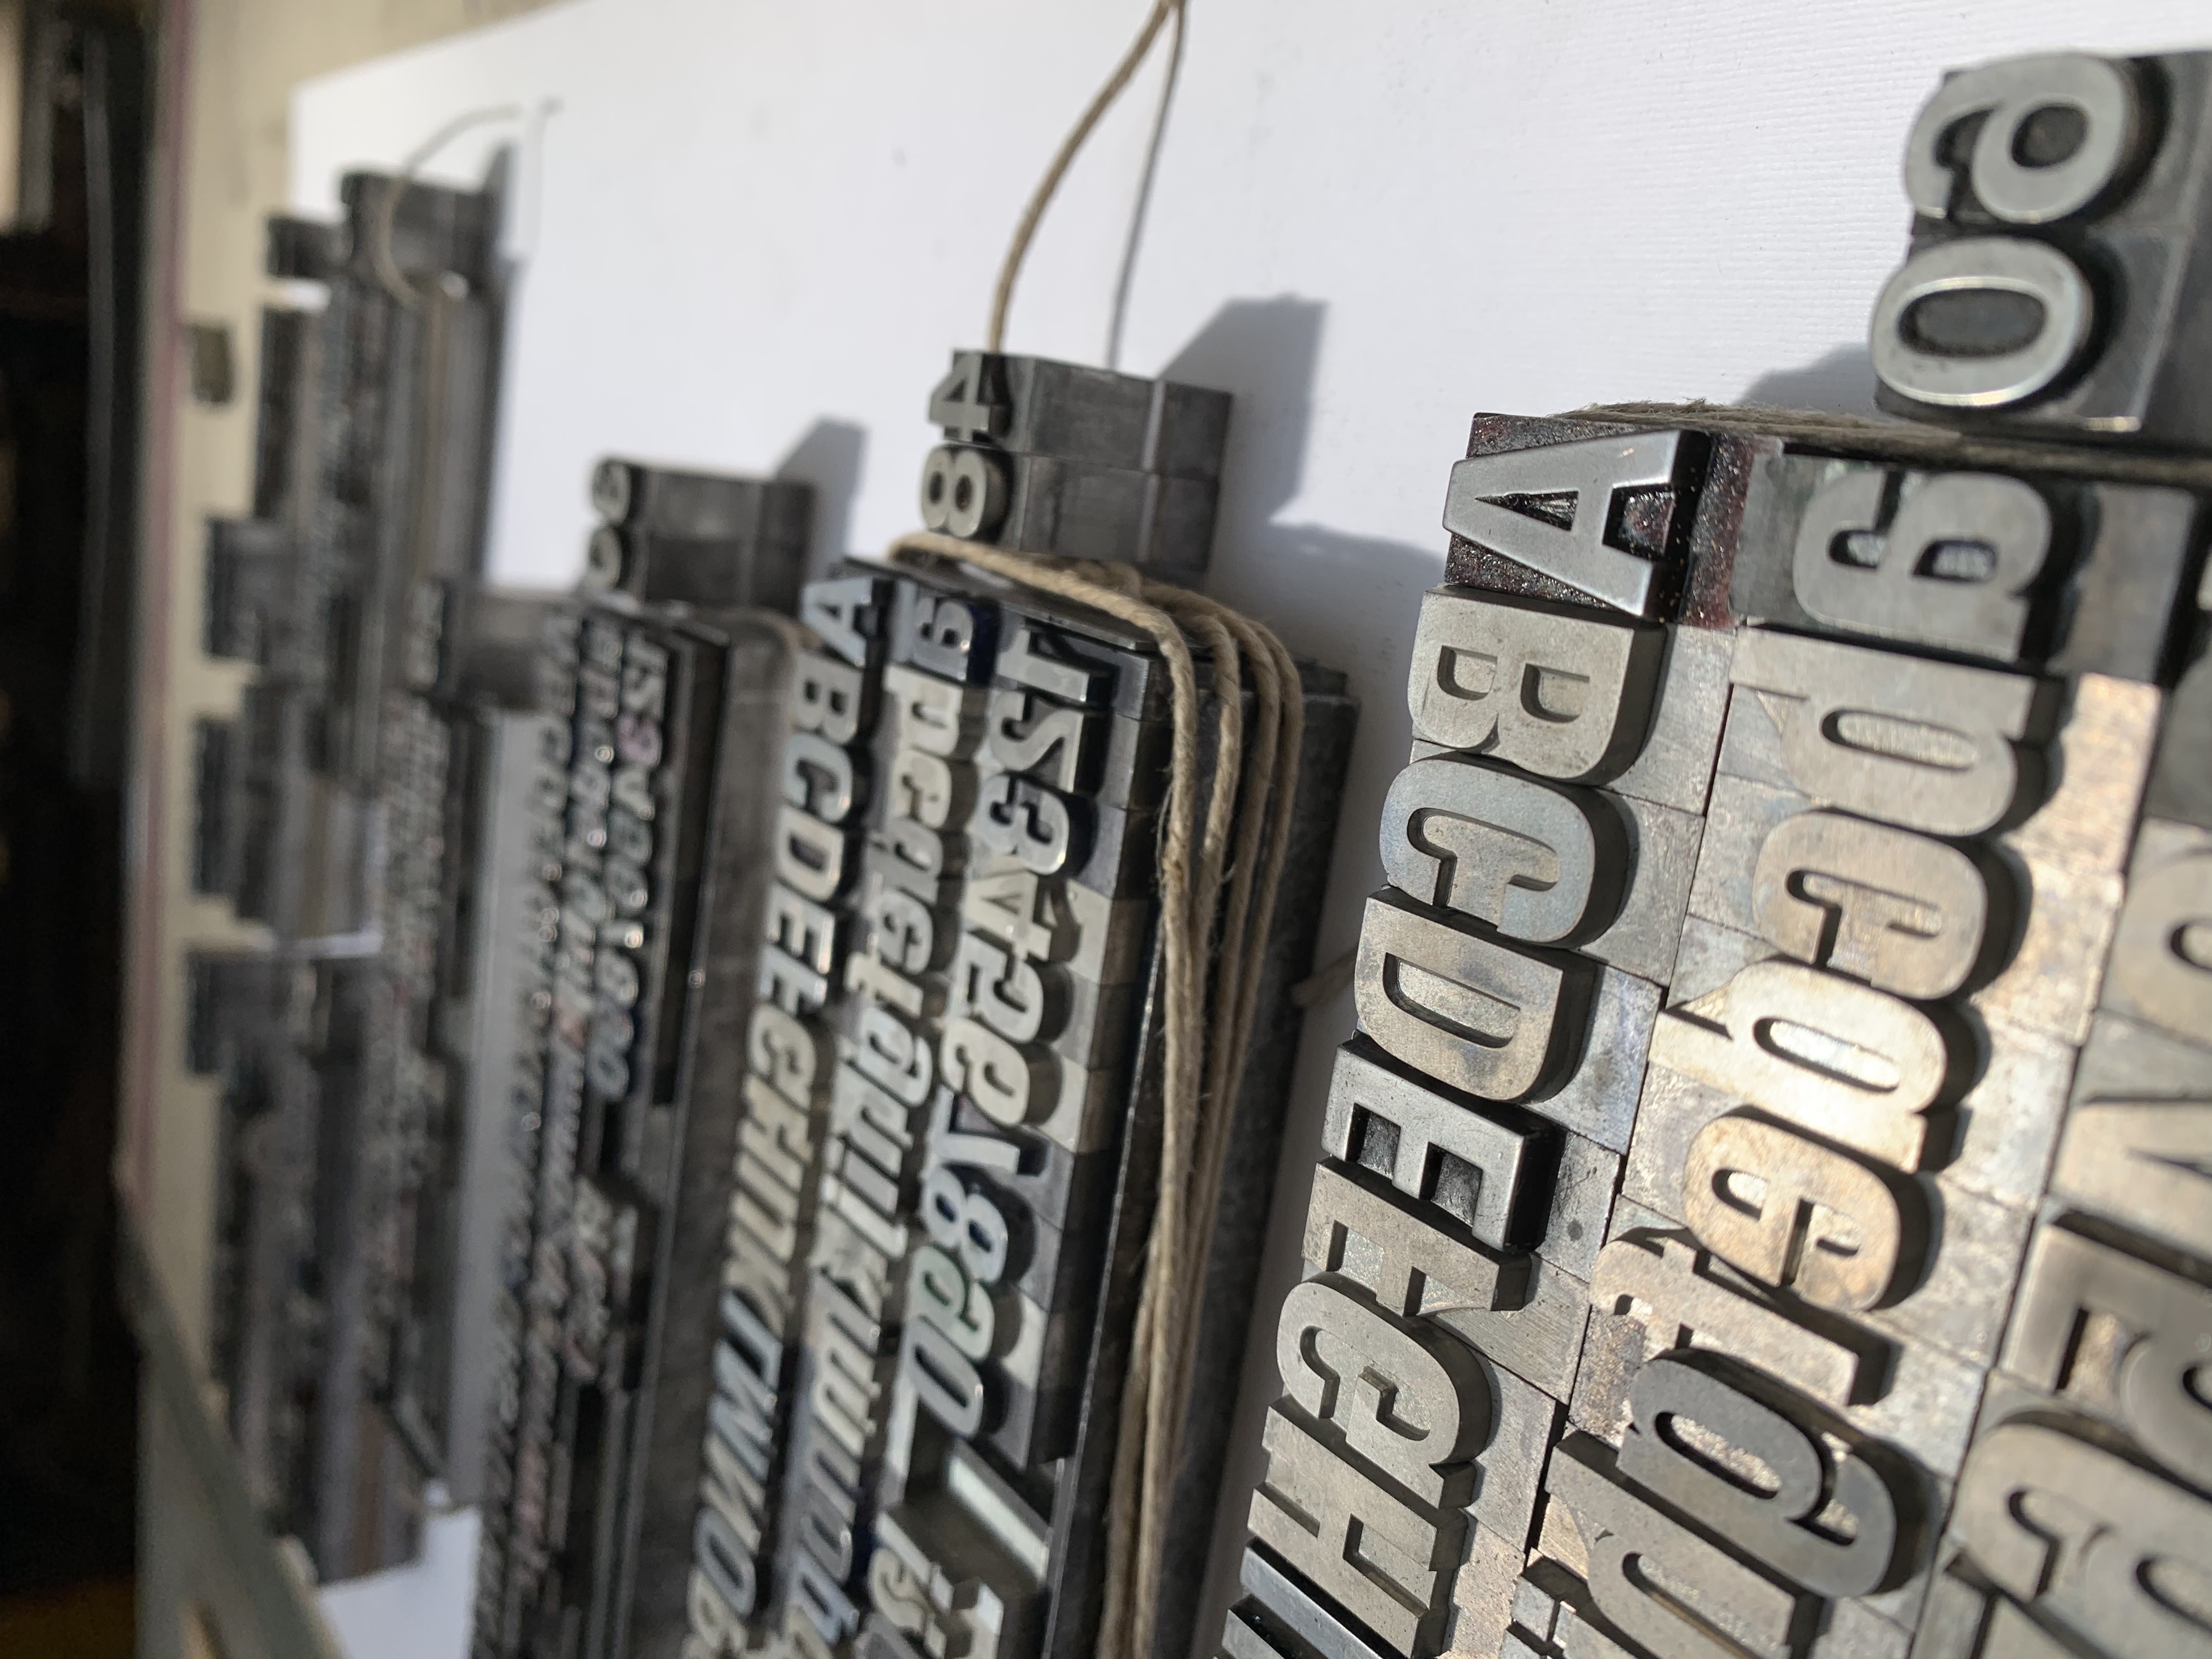
Then, when the composition is safely on the slanted board, you can tie it together with twine.
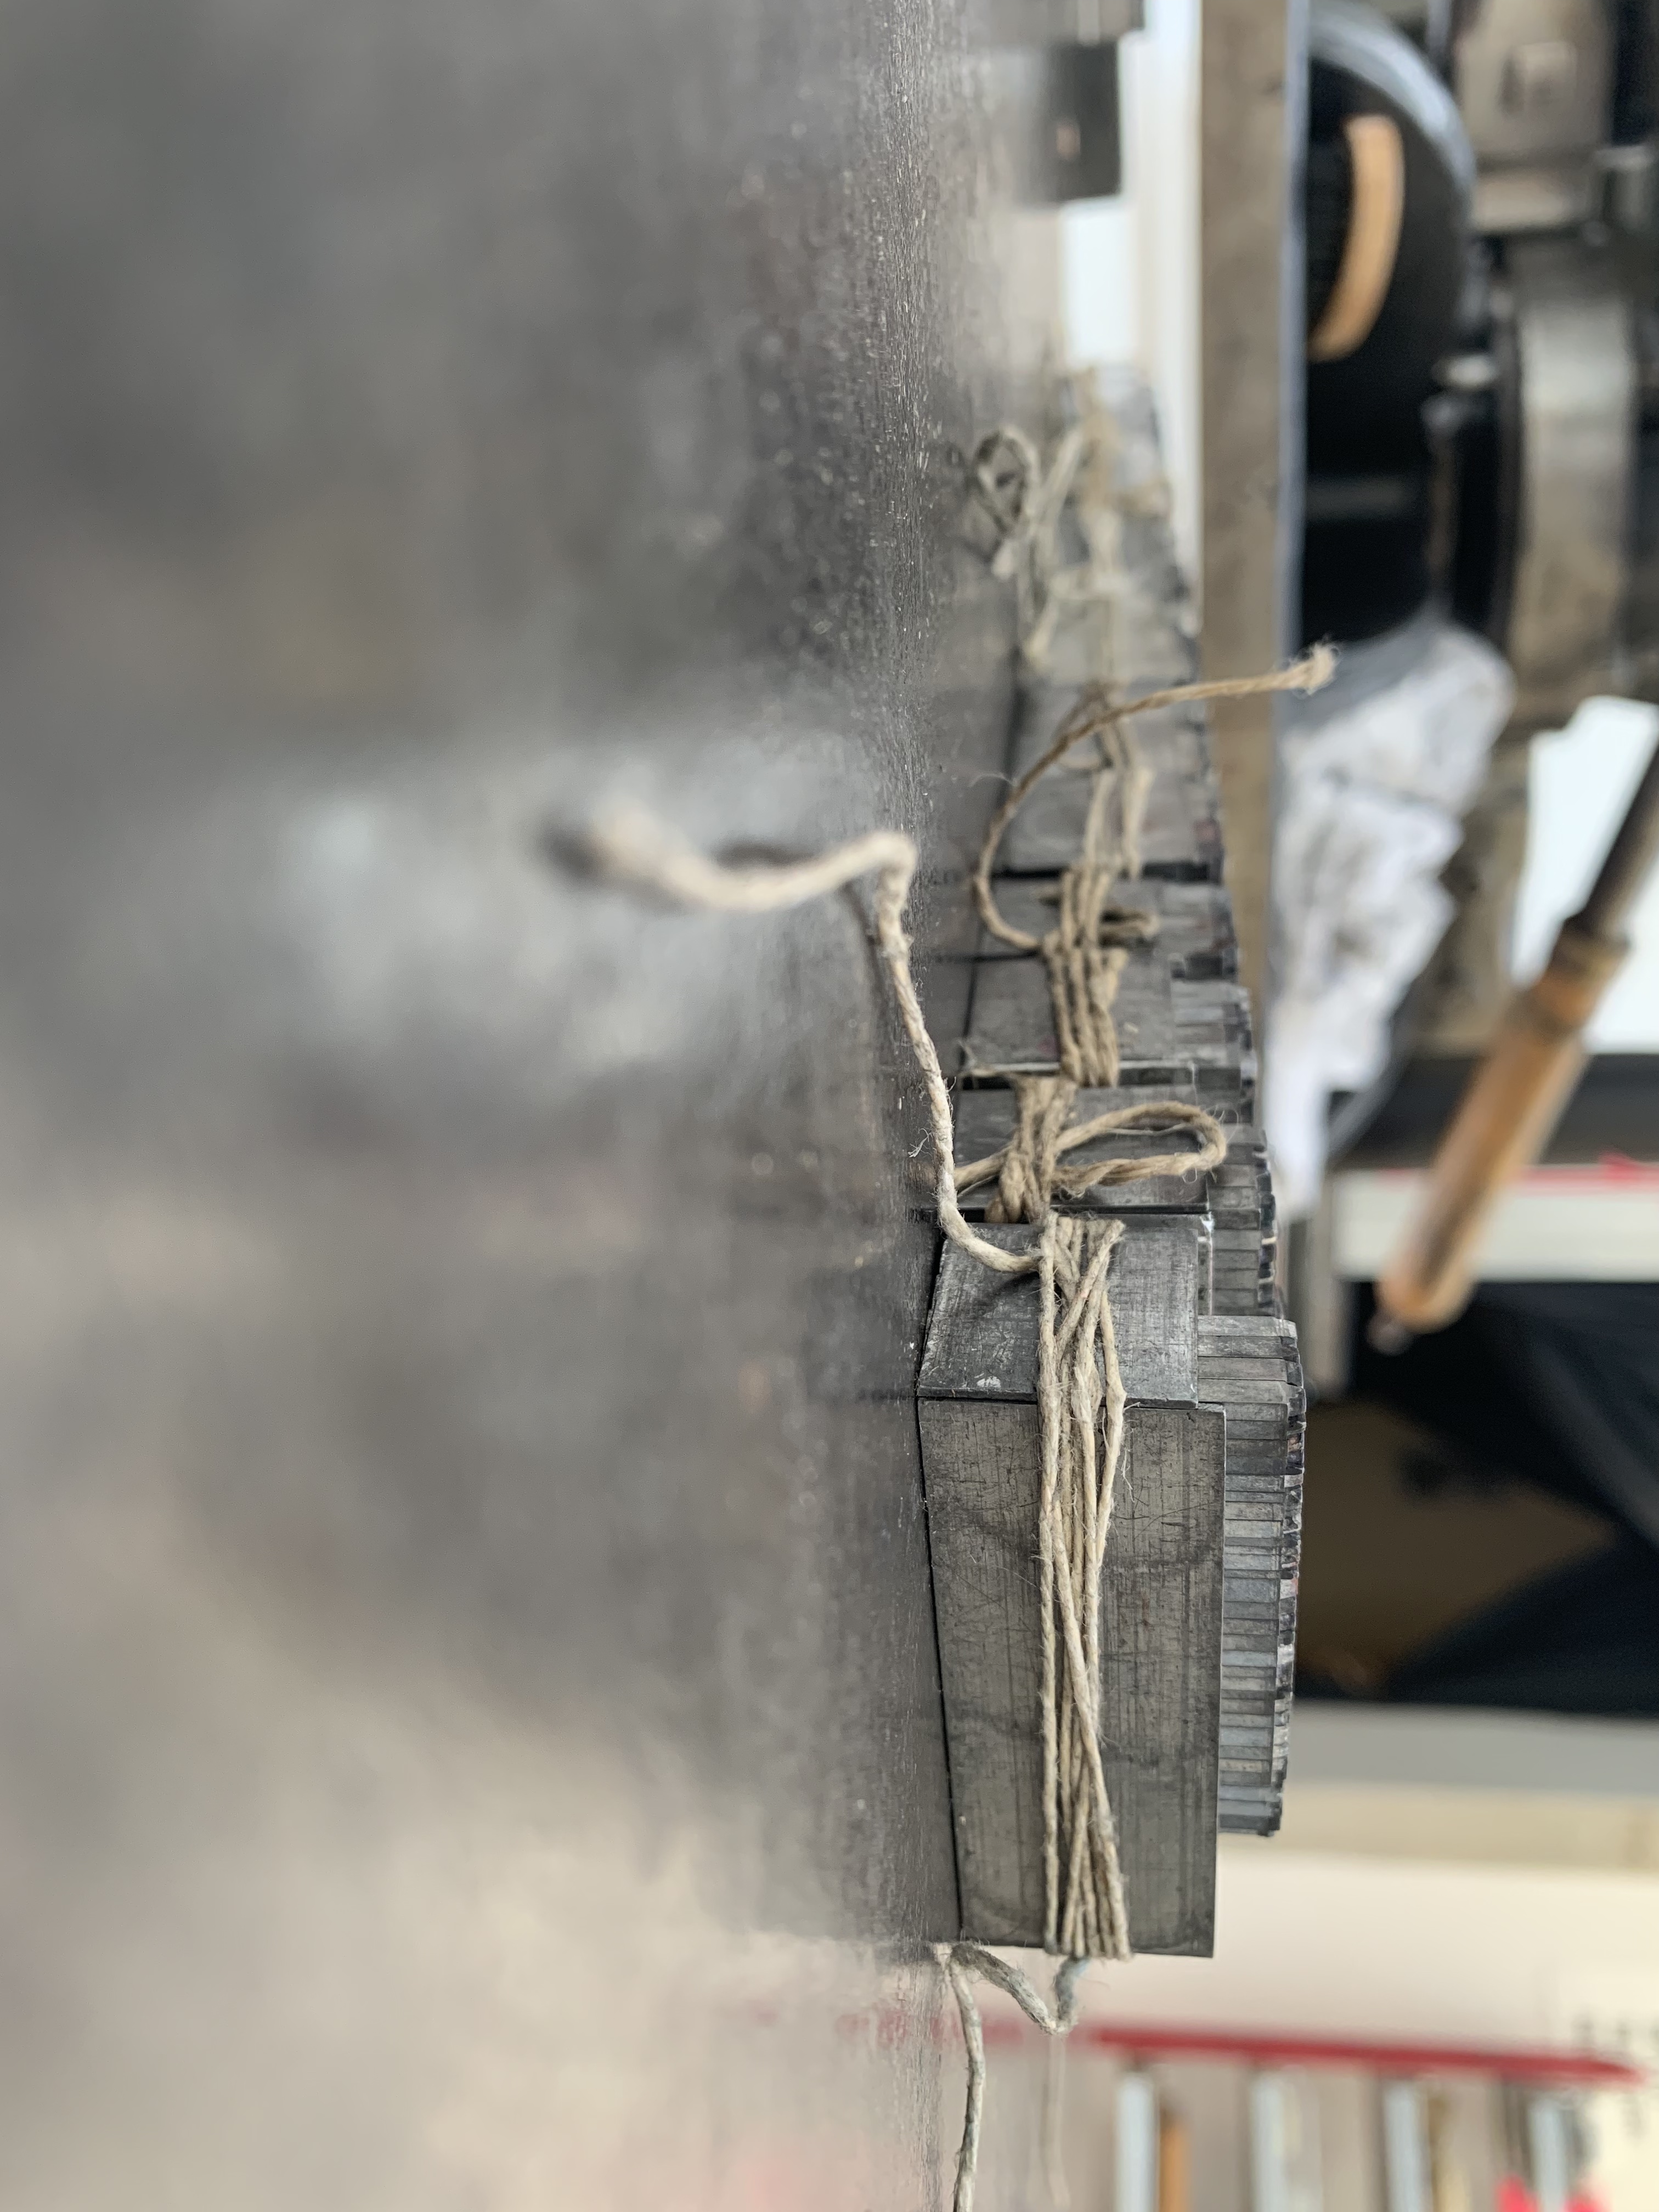
Different letter sets tied together with twine
Move the tied compositions to the press and create a layout to be printed
When everything is on the press, bits and pieces can be moved around to envision the optimal layout for what needs to be printed. It is often best to lay down a piece of paper under the tied letters or tape off the size of the paper to see how it will look within the dimensions of that paper.
Lock it up
When the lay out is decided, all of the empty spaces must be filled to lock the composition so nothing moves at all when being pressed. It is like playing a game of real world Tetris. Quoins are placed on two sides of the composition to firmly lock the composition.
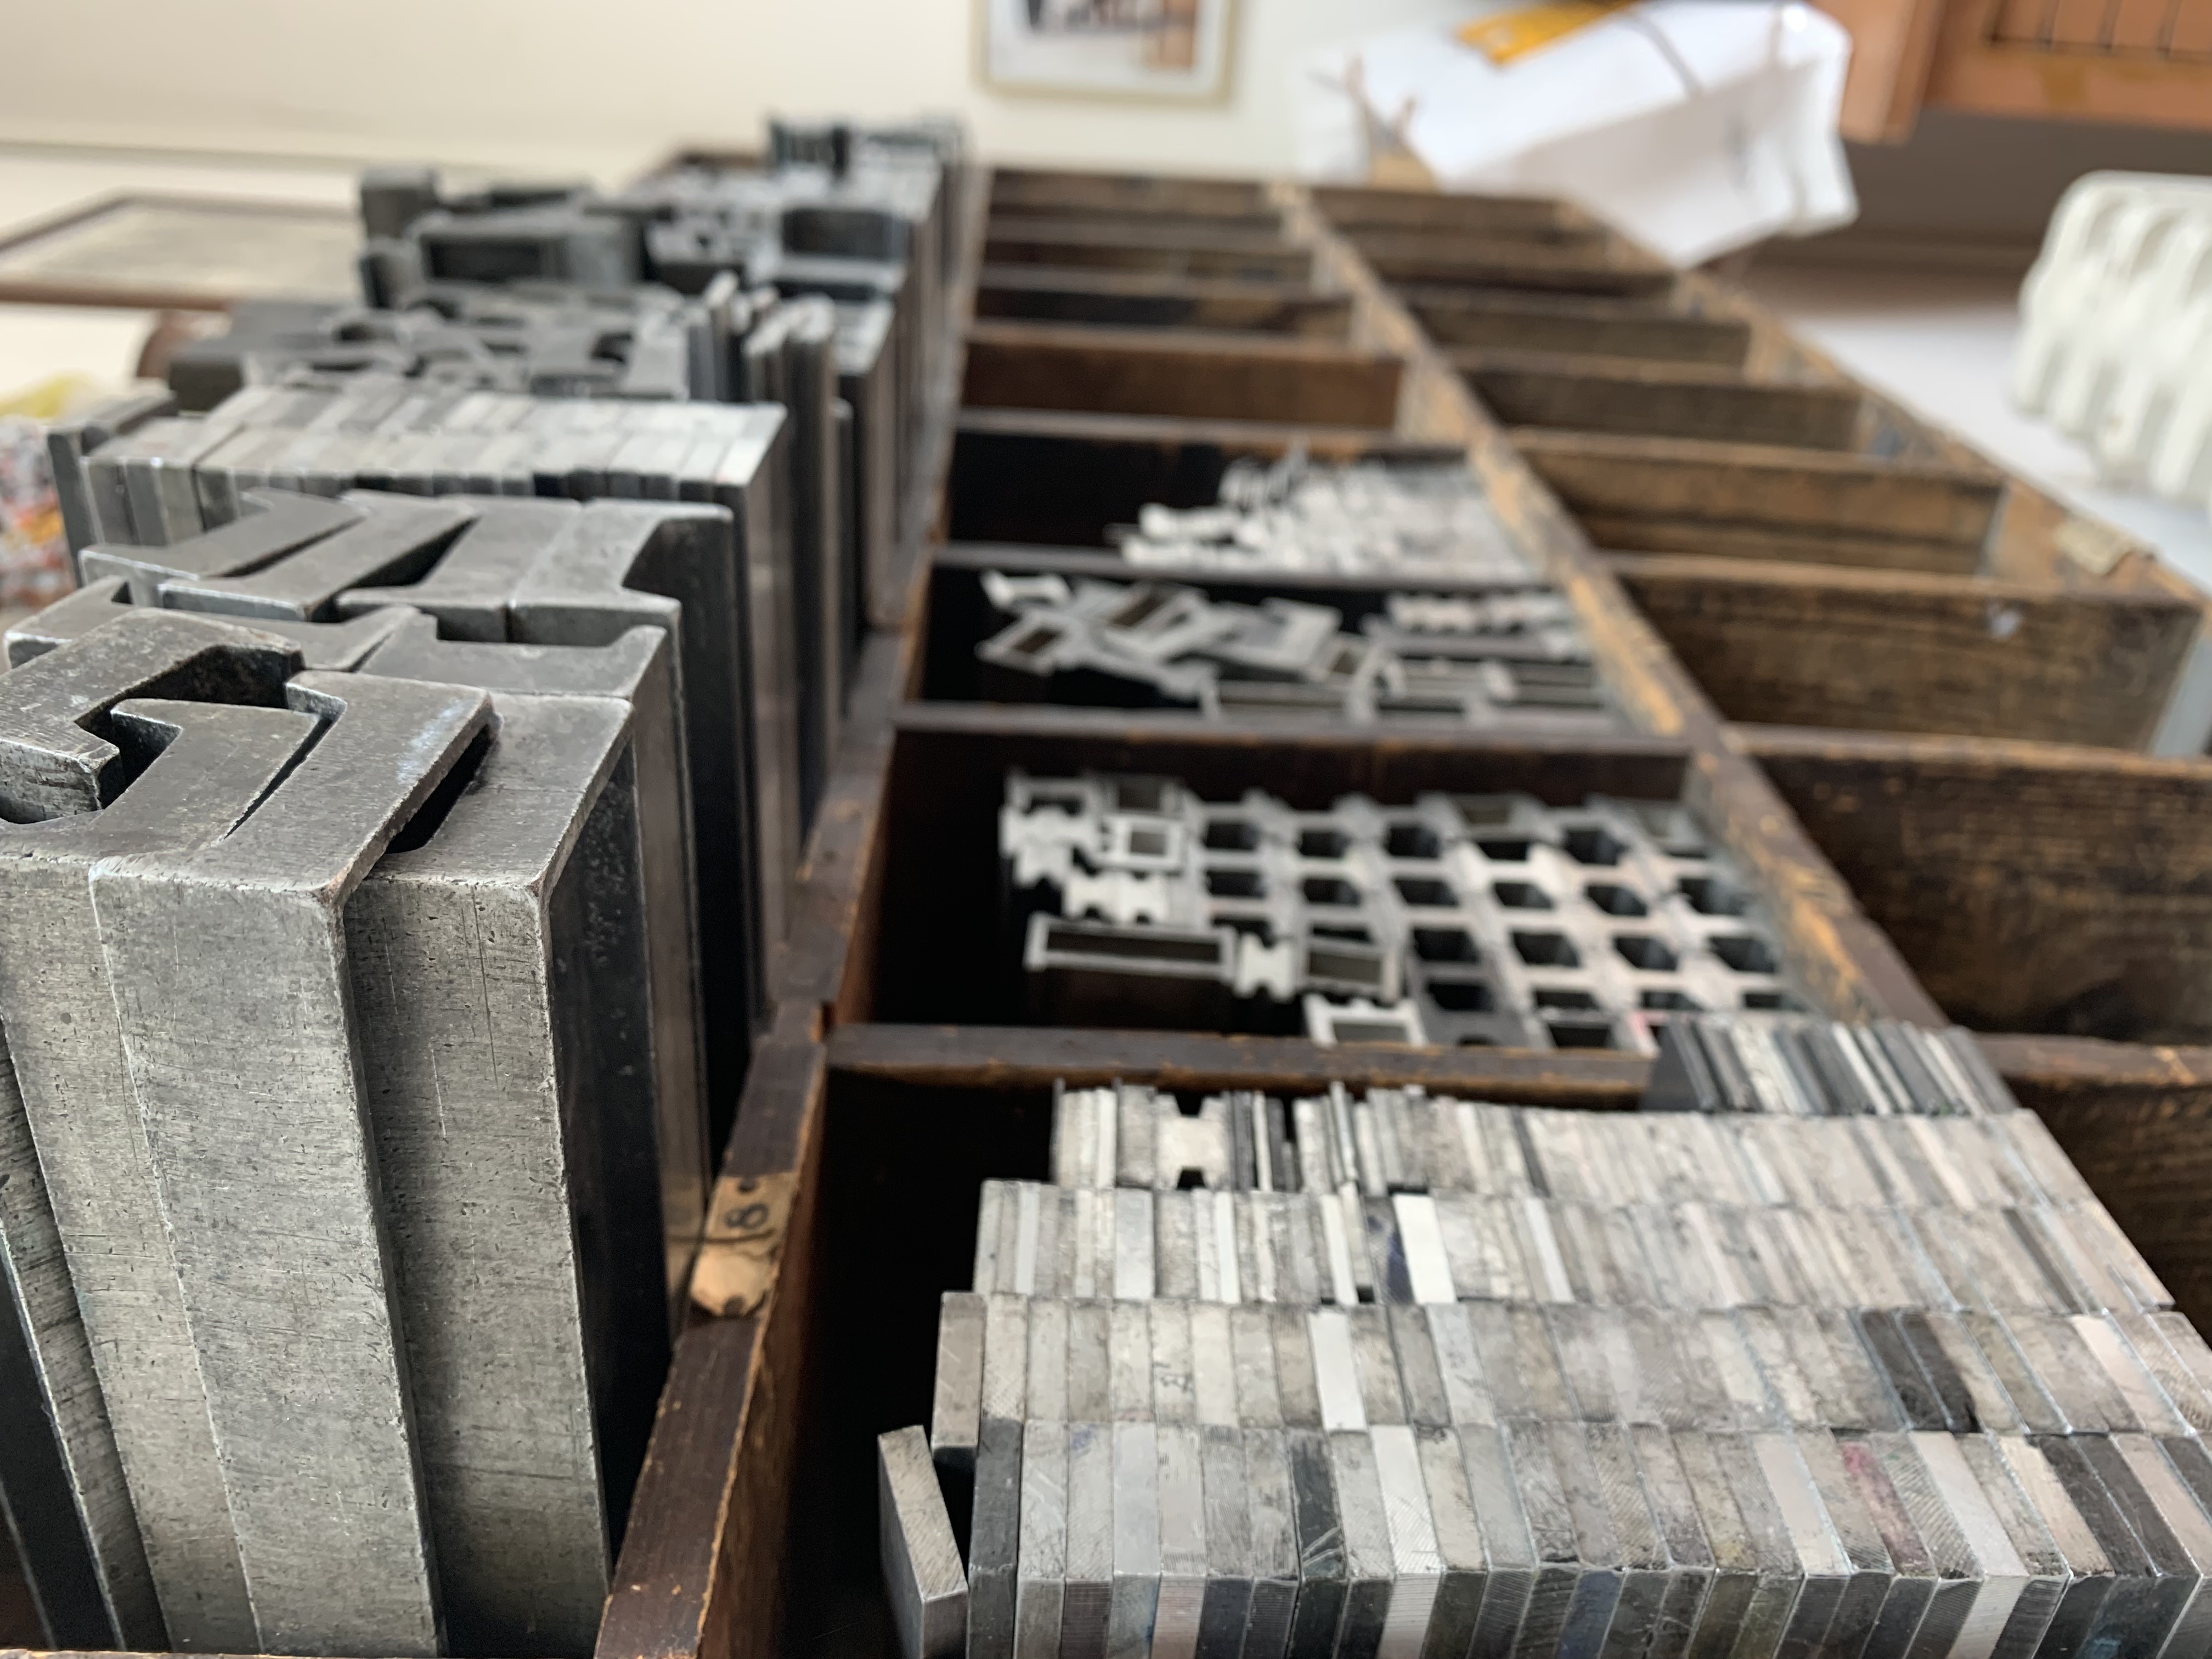
Different sized spacers to be used to lock compositions
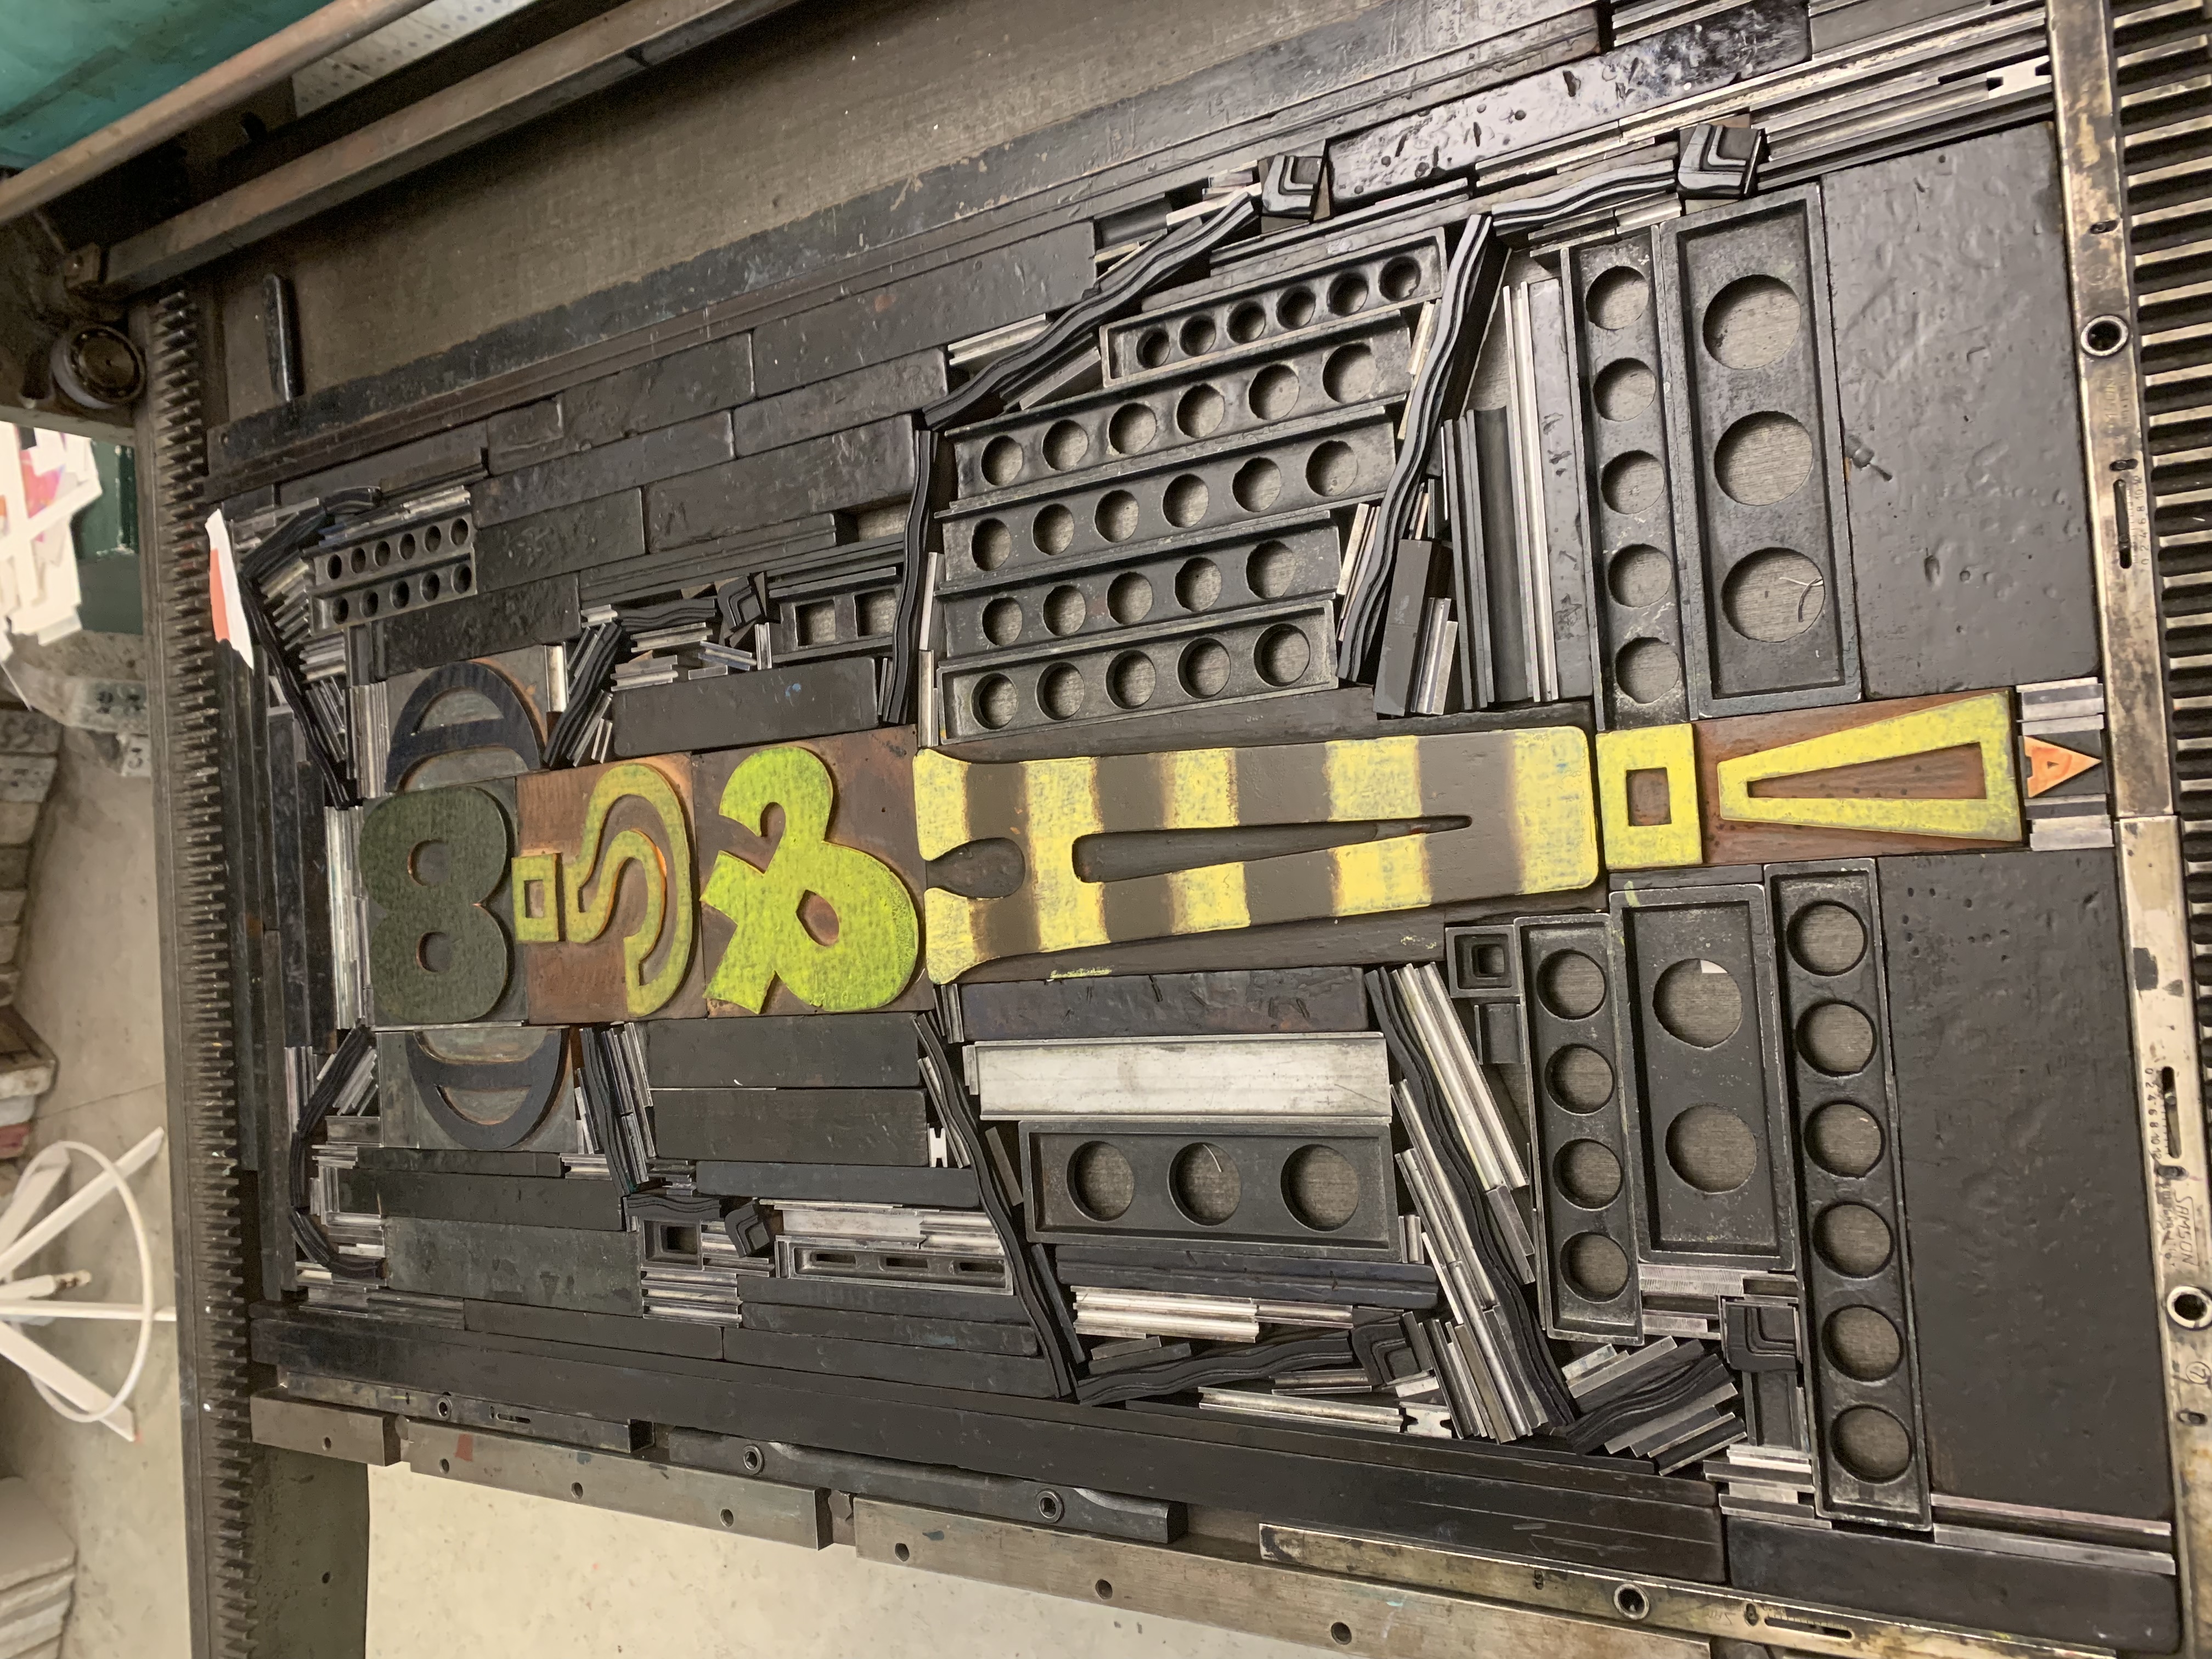
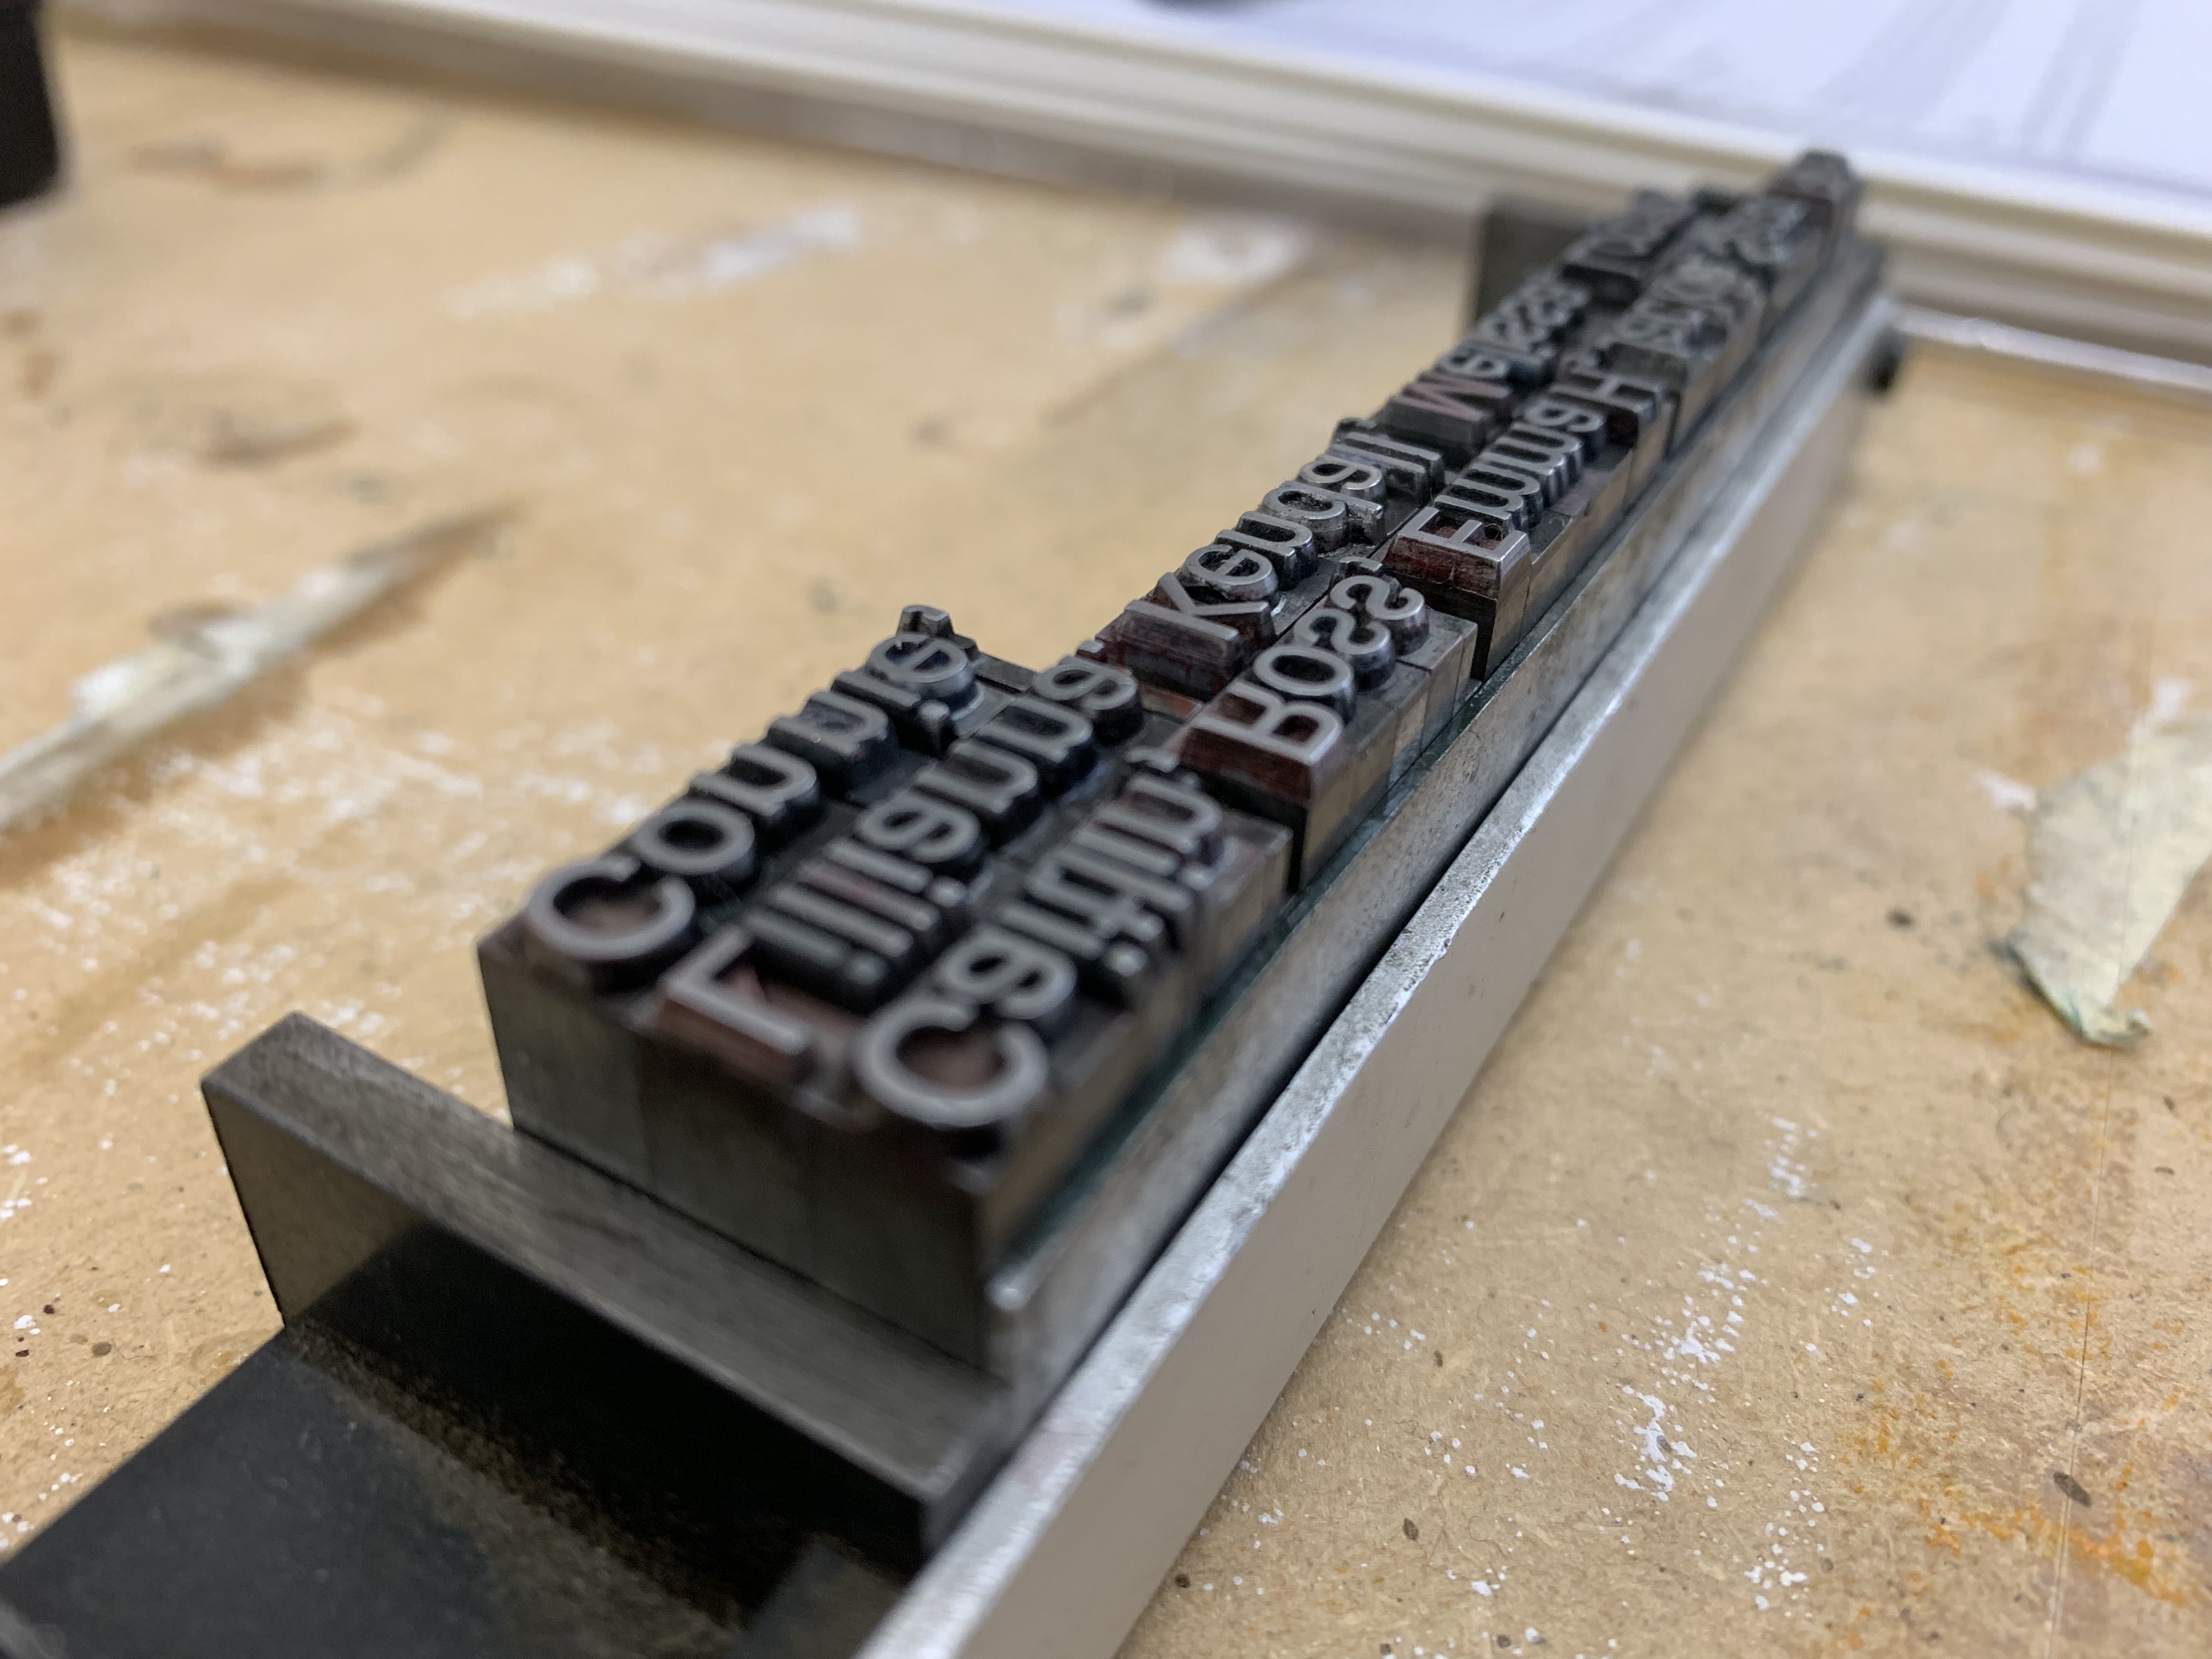
A large, fully spaced and locked composition in the studio in June
One of my compositions locked with spacers
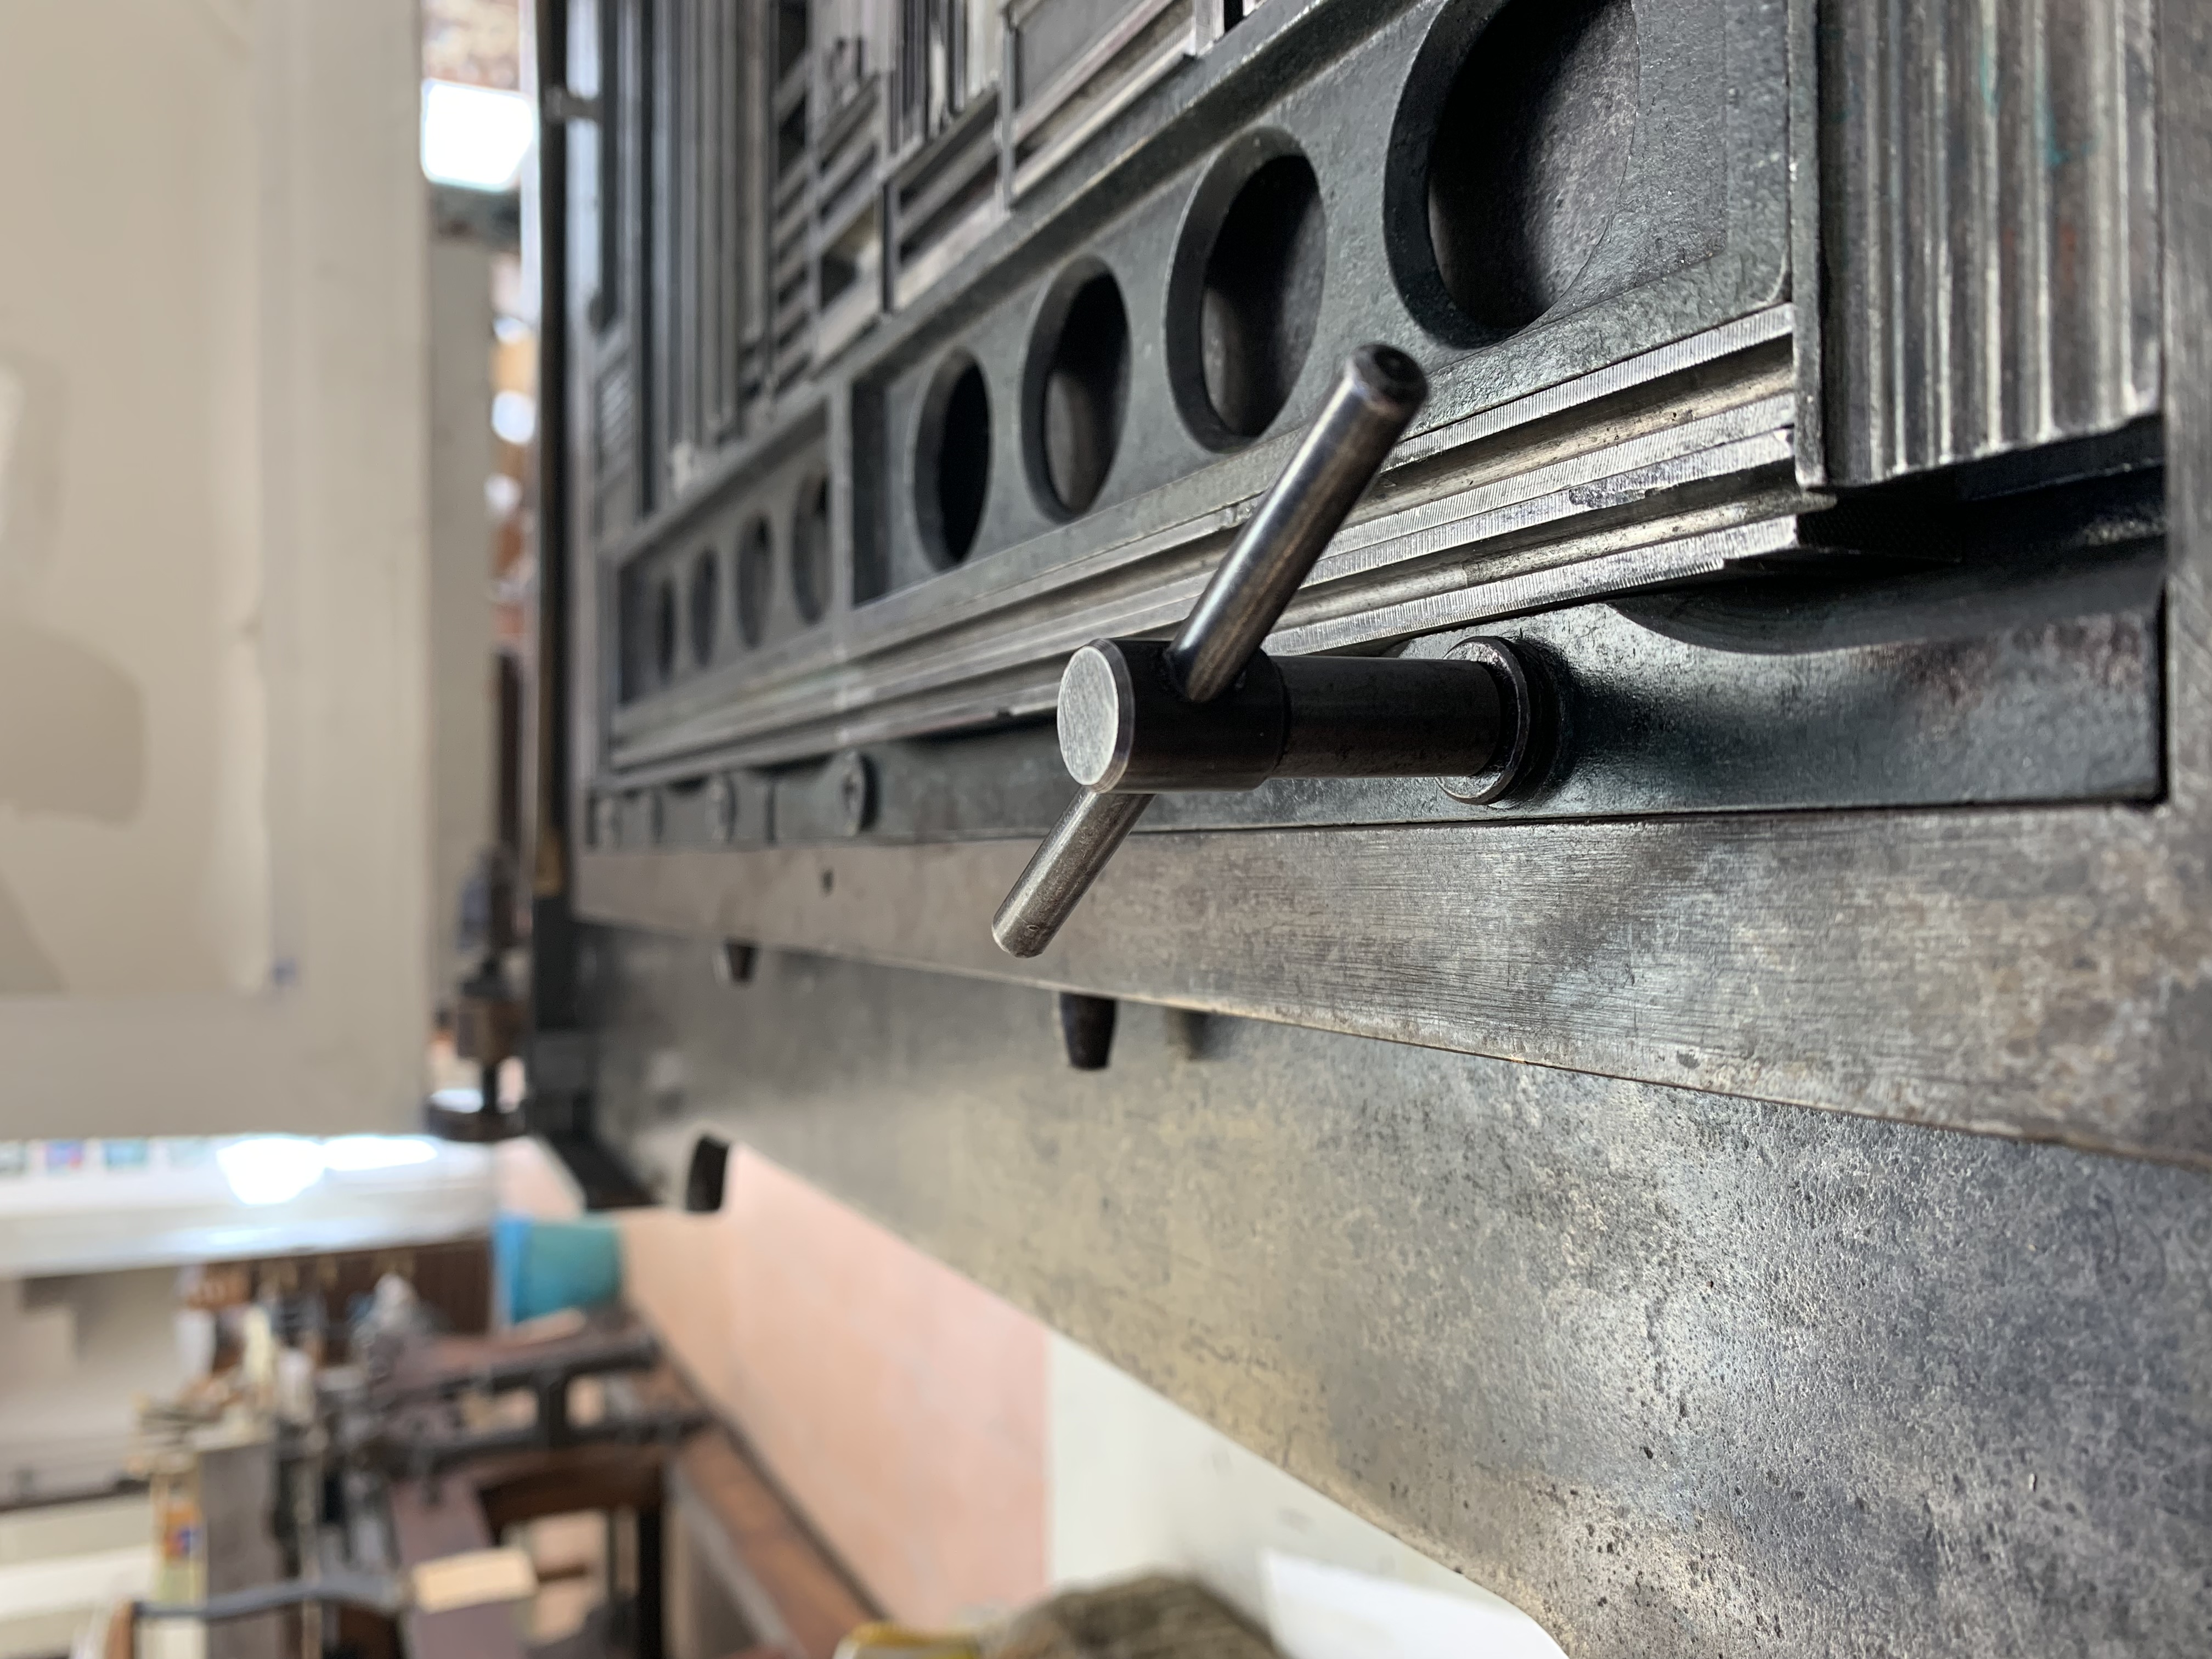
A quoin and a key. The key is turned to push part of the coin into the composition in order to push any empty space closed
Make a registration
A registration is needed to know where your paper is going to lay. It is made by laying a transparent piece of paper over the composition and moving it around until the letters lay where they look best. Pieces of tape are then put along the corners to designate where to place the paper for printing.
Ink up the letters!
And now onto the fun part!
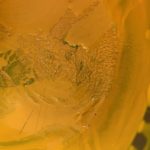
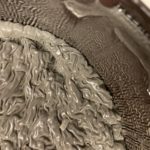
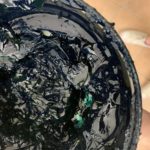
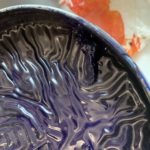
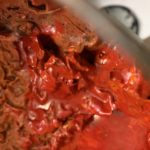
The ink knife is used to scoop ink out of the canister and onto a stone to then work out any lumps in it. There’s typically a lot of lumps because the ink canisters all end up looking like this:

Once the ink is nicely mixed and lump-free, a bit of it can be put on a clean part of the stone to be rolled out.
Then, a roller is rolled back and forth through the ink until it is perfectly coated all the way around with not too much ink and not too little. When the ink on the roller is just right, the ink can be applied to the letters. It can be tricky to get just enough ink for it to clearly but not so much that the ink blots.
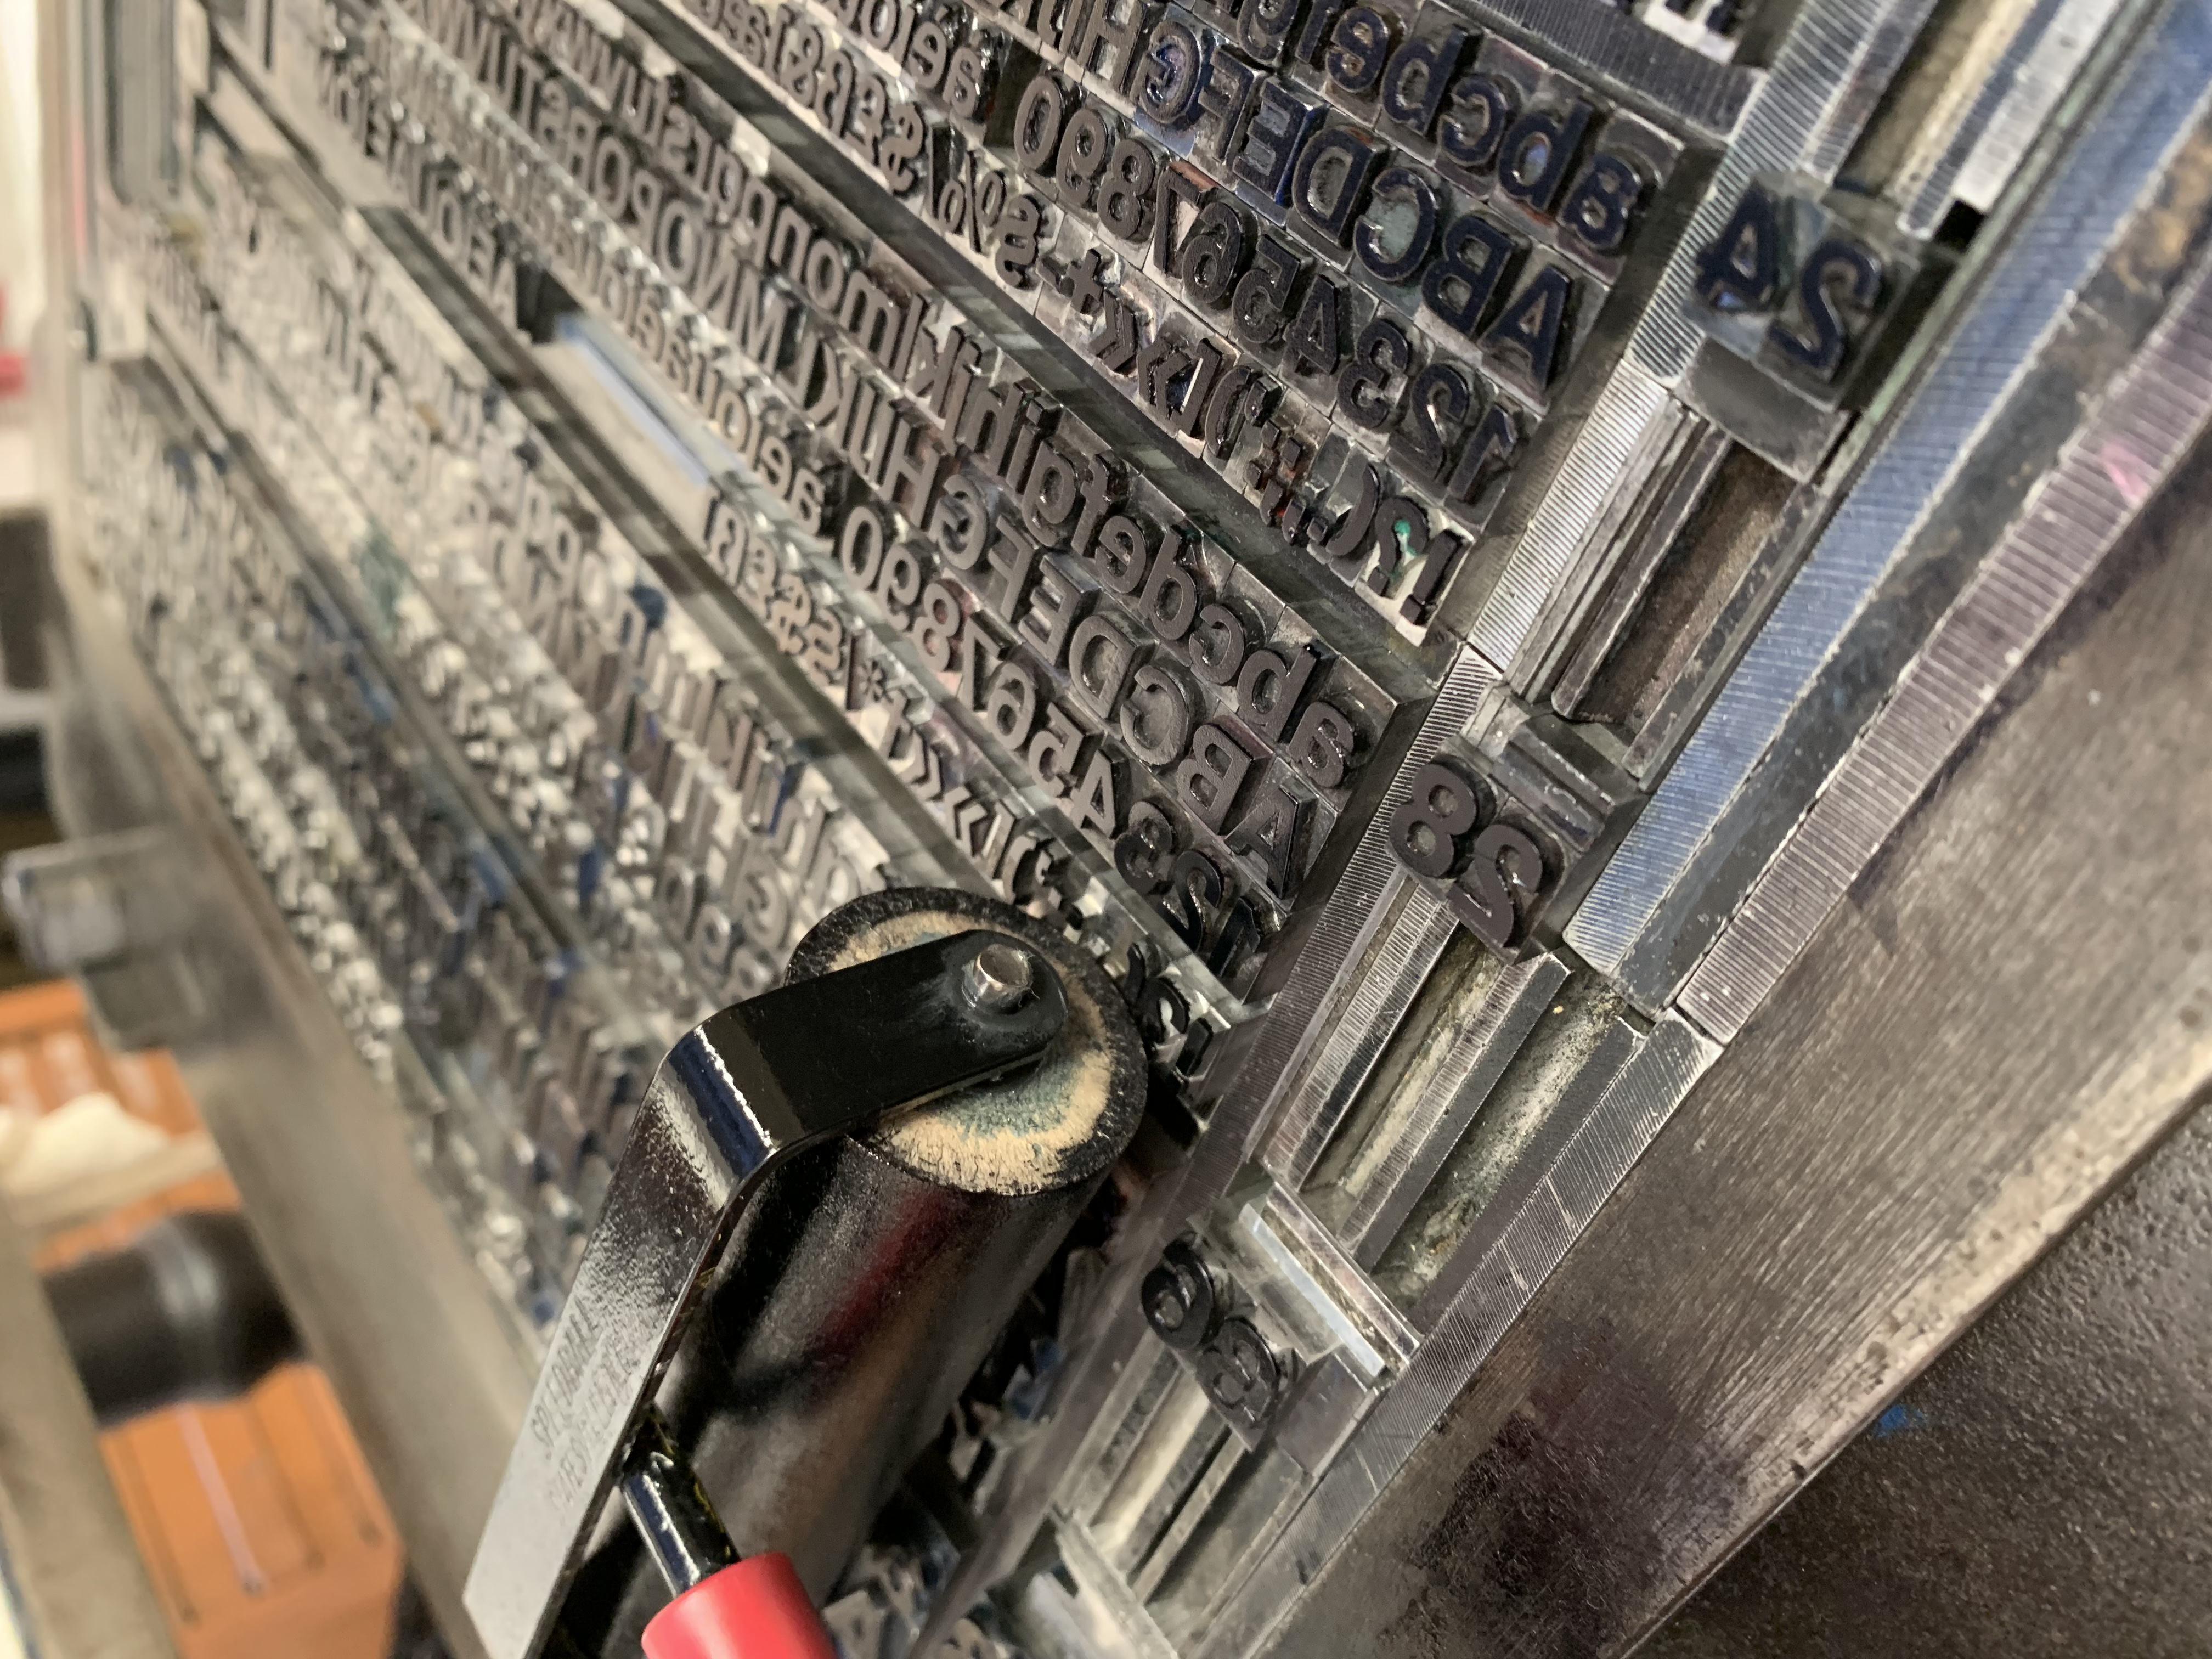
Ink being applied to the letters with the roller
Lay the paper and print!
And now for the best part – lay the paper, make sure the pressure from the press is enough (if it is not, newspaper can be laid over the paper to increase the pressure), and then print!
And then you’re done!
Lol, jk.
Proof read and fix errors
A printer is far from done after making their first print. The next step is to check over the first print, also known as a proof, for any errors. The errors must be fixed and then you can move on to making as many copies of that print as you desire.
Or
In the case of many of my first prints in the month of June, it can be decided that we don’t like the composition, and the entire thing is scrapped. Then you start over with the composition step and re-lock a new layout! Yayyyy!
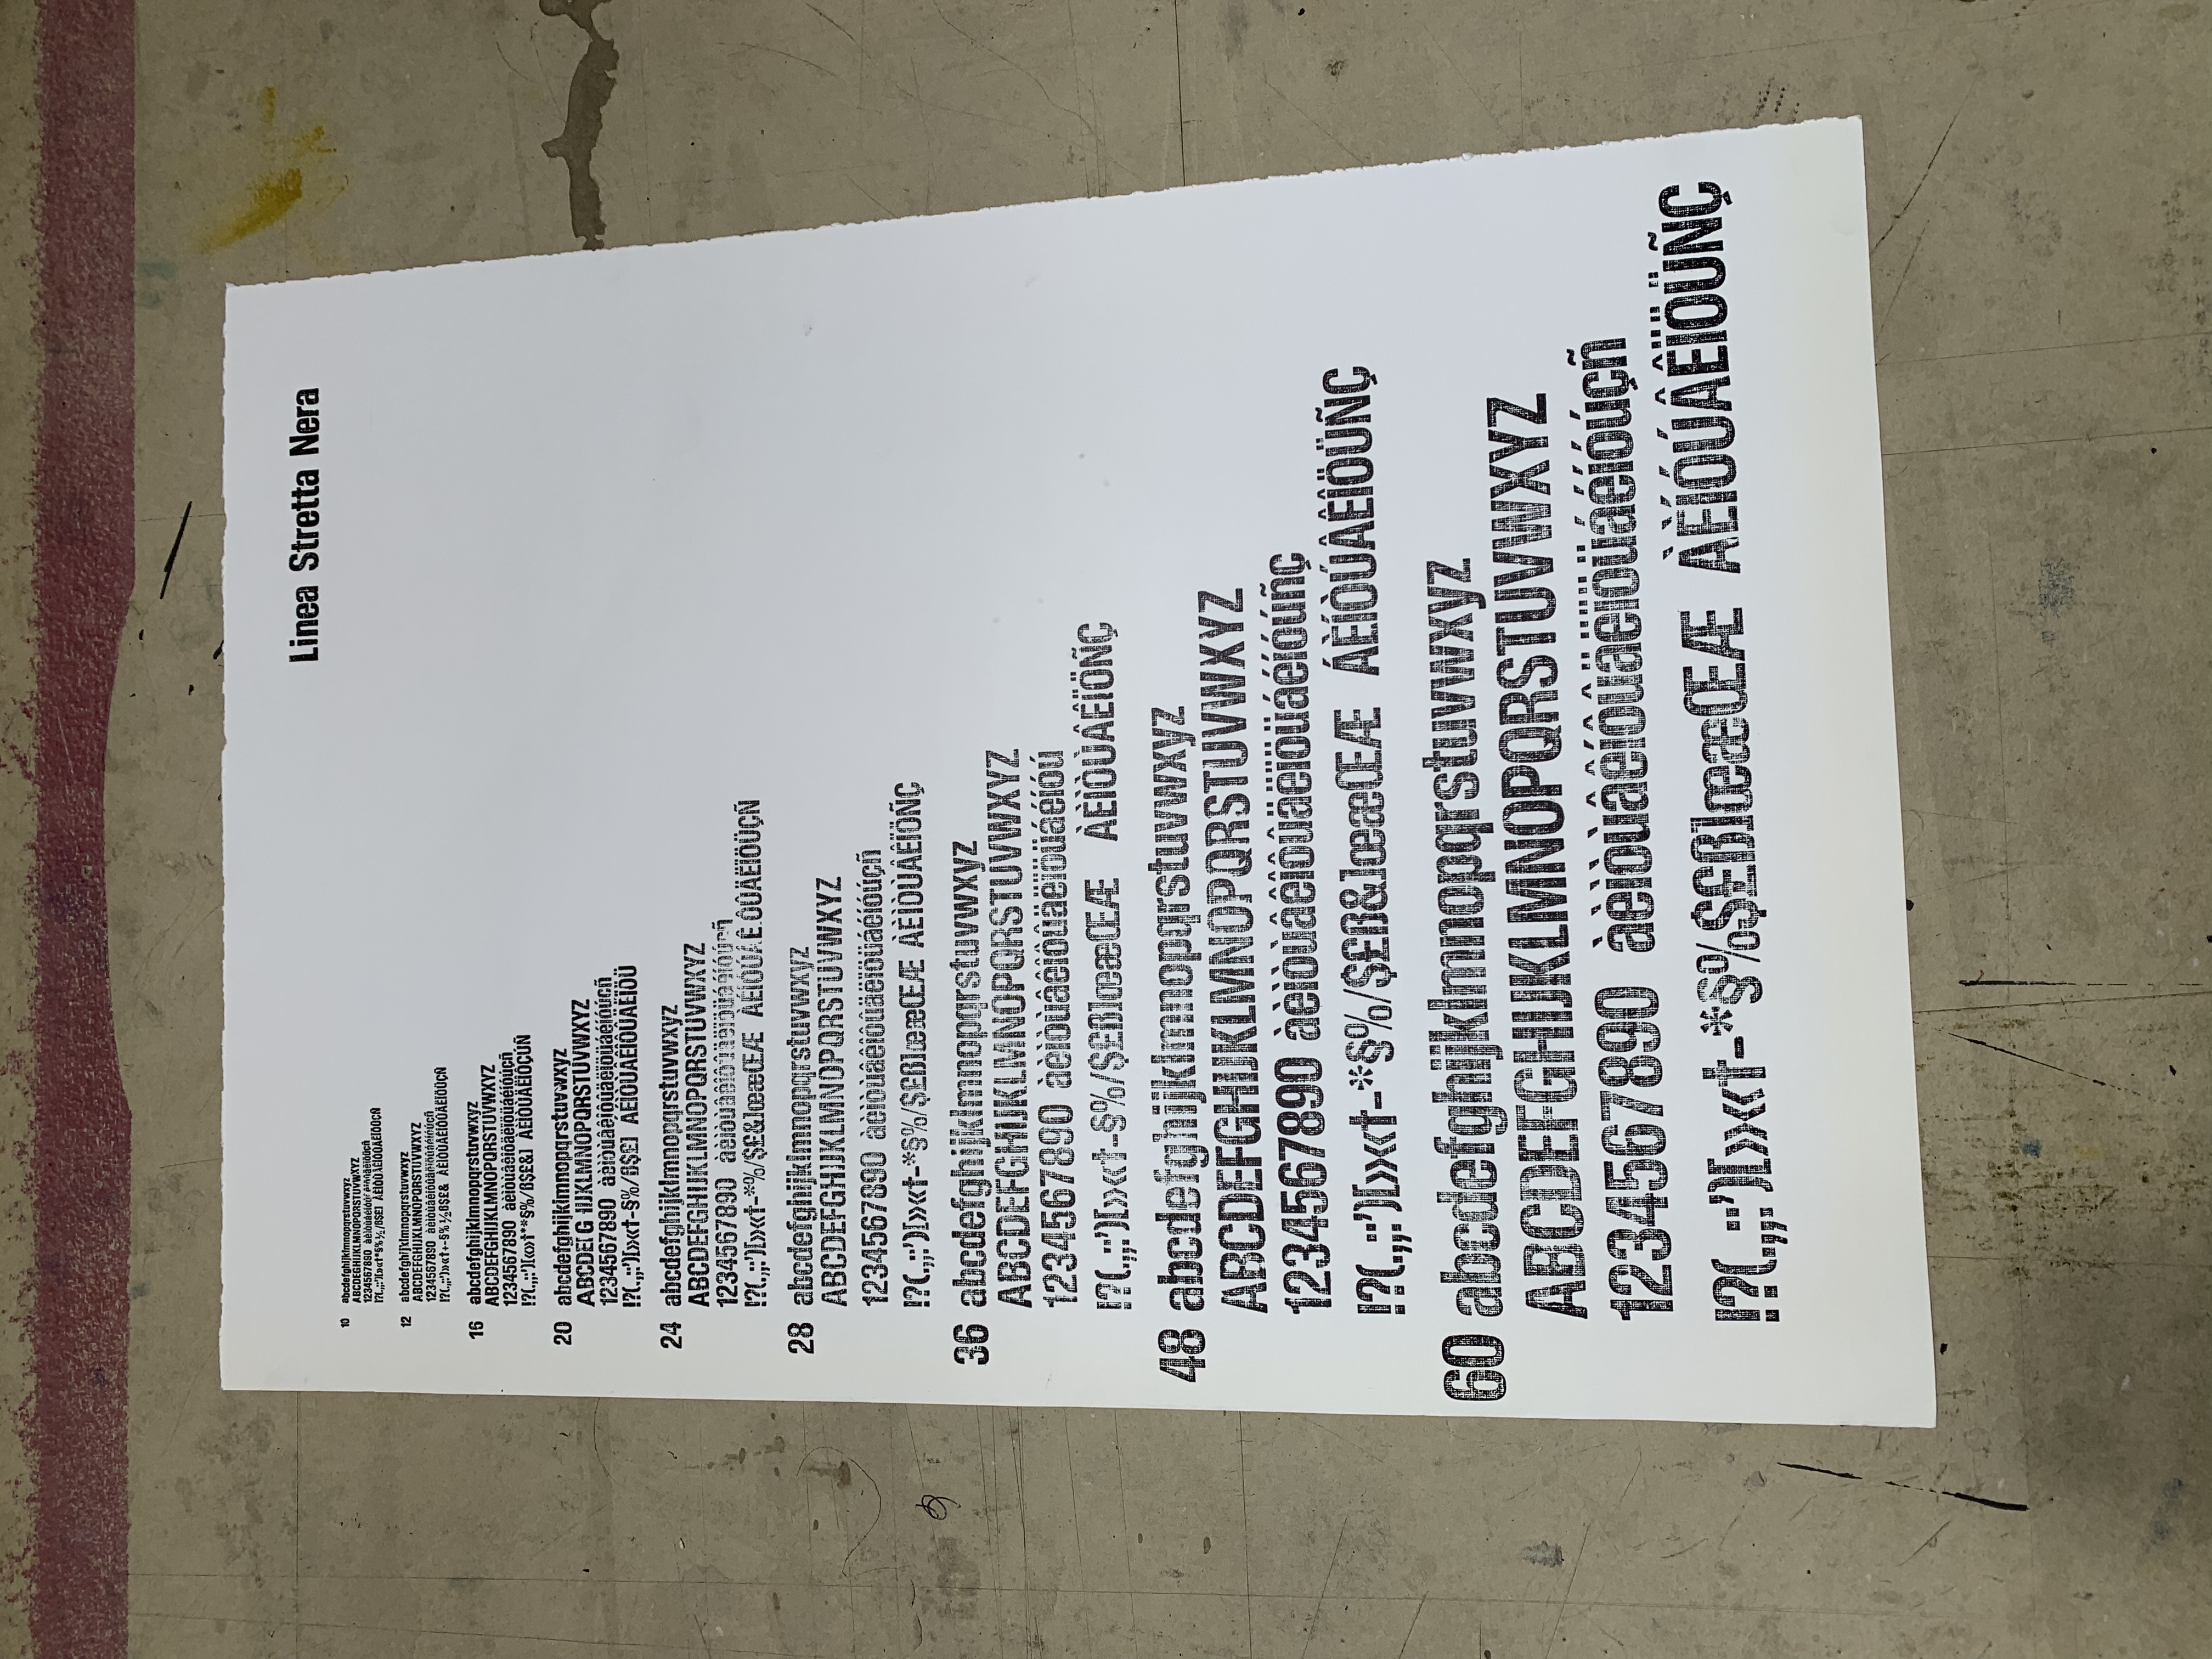
A proof, or the first print made of a composition
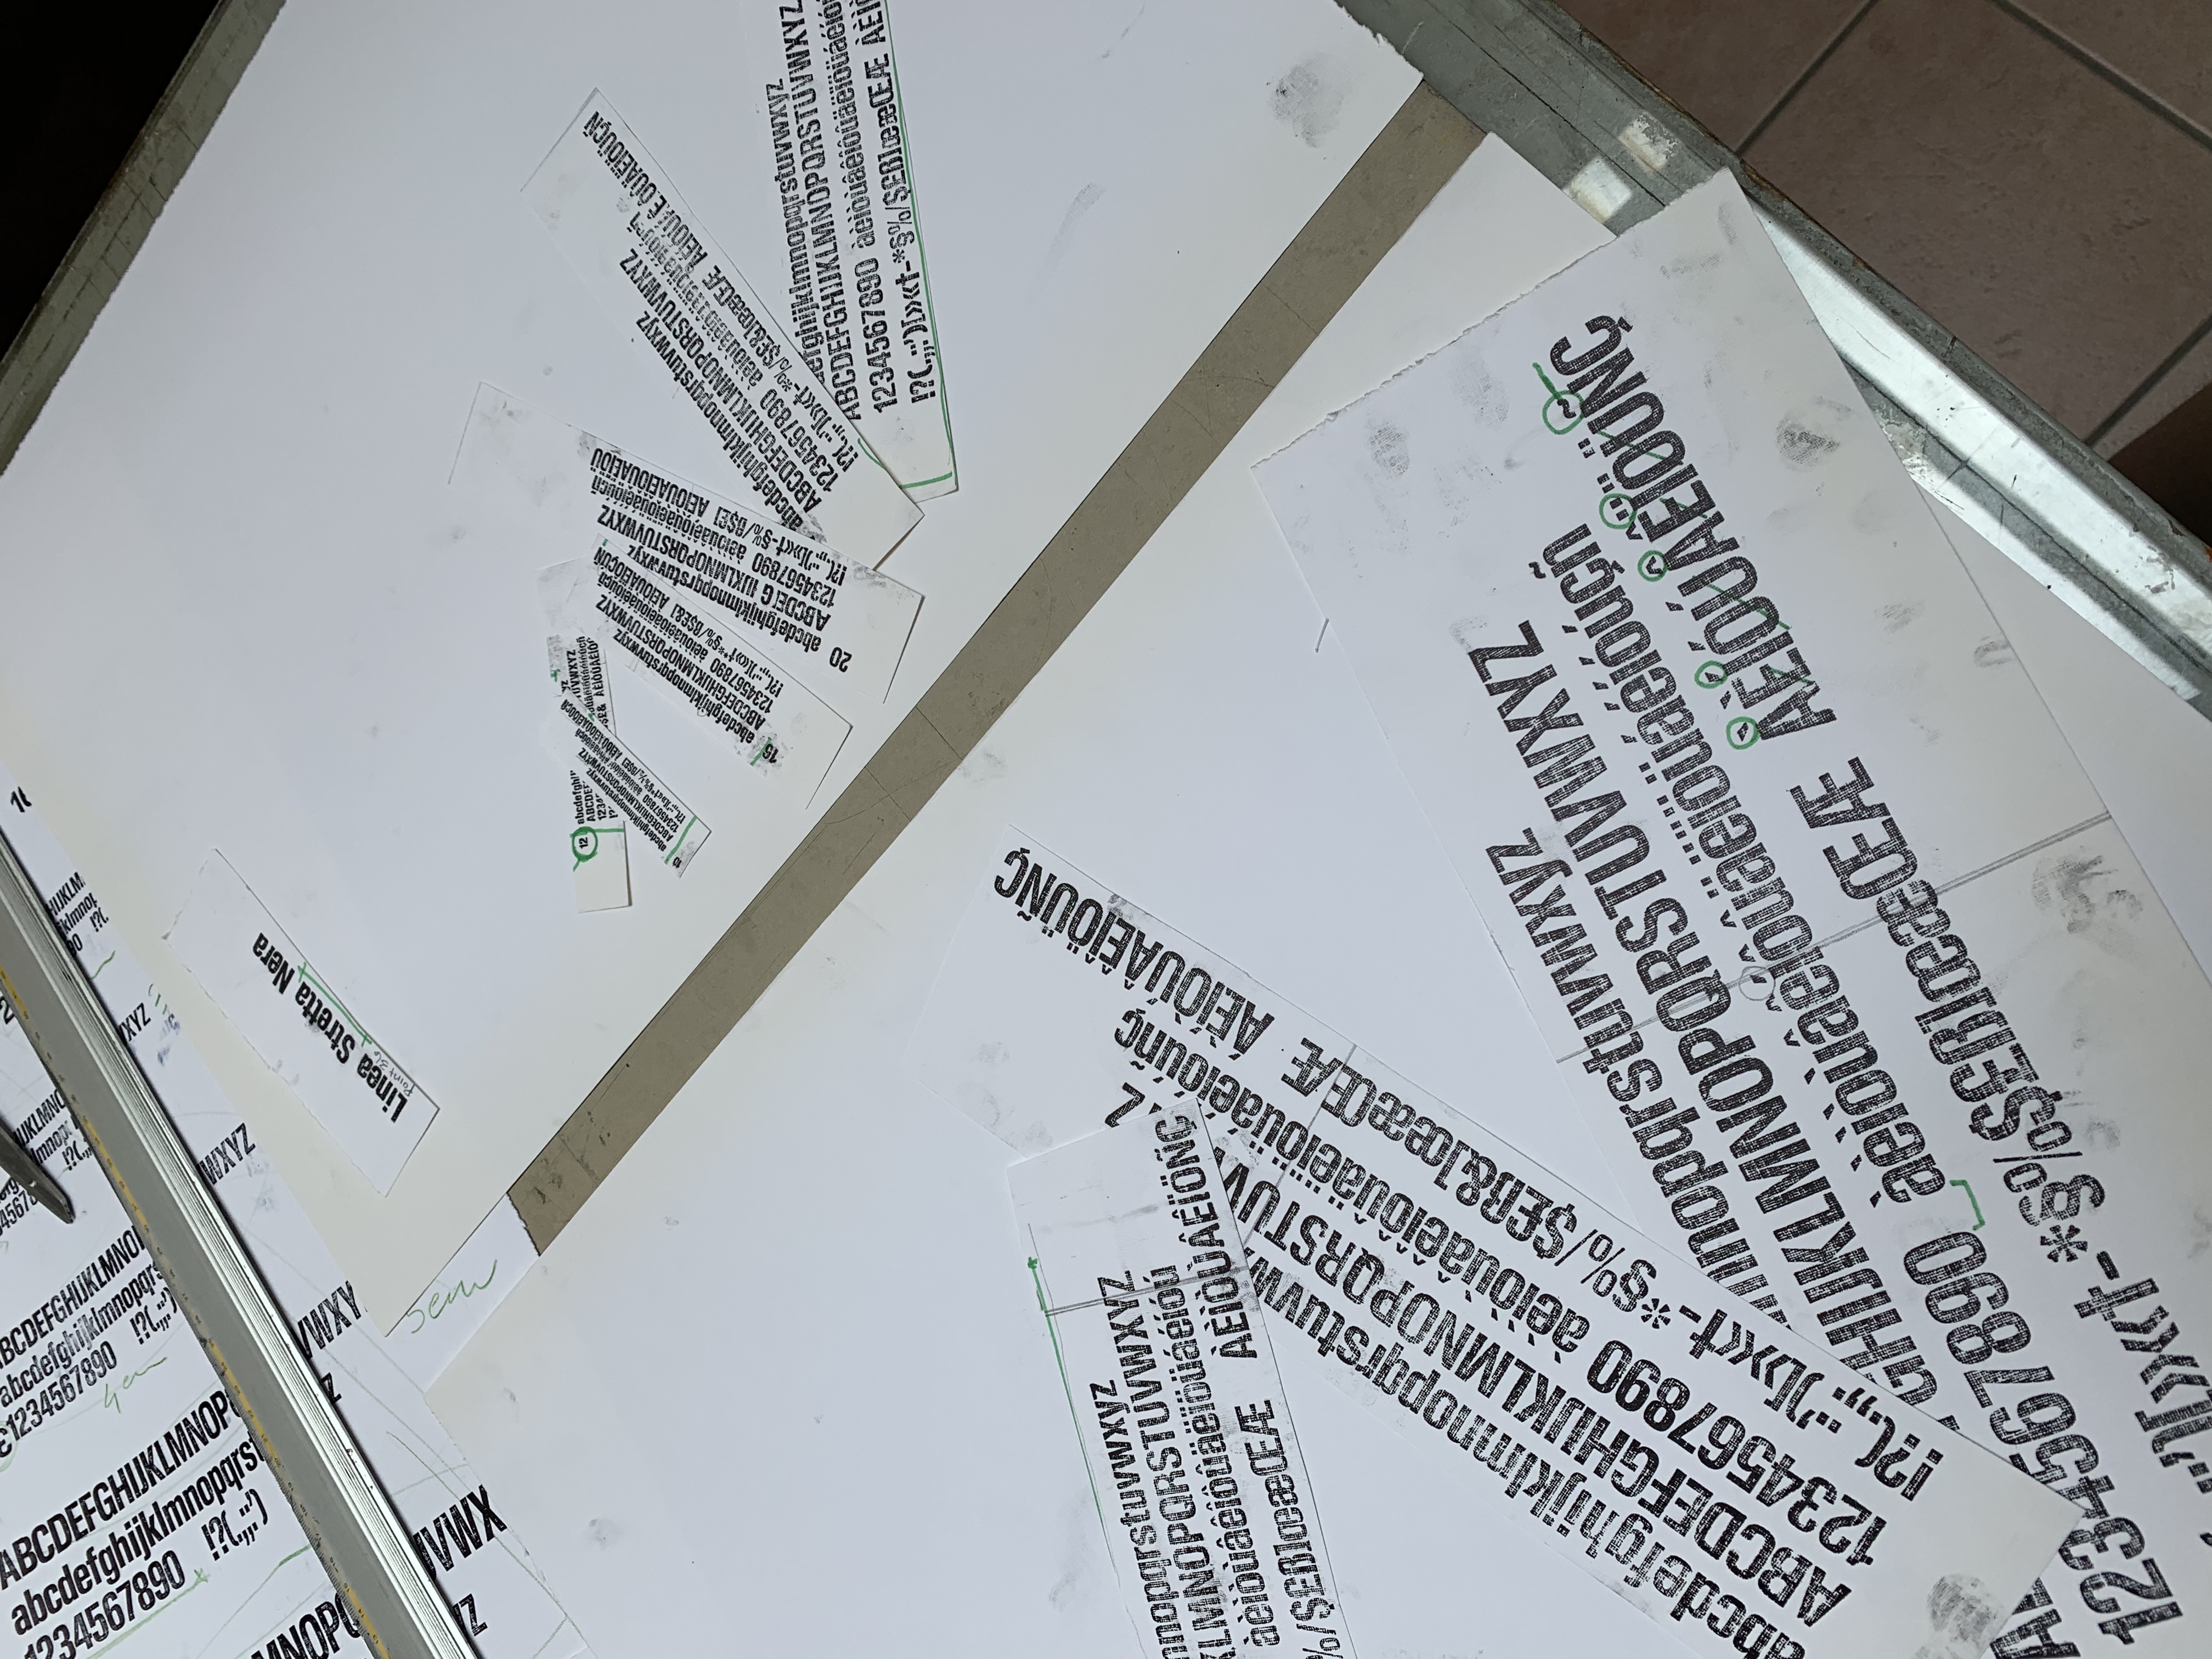
Said proof chopped into pieces to try and determine a better layout
Once we determined a layout we all liked after about a full week of disliked proofs, I made 11 copies of each print!
This was the process that I followed to create 14 different prints of 16 different fonts from 74 drawers of letterpress type.
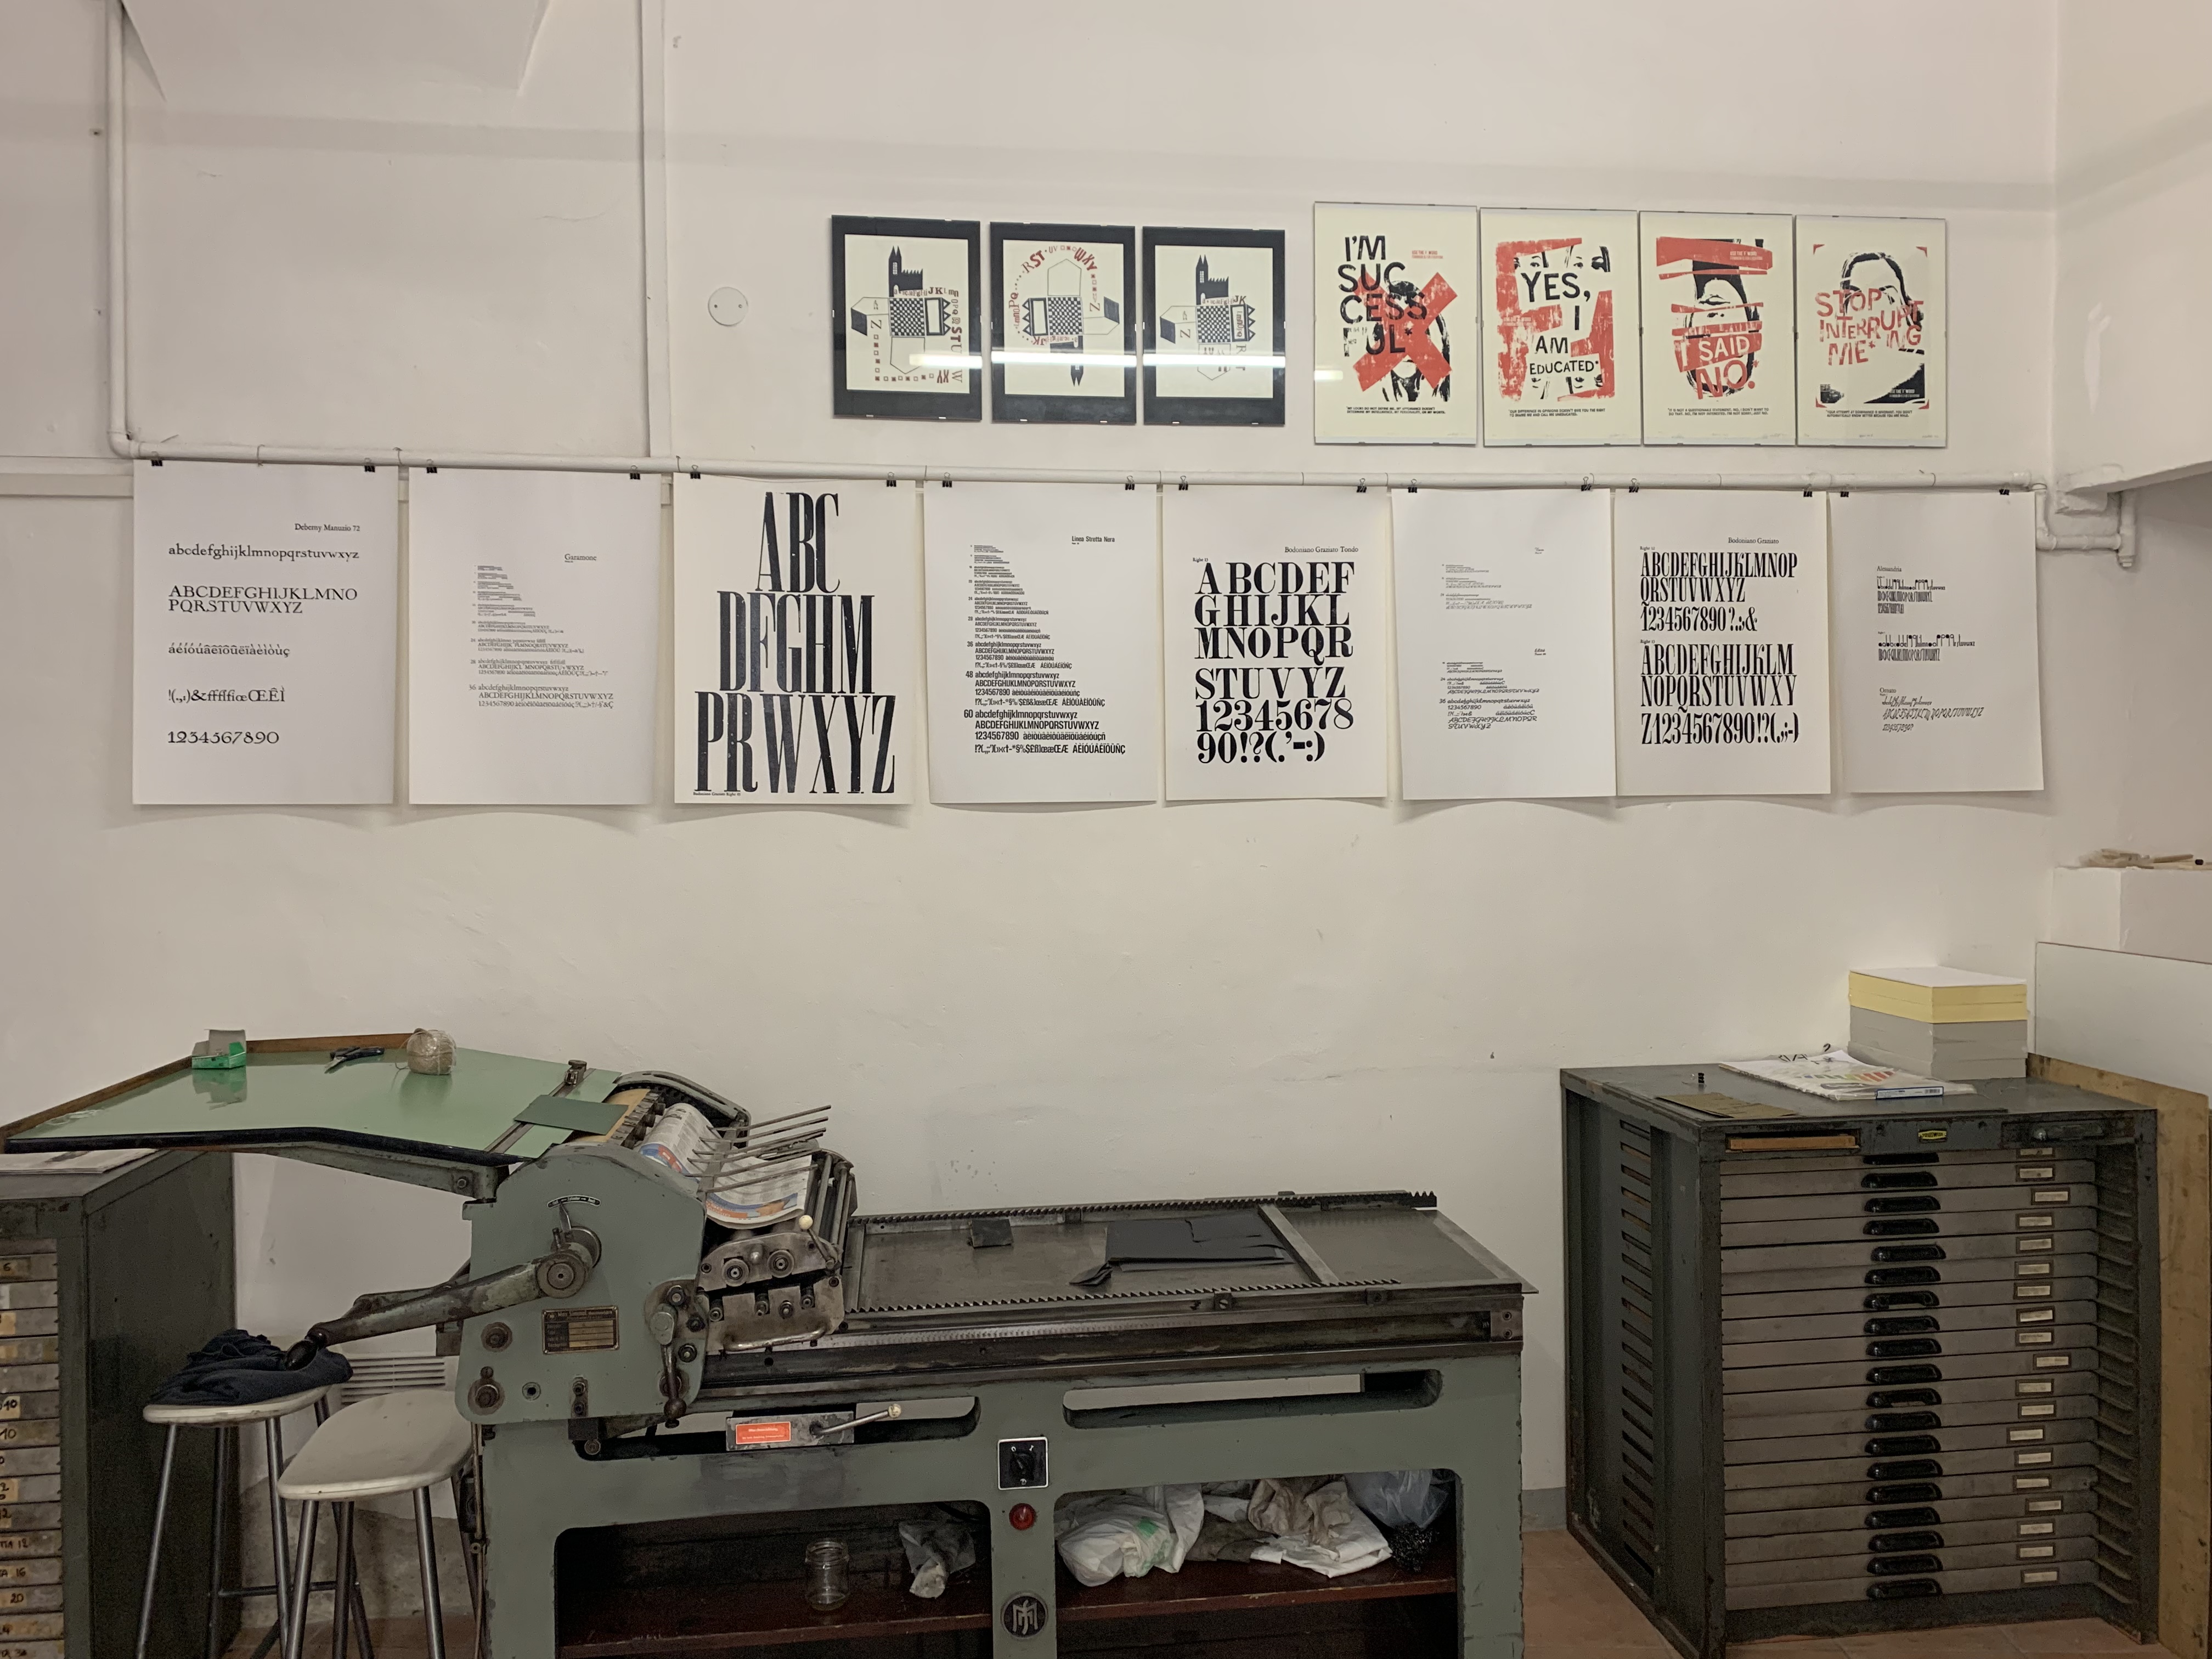
8 of my 14 prints hung up in the studio
I worked long, hot days in the studio five days a week, and I loved every minute of it. Letterpress is such an interesting medium that allows for a lot more creativity than people think while also requiring a lot of skill and attention to detail. And for those of you asking, “how does this internship help you on a resume?” Well, don’t worry your pretty little head about it. The bottom line is that I had an amazing time, and I am walking away from Florence with a letterpress portfolio, a unique set of skills, and a love for art and Italy.
Lastly, a huge thanks to Charles and Melania, my bosses/professors at the Florence School of Fine Arts who fostered my love of letterpress during the semester and offered me this amazing opportunity. It was absolutely incredible to be able to spend another month in one of my favorite cities in the world and create beautiful prints in such a remarkable studio space. Thank you both a million times over! If you ever want me to come back and tackle the other dozens of drawers of fonts of drawers, I’ll book a flight in a heartbeat!
If you’re interested in visiting the Florence School of Fine Arts, email Charles at info@theflorenceschool.it and let him know that you found my blog post!
It was so great having you with us and doing excellent work. I still think you should do China by Zoom sitting at the Albion. All the best, Charles
I’m gone to say to my little brother, that he should also pay
a quick visit this web site on regular basis to take updated from most up-to-date news.
I’ve been exploring for a little for any high-quality articles or blog posts in this kind of house .
Exploring in Yahoo I ultimately stumbled upon this site.
Reading this info So i am glad to convey that I’ve a
very just right uncanny feeling I came upon exactly
what I needed. I such a lot definitely will make sure to don’t fail to remember this site and
give it a look regularly.
I’m so glad you found exactly what you were looking for! Cheers!
Have you ever considered creating an ebook or guest authoring on other sites?
I have a blog based on the same information you discuss and would really like to have you share some stories/information. I know my visitors would enjoy your
work. If you’re even remotely interested, feel free to send me an e-mail.
Thanks for sharing your thoughts. I really appreciate your
efforts and I am waiting for your next post thank you once again.
We are a bunch of volunteers and opening a new scheme in our community.
Your site offered us with useful information to work on. You’ve performed a formidable activity and our entire
community can be thankful to you.
Valuable info. Fortunate me I found your site by chance, and I am stunned why this coincidence didn’t came about in advance!
I bookmarked it. https://www.pinterest.com/pin/795589090408679629/
Thank you so much for reading! Glad you enjoyed it!
Hello! Someone in my Myspace group shared this site with us
so I came to give it a look. I’m definitely loving the information. I’m book-marking and will be tweeting
this to my followers! Terrific blog and excellent design.
Thank you so much! I’m glad you enjoyed reading!
Greetings from Carolina! I’m bored to tears at work
so I decided to check out your site on my iphone
during lunch break. I enjoy the info you provide here and can’t wait to take a
look when I get home. I’m surprised at how fast your blog loaded on my
mobile .. I’m not even using WIFI, just 3G .. Anyways, excellent blog!
Thank you so much for the feedback! Hopefully my blog made your workday a little less boring!
I seriously love your site.. Pleasant colors & theme. Did you make this amazing site yourself?
Please reply back as I?m attempting to create my own blog and want to find out
where you got this from or just what the theme is named.
Many thanks!
This is a WordPress.com site – I am using one of their many lovely site templates. You can get set up with them and choose a template that makes it easy to input your content. Good luck!
Hello Dear, are you truly visiting this web site daily, if so afterward you will without doubt obtain nice experience.
Its such as you read my thoughts! You appear to understand
a lot approximately this, like you wrote the book
in it or something. I believe that you can do with
some percent to drive the message house a little bit,
however other than that, that is excellent blog. An excellent read.
I will certainly be back.
Thank you so much! I absolutely adore letterpress and sharing about the beauty of the art form!
Great information. Lucky me I discovered your site by accident (stumbleupon).
I’ve saved as a favorite for later!
What is your address in Florence and can visitors come to see/experience your studio? It looks fantastic!